


Let’s look first at the radiator mounts. Corsair focuses on this case’s ability to support a radiator in the above-mentioned triple 140mm fan format. We measured approximately 500mm of panel clearance for both the top and front mounts. Corsair offers several versions of the 5000D, largely differentiated by their fan loadouts. On its 5000D RS version, the company fills the front mount with three 140mm black fans, and it adds ARGB to the matching fans on our test-model Frame 5000D RS ARGB. The matching rear exhaust fan was lacking from the previous 4000D series.
Corsair expands the bottom dust filter to cover the Frame 5000D RS ARGB’s entire bottom panel and adds more USB 3.x Type-A ports to the front panel. The four Type-A ports use two 19-pin (Gen 1) cables, the single Type-C relies on a Gen 2×2 cable, and the audio headset (headphone/mic combo) is powered by the usual 9-pin HD Audio cable.
(Credit: Thomas Soderstrom)
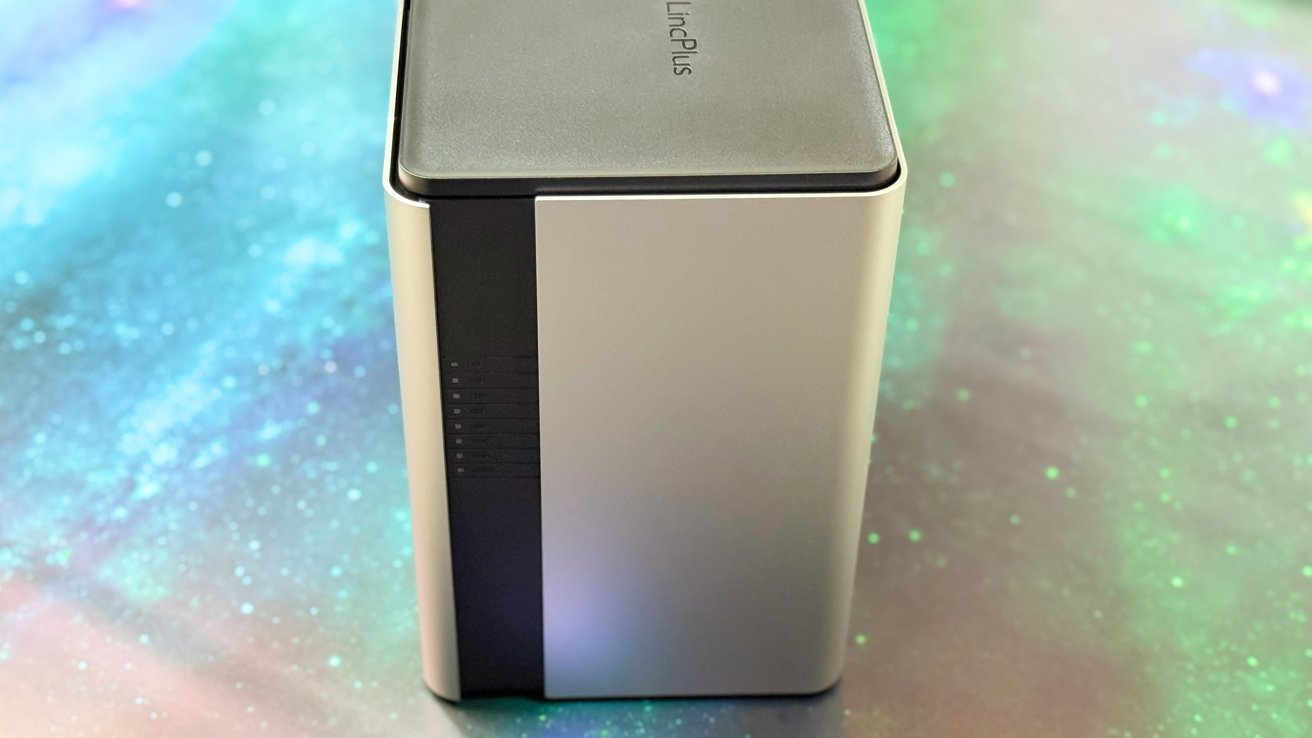
A power-indicator LED lights up the translucent-white power button, its black aluminum center sticker approximating the appearance of an opaque button surrounded by a lighted ring.
The Frame 5000D RS ARGB’s rear features a removable panel with eight PCIe expansion slots, ideal but a decade too late for building a vintage Quad SLI rig. But its extra slot could prove useful today for placing nearly any double-slot card into a motherboard’s bottom PCIe slot. Removing, rotating, and remounting the PCIe-slot panel lets the 5000D support a vertically rotated video card mounted on a riser cable (a separate purchase).
Also visible from this angle are the right side’s vented section, the rear’s 140mm/120mm dual-pattern fan mount (fitted with the single 140mm fan mentioned earlier), a trio of hook-and-loop cable ties running down one edge of the back, and the two loose captive screws that are placed for quick power-supply installation.


(Credit: Thomas Soderstrom)
Mounted on four snaps, the front face panel pulls away to reveal a magnetically attached dust filter. That, similarly, pulls away to give us a better look at the Frame 5000D RS ARGB’s front fans. The side panels then remove by unscrewing the security screws, snapping them away from the back panel, and lifting their front tabs out of corresponding hooks at the back edge of the front panel.

(Credit: Thomas Soderstrom)
Large enough to hold a 13-inch-deep (SSI EEB-sized) EATX board, the Frame 5000D RS ARGB requires its builders to remove and leave out its cable-concealment panel to install anything larger than a standard ATX board. That might seem a shame to anyone using the more-common 10.5-to-10.7-inch-deep boards that also carry the EATX nomenclature, as removing this feature also means you’re taking out the case’s associated card-support brace.
Users of special motherboards that have their internal cables facing out the underside of board (a la MSI Project Zero or Asus Back to the Future, aka BTF) have a bit more to get excited about. The removable motherboard tray includes connector cutouts for those motherboards in both ATX and MicroATX formats.

(Credit: Thomas Soderstrom)
The power supply’s bay cover is also removable, as we’ve indicated by pointing out its disassembly screws in yellow. You’ll probably want to keep that tray, though, since it has eight threaded holes for mounting two 120mm fans on it (possibly useful for extra GPU cooling) and four more holes for attaching the slot end of that vertical graphics card riser cable you might bring to the build.
Above the power supply cover, we see another shot of the adjustable graphics-card support, which loosens to slide up or down via the screw head on its end. Below it, you might spot a removable tray that’s designed to hold one 3.5-inch or two 2.5-inch drives, and within it a 5 3/8-inch gap that allows the installation of super-thick radiators behind the front fans.

(Credit: Thomas Soderstrom)
The inner rail of its top fan mount slides to accommodate different fan sizes. In a different approach, though, the Frame 5000D ARGB’s three front fans use Corsair’s “InfiniRail” brackets to mount 140mm parts on a 160mm rail spacing. That gives you the flexibility to mount different widths of fan up front as you wish.

(Credit: Thomas Soderstrom)
A rigidly framed nylon dust filter covers the side panel vent for the right side’s optional fan mount. The filter is hooked to the rolled edges of that side panel, and a single magnet at the center of the plastic frame’s rear edge keeps it lying flat.

(Credit: Thomas Soderstrom)
A solid sheet that covers the right side’s fan mount can convert it to cable stowage/hiding, whereas replacing the panel with an included fan bracket returns the side fan function. The Frame 5000D ARGB’s removable motherboard tray and power supply bay are found behind the side fan/cable stowage area.


Get Our Best Stories!
All the Latest Tech, Tested by Our Experts


By clicking Sign Me Up, you confirm you are 16+ and agree to our Terms of Use and Privacy Policy.
Thanks for signing up!
Your subscription has been confirmed. Keep an eye on your inbox!

(Credit: Thomas Soderstrom)
Three drive trays are mounted to the back of the motherboard tray, including one that’s large enough to hold either a 3.5-inch or two 2.5-inch drives and two smaller 2.5-inch single-drive brackets. Removing the upper bracket is necessary to reach the back side of the motherboard’s CPU socket, but it can still be put back in place for most builds. Conversely, the lower trays cross over the rear-facing connector holes for MicroATX boards, so using one or both of those mounting points may be excluded in certain MSI Project Zero or Asus BTF builds.
We added yellow arrows to indicate the screw points of the removable motherboard tray, which is also hooked to the frame using tabs at the top. Likewise, a blue arrow points to the attachment screw at the top of the opposite side’s cable concealment panel, which is also hooked to the frame at the bottom.

(Credit: Thomas Soderstrom)
Removing all of the interior components creates a striking display of the case’s modularity. Notice the pattern of square holes on the structural section that surrounds the motherboard tray. These are used as attachment points for both the smaller covers and the removable cable guides.

(Credit: Thomas Soderstrom)

