


If you aspire to be a penetration tester, ethical hacker, or a cybersecurity professional, you require practice. And the safest way to get hands-on experience is by creating your own home lab for hacking.
A home lab is your own place to play with tools, techniques, and exploits without real-world harm. Here in this blog, we’ll take you through everything you need—hardware and software to platforms and practice targets. You are a beginner or upgrading, this guide is for you.
Prefer watching instead of reading? Here’s a quick video guide
Why Build a Hacking Lab?
Before you start, let’s learn about the advantages of having your own lab:
- Hands-on Practice: Theory is great, but actual skill is in doing.
- Safe Environment: Try scans, exploits, and malware in isolation.
- Cost-effective Learning: Most tools and platforms are low-cost or free.
- Portfolio Development: Display your skills with tailored test scenarios.
- Freedom to Break Things: Break things, learn from it, and fix it—without penalty.
What Do You Need?
Your hacking lab doesn’t need a supercomputer, but it should be capable of running multiple virtual machines (VMs). Here’s a good base spec:
- Processor: Intel i5/Ryzen 5 or higher
- RAM: 16 GB (minimum 8 GB if you’re on a tight budget)
- Storage: 512 GB SSD or more (VMs take space)
Tip: If your main PC doesn’t cut it, consider a used laptop or a Raspberry Pi cluster later.
Install a Hypervisor
A hypervisor allows you to have virtual machines. There are two well-used (and free) choices:
VirtualBox
- Perfect for beginners
- Supported on Windows, Linux, and macOS
VMware Workstation Player
Select one and install it. VirtualBox is a good starting place for beginners.
Set Up Your Virtual Machines
Now, let’s install the virtual machines that comprise your lab.
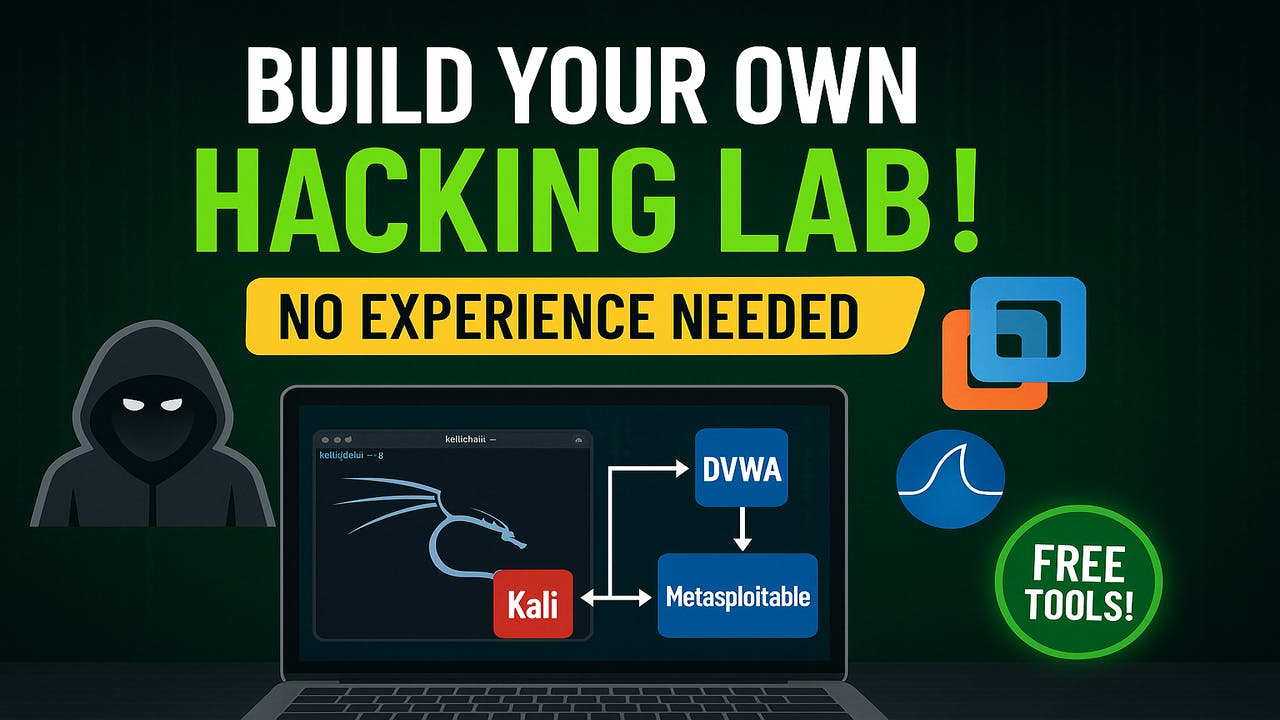
Kali Linux (Attacker Machine)
Kali is a Linux distro packed with hacking tools like Nmap, Burp Suite, Metasploit, Wireshark, and more.
- Download from: https://www.kali.org
- Install it in VirtualBox
- Snapshot it after setup for easy recovery
Victim Machines
These are intentionally vulnerable systems you’ll try to hack.
- Metasploitable 2 or 3: Classic vulnerable Linux/Windows machines
- DVWA (Damn Vulnerable Web App): A PHP/MySQL-based web app for practicing web attacks
- OWASP Broken Web Apps Project: Multiple vulnerable apps in one VM
- Windows 10/11 VM: To learn Windows exploitation (you can obtain trial ISOs from Microsoft)
Note: Leave these machines in host-only network mode so they won’t be able to access your actual network or the internet.
Network Configuration
Networking plays a vital role in your hacking lab. Configure your VMs to:
- Host-only Networking: Disconnects lab from the internet
- Internal Network: For VM-to-VM communication alone
You can play around with:
- DNS poisoning
- MITM attacks
- Packet capturing
Use tcpdump or Wireshark to observe the movement of data between VMs.
Start Practicing
You can begin as soon as your attacker and victim machines are set up. Here’s what your journey could look like:
Beginner Tasks
- Scanner the victim with Nmap
- Fetch open ports and services
- Use Dirbuster or Gobuster to identify hidden directories
- Exploit weak logins (admin:admin) in DVWA
Intermediate Tasks
- Capture and crack password hashes
- Attempt SQL Injection, XSS, CSRF
- Use Metasploit to exploit known vulnerabilities
- Practice privilege escalation
Keep It Evolving
A nice lab is never static. Continue to update and evolve it along with you growing.
Add More Targets
- Install vulnerable applications such as Juice Shop, bWAPP, or WebGoat
- Install a vulnerable Active Directory lab using AttackDefense scripts or VulnAD
Try CTF-Style Challenges
- Import VulnHub VMs (boot2root machines)
- Run TryHackMe or Hack The Box labs locally
Secure Your Lab
NEVER connect your lab to the internet. Here’s how to keep it secure:
- Use host-only or internal network adapters
- Don’t bridge to LAN or Wi-Fi
- Don’t use actual credentials in lab VMs
- Snapshot your VMs regularly in case of malware or config breakage
Bonus: Cloud Labs (If You Have Limited Hardware)
If your machine isn’t able to support multiple VMs, try cloud-based labs:
- AttemptTryHackMe – Beginner-friendly
- Hack The Box – CTF-style advanced boxes
- RangeForce, PentesterLab, and CyberSecLabs – Hands-on browser-based labs
These save you the setup but offer less flexibility than a full local lab.
Summary
Creating your own hacking lab is one of the best investments you can make in your cybersecurity journey. Here’s a quick summary of what you need to do:
- Hardware: Get a decent PC or laptop
- Hypervisor: Install VirtualBox or VMware
- VMs: Set up Kali and vulnerable targets
- Network: Use isolated virtual networks
- Practice: Begin attacking and searching
- Evolve: Introduce new machines, obstacles
- Secure: Lock your lab away and secure
Final Thoughts
Your lab is your playground. Experiment, break things, repair them, and learn. It’s alright to get it wrong—every exploit you attempt, every scan you execute, teaches you something new.
You can automate some of your lab as you grow up with Vagrant, Ansible, or even create cloud-based red/blue team environments. But for now, just begin. Don’t wait for it to be perfect—your first lab could be a mess, but it’s yours, and it’s where your hacker journey begins.


