


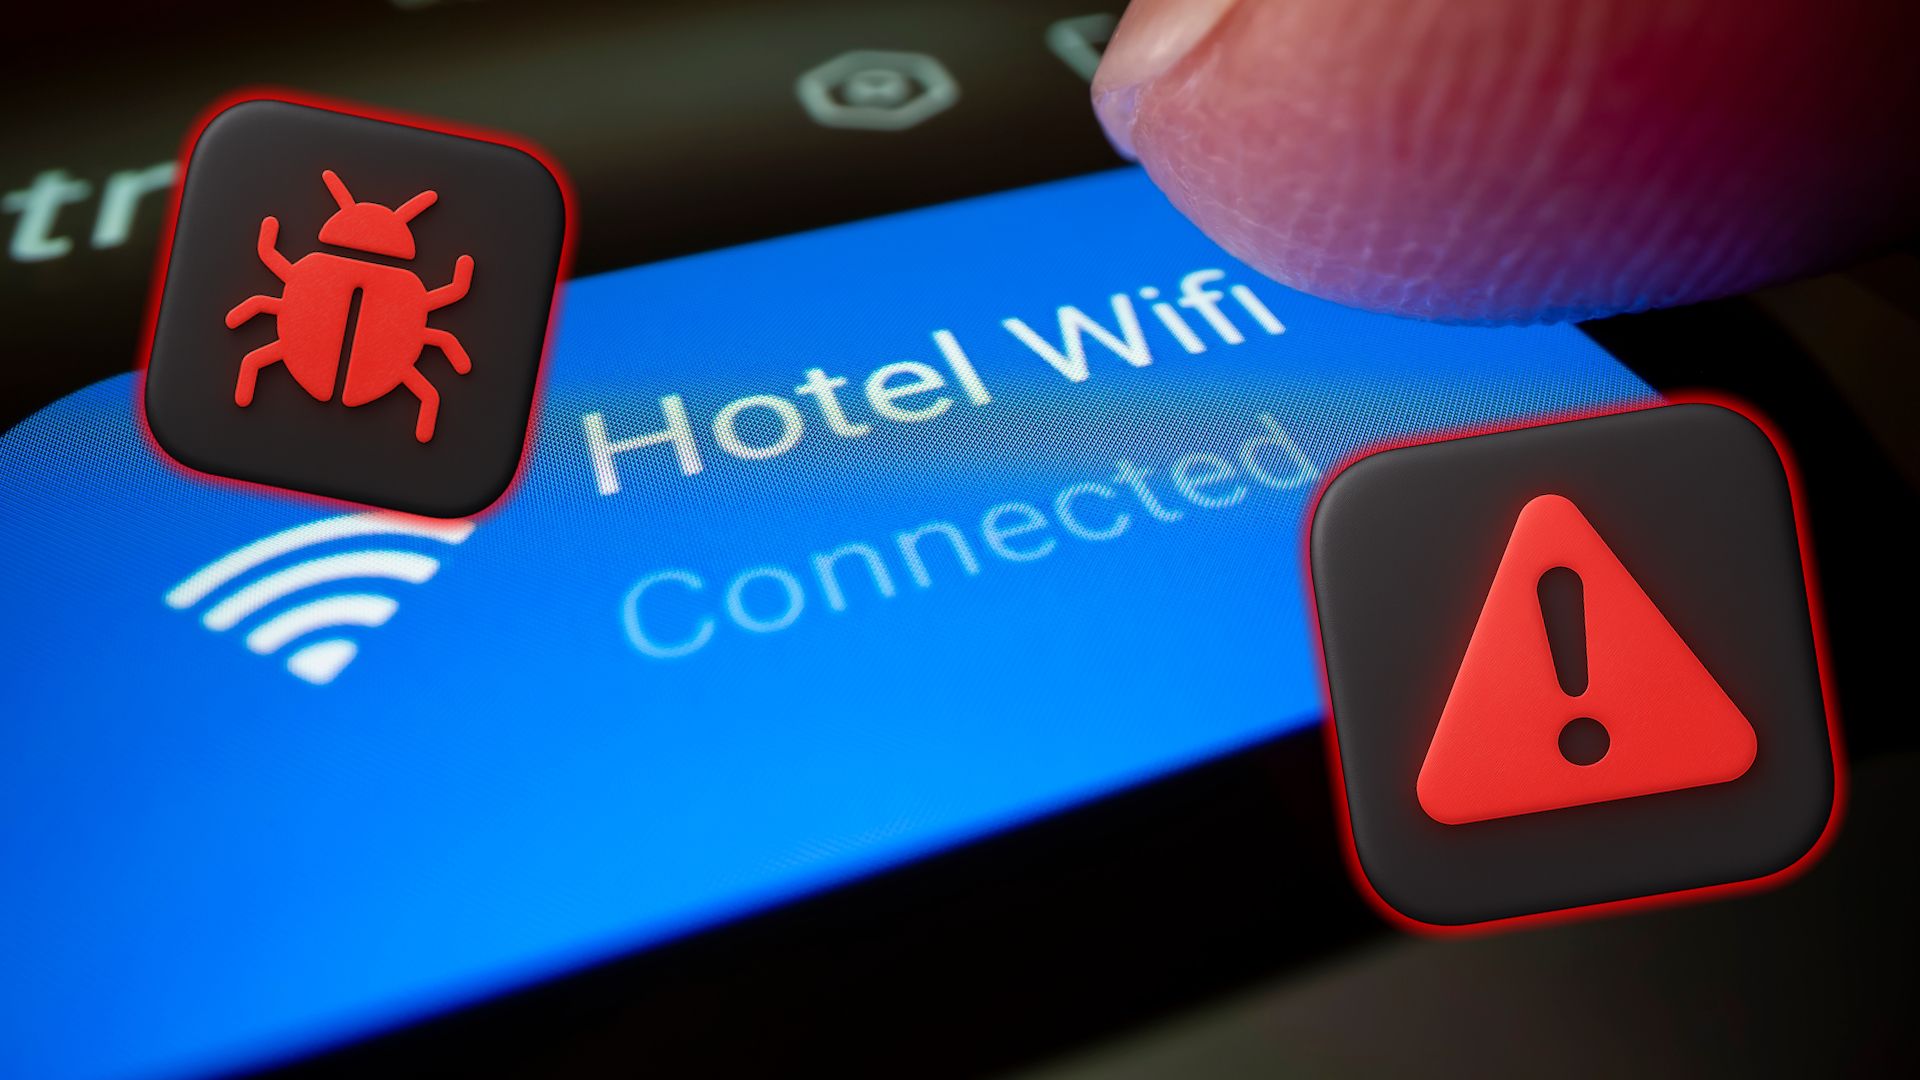
Public Wi-Fi is unfairly demonized. Most of the time, you’re unlikely to encounter a super-shady duplicate Wi-Fi access point in your local cafe. But in larger public spaces with multiple spaces? Sure, it could happen, which is why I always check if the free Wi-Fi is actually safe before connecting.
7
Start With the Obvious: Ask and Verify
Before you connect to any free Wi-Fi network, take a moment to confirm the details with a staff member. This quick step can save you from connecting to a fake “evil twin” network set up by an attacker. Ask them for the exact network name (SSID) and whether it should be password-protected or open. If what you see on your device doesn’t match what they tell you, treat it as suspicious.
Criminals often create networks that look very close to the real thing, hoping you won’t notice a small difference. Verification is especially important in busy places like airports, shopping malls, and hotels, where there might be multiple networks available and plenty of potential victims. Unfortunately, finding someone to ask isn’t always simple, but you should be able to find a help desk, customer service point, or similar.
6
Check the Network Name Carefully
The SSID (network name) is your first clue to whether a network is safe. Cybercriminals rely on people rushing through the connection process without paying attention. Look closely for misspellings, extra punctuation, or random numbers, such as “Starbucks_WiFi” vs “Starbucks-WiFi1.” These slight changes are easy to miss but can indicate a rogue access point.
I’d also suggest avoiding ultra-generic Wi-Fi names like “Free_WiFi” or “Airport_Free” unless you’ve confirmed they’re legitimate. I’ve been in more than a few places that use such naming schemes, and it’s really unhelpful. For one, attackers use these because they sound inviting and attract people who aren’t careful.
Taking just a few seconds to double-check the SSID against what the venue advertises—whether on signs, menus, or websites—is one of the simplest yet most effective defences.
5
Look at the Lock Icon
Your phone or laptop will show whether a Wi-Fi network is secured using encryption standards like WPA2 or WPA3. Look for a small lock icon next to the network name. If the venue claims the Wi-Fi should be password-protected but you see it listed as open (no lock icon), that’s a warning sign.
Open networks make it much easier for attackers to intercept your data because the connection isn’t encrypted. And while most websites now use HTTPS (the secure version of HTTP), it’s still inadvisable to connect to unsecured networks. At the very least, don’t connect to important private apps or otherwise if you absolutely have to use the Wi-Fi.
There is actually some good news on this front. A newer Wi-Fi encryption standard, known as Opportunistic Wireless Encryption (OWE), first launched in 2018, can extend encryption to compatible devices where no specific Wi-Fi encryption is present. Your device must be WPA3 compatible (the latest Wi-Fi standard, launched in 2018) and connect to a Wi-Fi Certified Enhanced Open certified device.
But even with the prospect of OWE potentially encrypting your data, I’d still steer clear of potentially dangerous Wi-Fi networks.
4
Test the Connection Before Using It
Once connected, a legitimate public Wi-Fi network often directs you to a “captive portal”—a welcome screen or terms of service page. This is normal and not something that should set off immediate alarm bells.
However, if that captive portal requests that you download an app, begins to download a file to your machine, or begins flashing up with security alerts, disconnect immediately.
Unfortunately, in many cases, you’ll have to hand over some form of personal information to continue using the Wi-Fi, even if it’s not a scam. In those cases, I typically opt for a throwaway email address, such as Temp Mail. You can give this burner email account to the Wi-Fi provider to accept the verification code without giving up your real email address. Alternatively, there are several email services that let you create alias accounts to protect your privacy and security.
If anything feels unusual, disconnect and double-check with staff.
3
Watch for Security Warnings
Modern browsers and devices are designed to warn you when something looks unsafe. If you see “Not Secure” in the address bar or get a certificate error when loading a site, disconnect from the Wi-Fi immediately. These warnings mean your connection isn’t encrypted, or someone may be tampering with the traffic.
Even on a seemingly safe network, check that websites display the HTTPS padlock in the address bar, which indicates encrypted communication. If a familiar website suddenly loads without HTTPS, treat it as suspicious. Attackers can strip encryption to spy on your activity. Pay attention to these built-in warnings; they’re there to protect you and are usually triggered for a good reason.
Like I said, sometimes, you just have to connect to public Wi-Fi. It’s just unavoidable at times, and really, in many cases, it’s perfectly secure. I’ve travelled to many countries around the world and never experienced a dodgy Wi-Fi connection. I’m not saying they’re not out there; they’re just not as pervasive as some would have you believe.

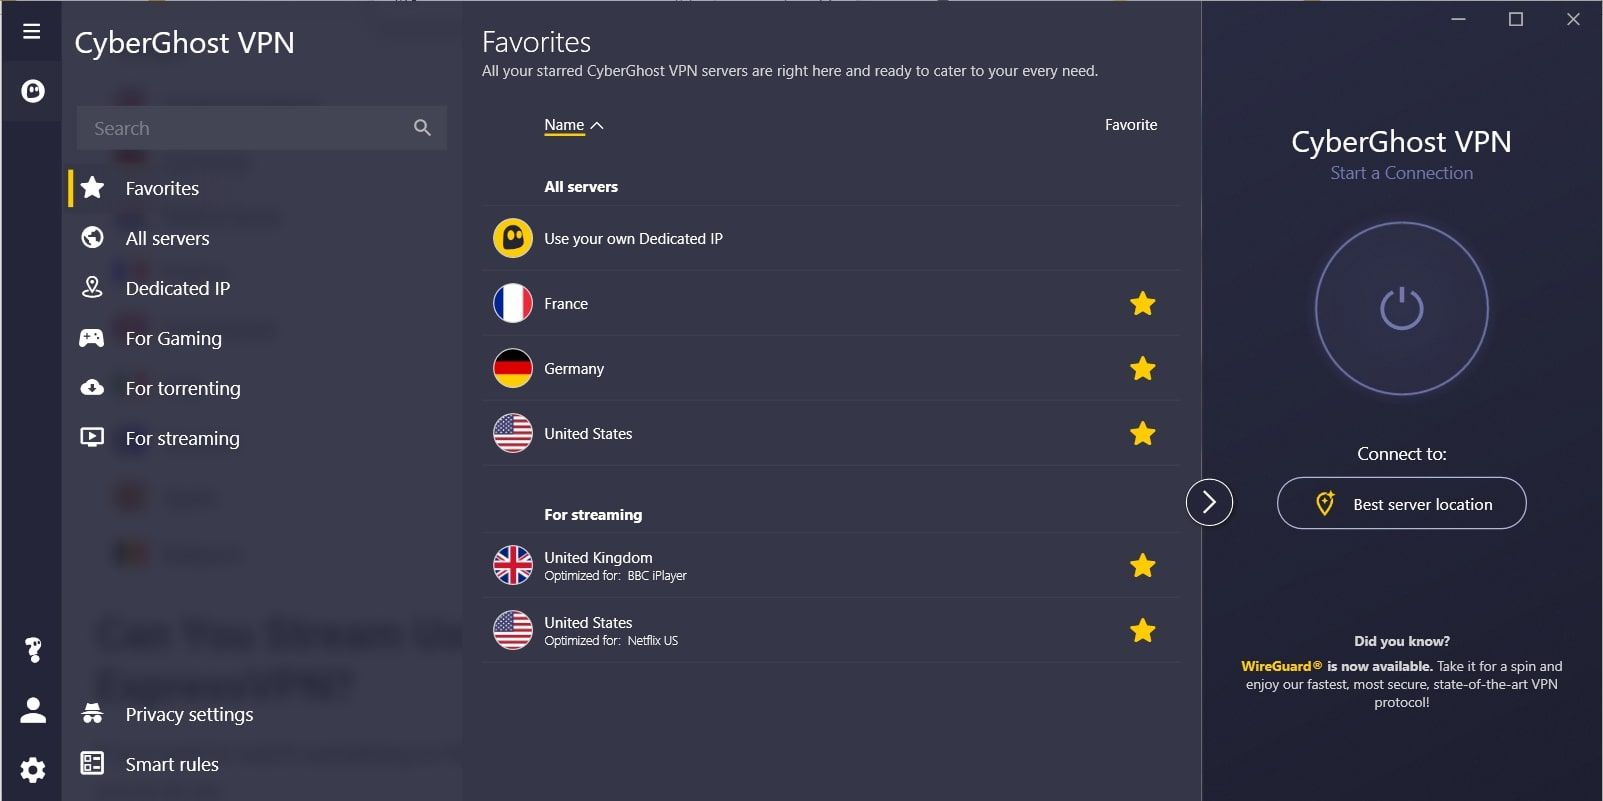
Even so, some basic extra protection steps are worth taking. For example, a VPN is a useful addition, as it encrypts the data sent from your device, securing it against potential snoopers. Furthermore, this is one of those times where it’s quite all right to use a free VPN. There are numerous reasons why a paid VPN is better than a free VPN, but when it comes to protecting your data, it’s best to be pragmatic. Encrypting your connection using a free VPN is much better than using unsecured public Wi-Fi.
I’d also suggest using your browser’s HTTPS Only Mode (also known as Always Use Secure Connections). It’s one of my top public Wi-Fi safety tips, and it really can make a difference, effectively forcing your browser to always use the more secure HTTPS protocol. It’s simple to turn on, and once enabled, it gives your online security a nice little boost.
How to Enable “Always Use Secure Connections” in Google Chrome

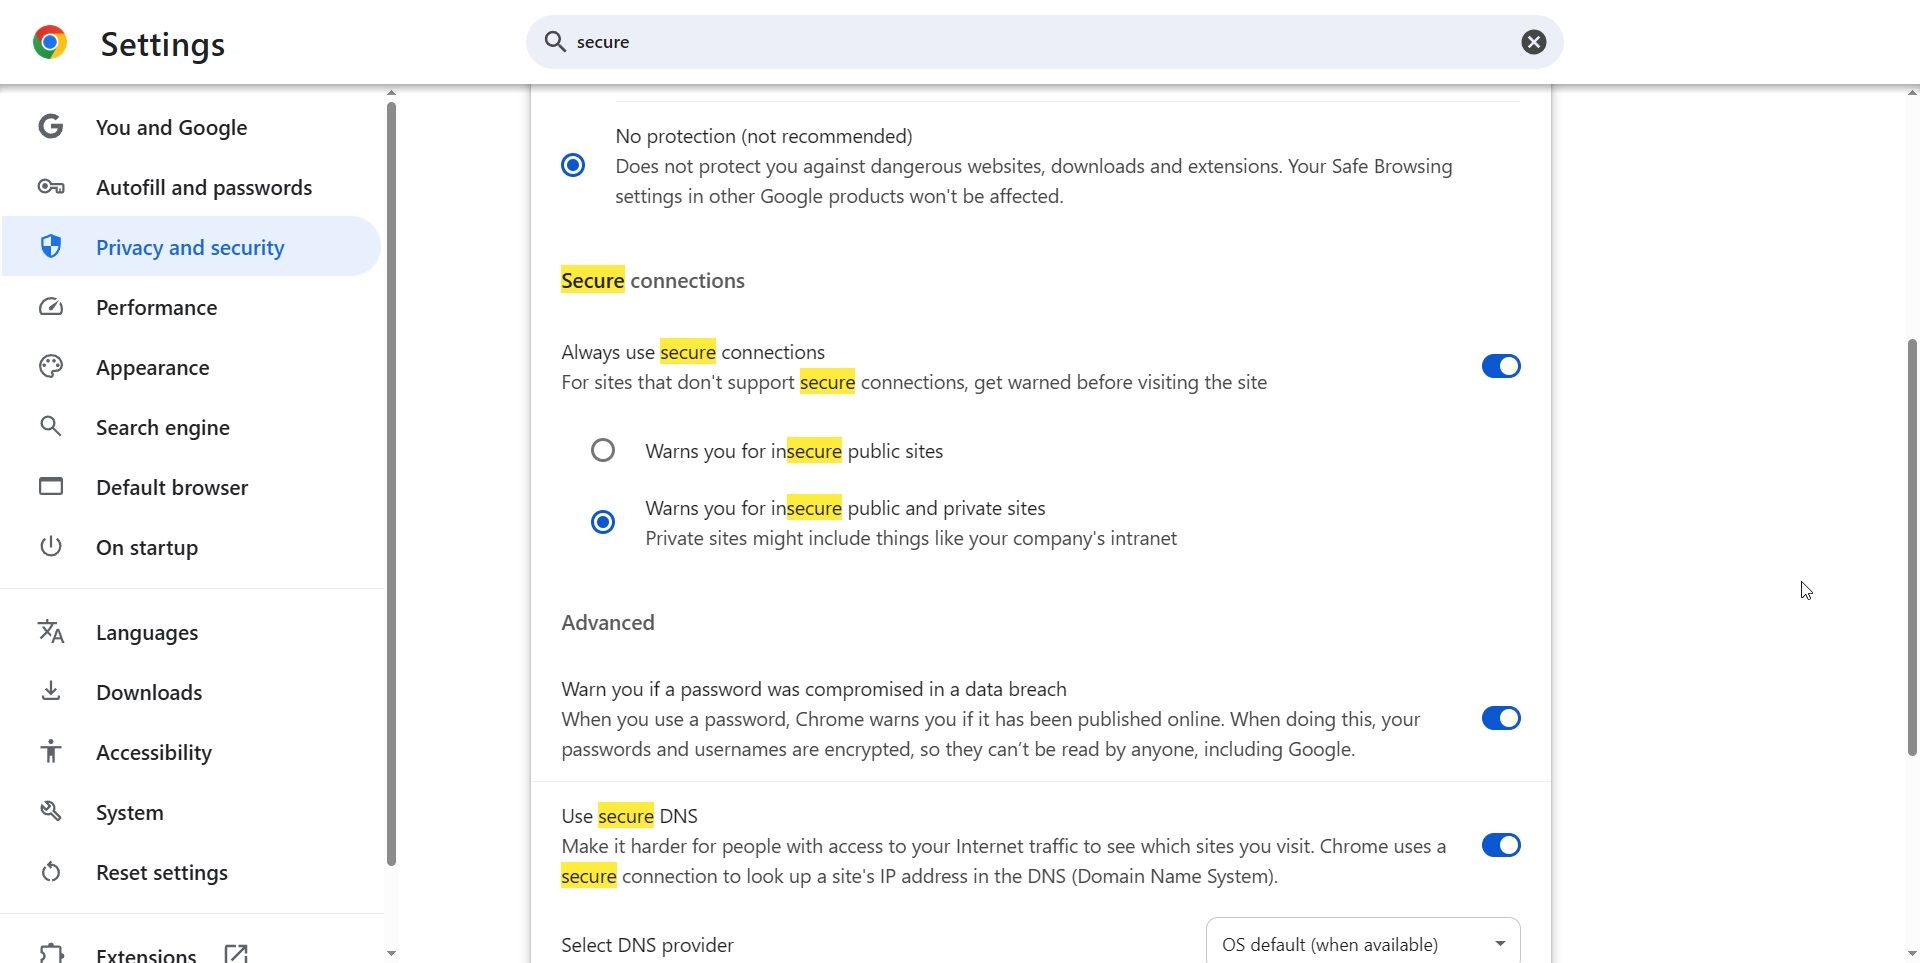
- Navigate to Settings > Privacy and security > Security.
- Toggle on Always use secure connections.
- Choose Warns you for all insecure sites.
How to Enable “Always Use Secure Connections” in Mozilla Firefox

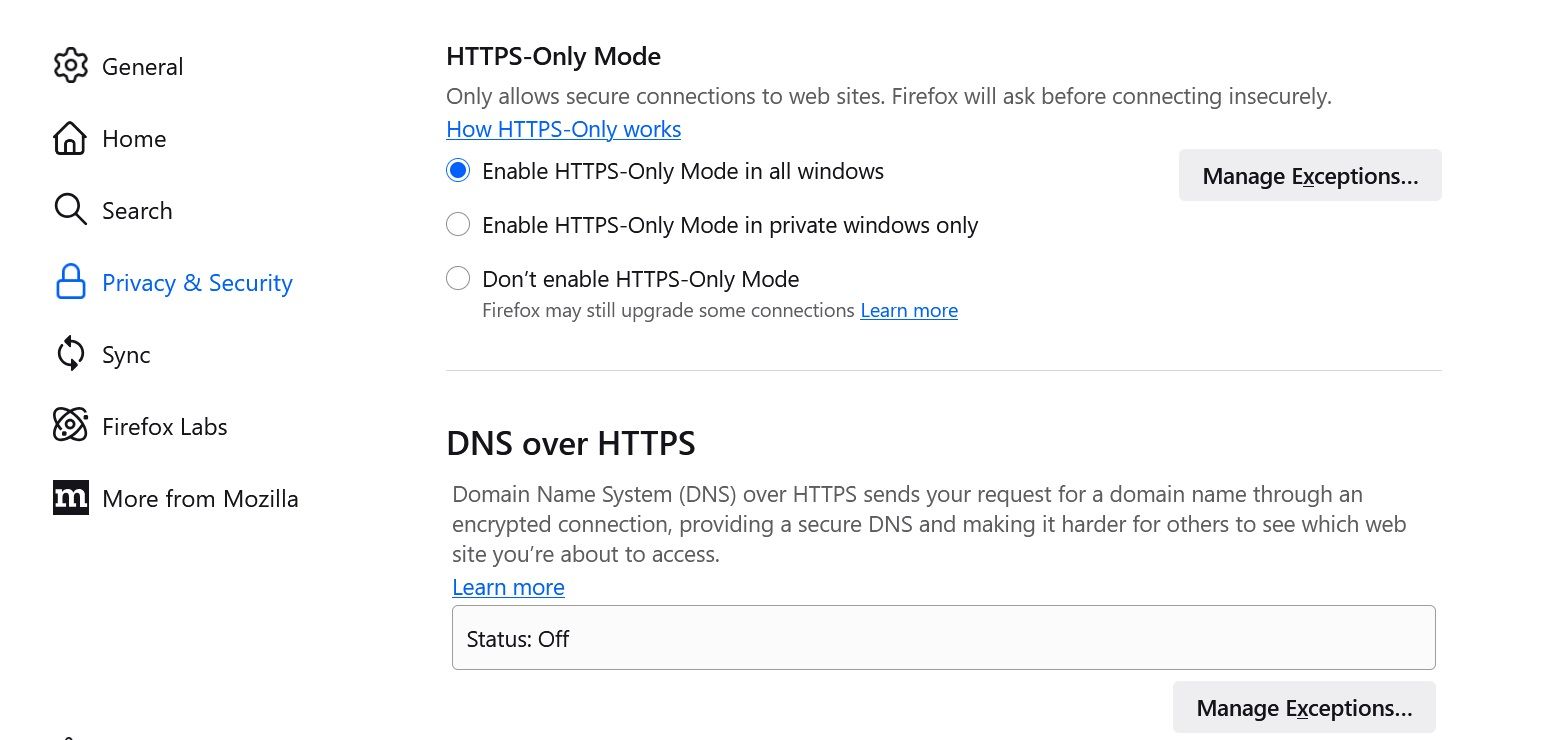
- Go to Settings > Privacy & Security.
- Scroll down to Security > HTTPS-Only Mode.
- Select Enable HTTPS-Only Mode in all windows.
You’ll find this setting in all major browsers.
1
When in Doubt, Use Your Mobile Data
If you can, just stick to your mobile data. It’s not always easy, especially if you have poor reception or are running low on data, but your smartphone’s hotspot is much more secure. So, for sensitive activities, switch to your phone’s 4G or 5G connection or turn on your personal hotspot for your laptop or tablet.
Your mobile data is generally more secure because it uses your provider’s encrypted network rather than a shared public one. Yes, it might use more of your data allowance, but it’s worth it to avoid exposing your most valuable accounts to potential interception. Treat mobile data as your “safe mode” whenever the security of a public network is in question.
