


My household loves using an AeroPress to make fresh coffee. As a neat freak, I appreciate that it takes up far less space on my cramped kitchen countertop than one of the best coffee makers or espresso machines. What’s more, AeroPress coffee makers are so portable that you can literally pick them up and go!
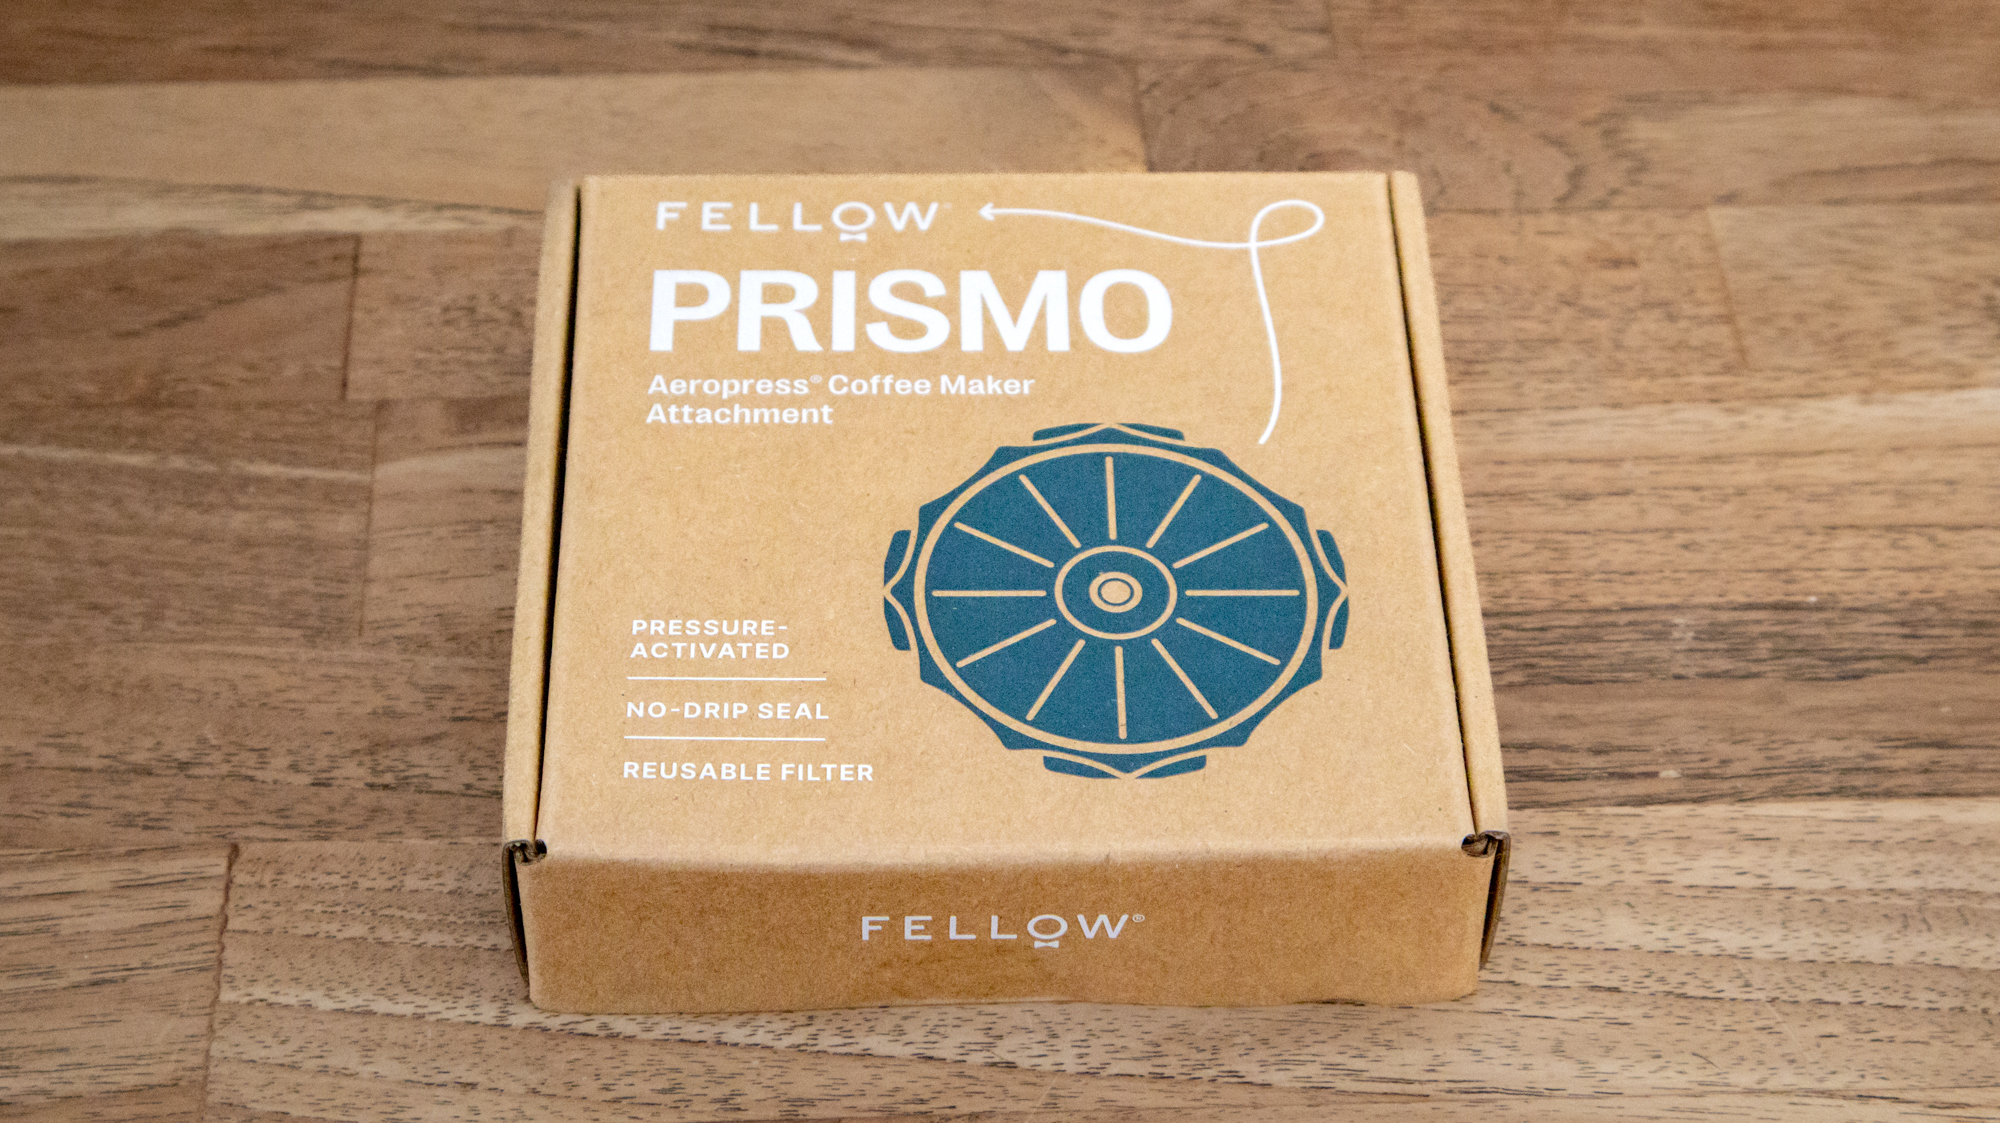
And since it’s Coffee Week at Tom’s Guide, I had the chance to try out an AeroPress gadget designed to make an espresso-like brew. Fellow has designed the Prismo, a filter specifically designed for AeroPress coffee makers that can be swapped out with the standard filter cap.
It’s designed with a purpose, to deliver an espresso-style coffee, all thanks to its pressure-actuated valve. If you’d like to try out the Fellow Prismo attachment, you can purchase one for $24 on Amazon. However, it’s not dissimilar to Aeropress’s own Flow Control Filter Cap, which is also available at Amazon for $24.
First things first, you’ll need an AeroPress coffee maker to get started. My favorite is the AeroPress Clear, available for $49 on Amazon. However, do check which model you own before buying the gadget, as it’s not compatible with all models (more on this below).
What does the Fellow Prismo attachment do?
The Fellow Prismo is an attachment that is placed on the end of your AeroPress instead of the standard filter cap. It’s designed to brew espresso-style coffee by creating greater pressure, which is what makes the brewing process different between a standard cup of Joe and an espresso.


High-pressure extraction
Espresso coffee is created using high-pressure extraction through specially designed coffee machines. However, in this instance, the pressure-activated Prismo attachment takes over. The result should be a small and strong liquid with a golden crema on top, with a richer and more intense flavor.
The Prismo device also creates a no-drip seal for recipes that normally require inverting your AeroPress, which is demonstrated by @AmericasTestKitchen.
What’s more, the design eliminates the need for paper filters, as a reusable 150-micron etched filter prevents sludge from passing through into your cup. However, the gadget isn’t compatible with the AeroPress Go or any AeroPress produced between 2005 and 2009, so do check before you buy.
What’s in the box
Image 1 of 2
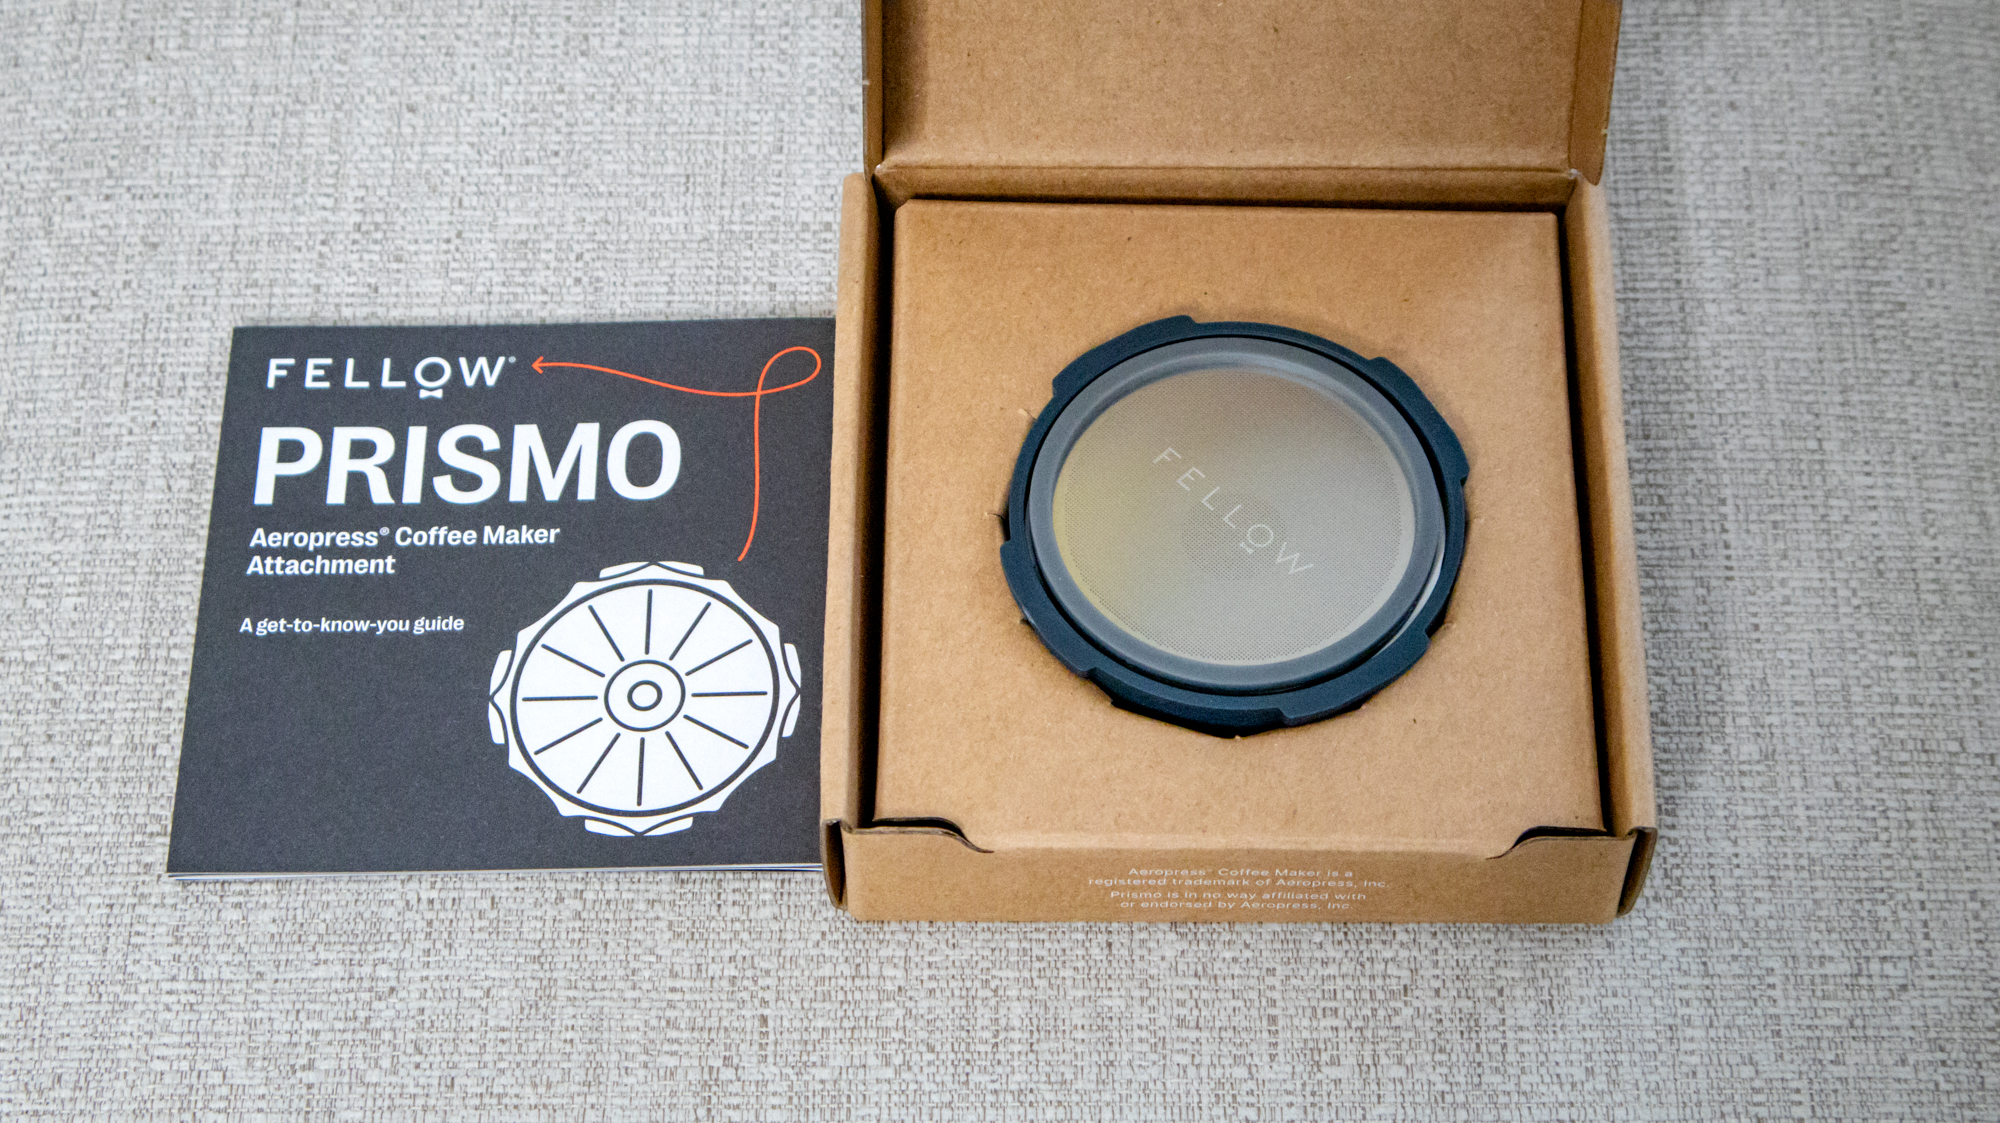
The Fellow Prismo is packaged in a neat cardboard box, which scores high on my eco-ratings. I love how this aligns with the gadget’s ability to eliminate the need for paper filters. Inside, you’ll find two parts to the attachment: the pressure-actuated value and the 150-micron filter with a rubber seal.
It also comes with a ‘Get to Know’ guide, a link to a guide on how to brew an Aeropress on its website, and a safety and user guide.
How to use the Fellow Prismo filter
Fellow recommends using the freshest beans you can find, and suggests using an espresso blend or darkly roasted coffee for espresso-style shots. I started by using a pre-ground blend, but also tried fresh beans that I ground at home.
Here’s what you need to do
1. Heat water to 212°F, but you won’t need a lot.
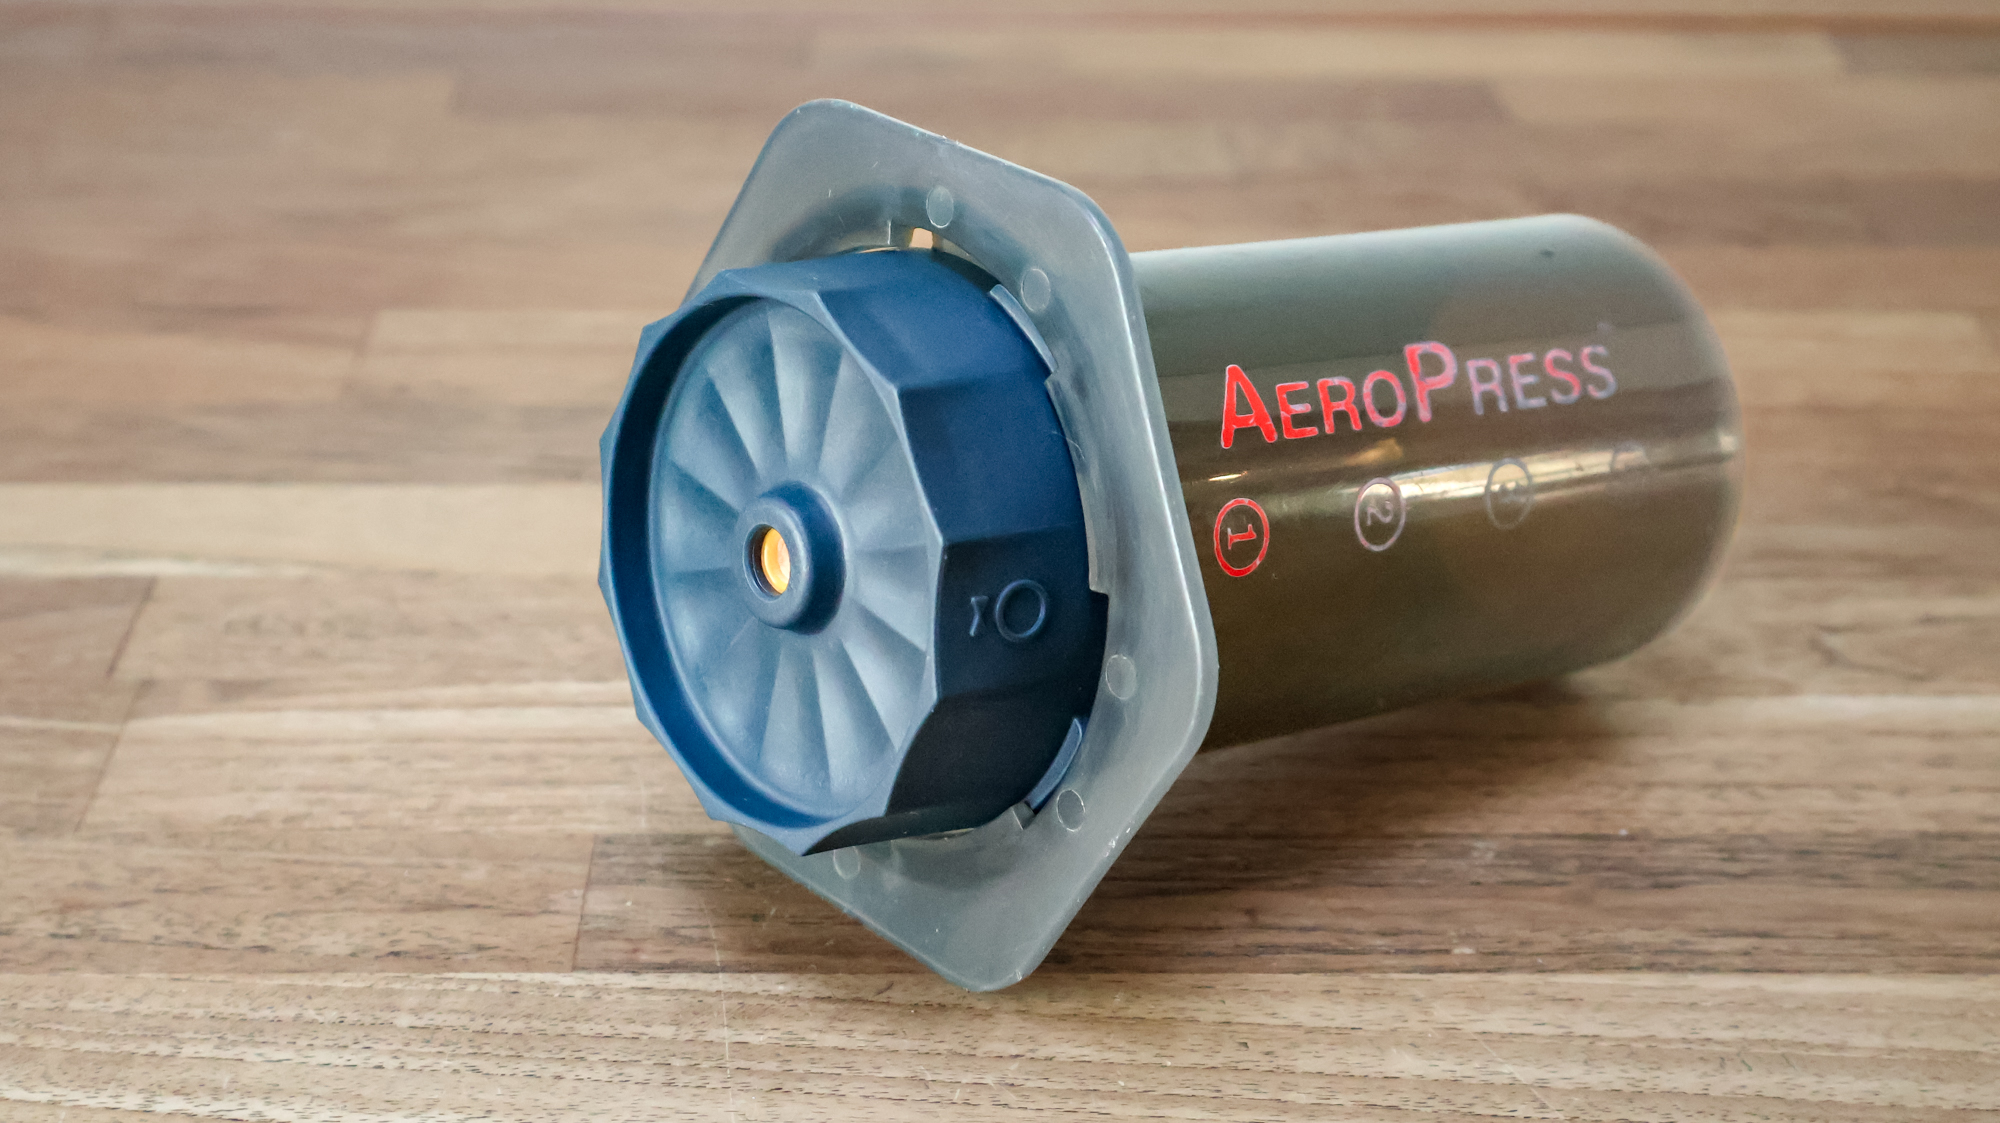
2. Place the filter inside the cap and secure it in place on your AeroPress.
3. Position the AeroPress over your chosen drinking vessel, ensuring it won’t give way under the pressure you use to push through the brew.
Image 1 of 2
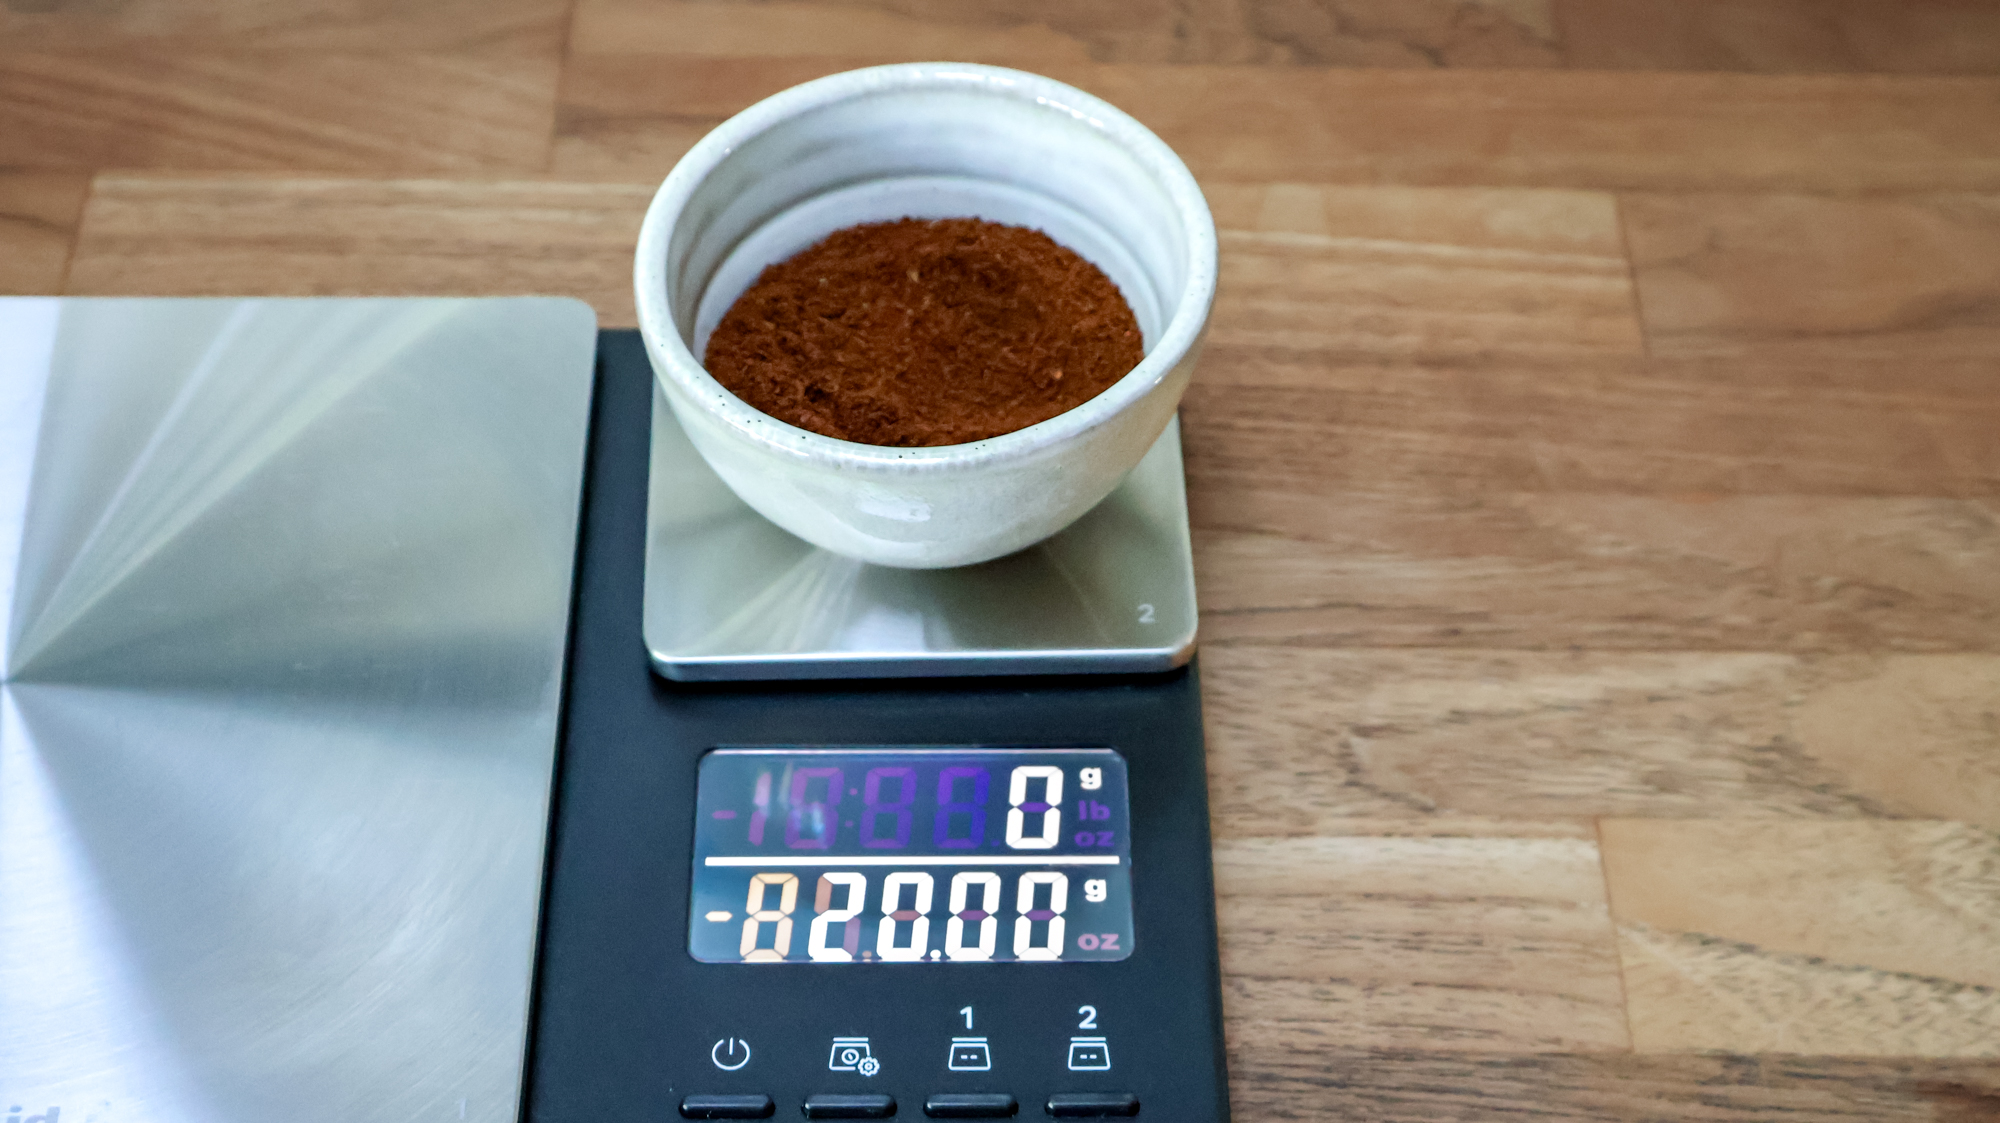
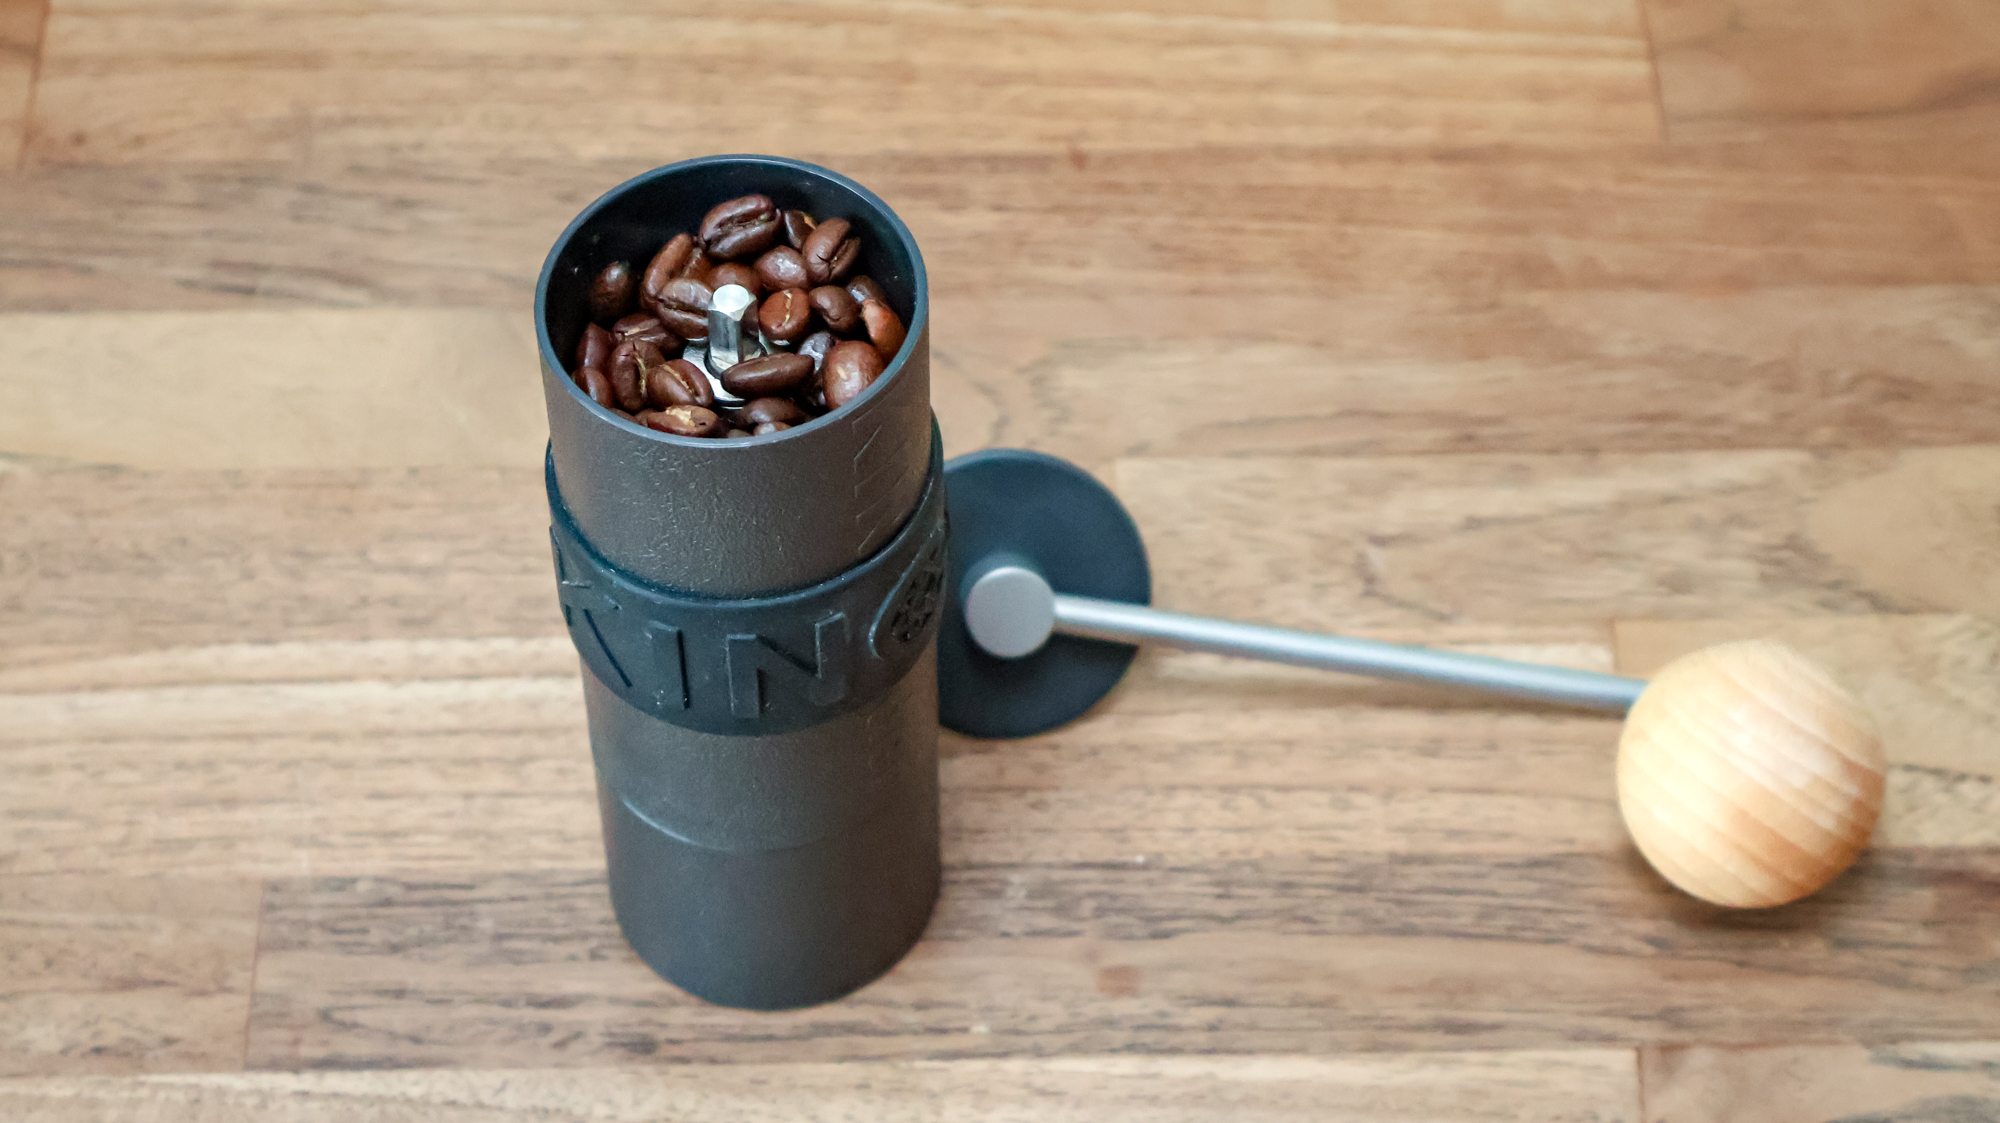
4. Measure 20g of coffee and grind to an ultra-fine coarseness, or use beans that are already grounded. I did both, and each time used the KitchenAid Dual Scale for a precise reading.
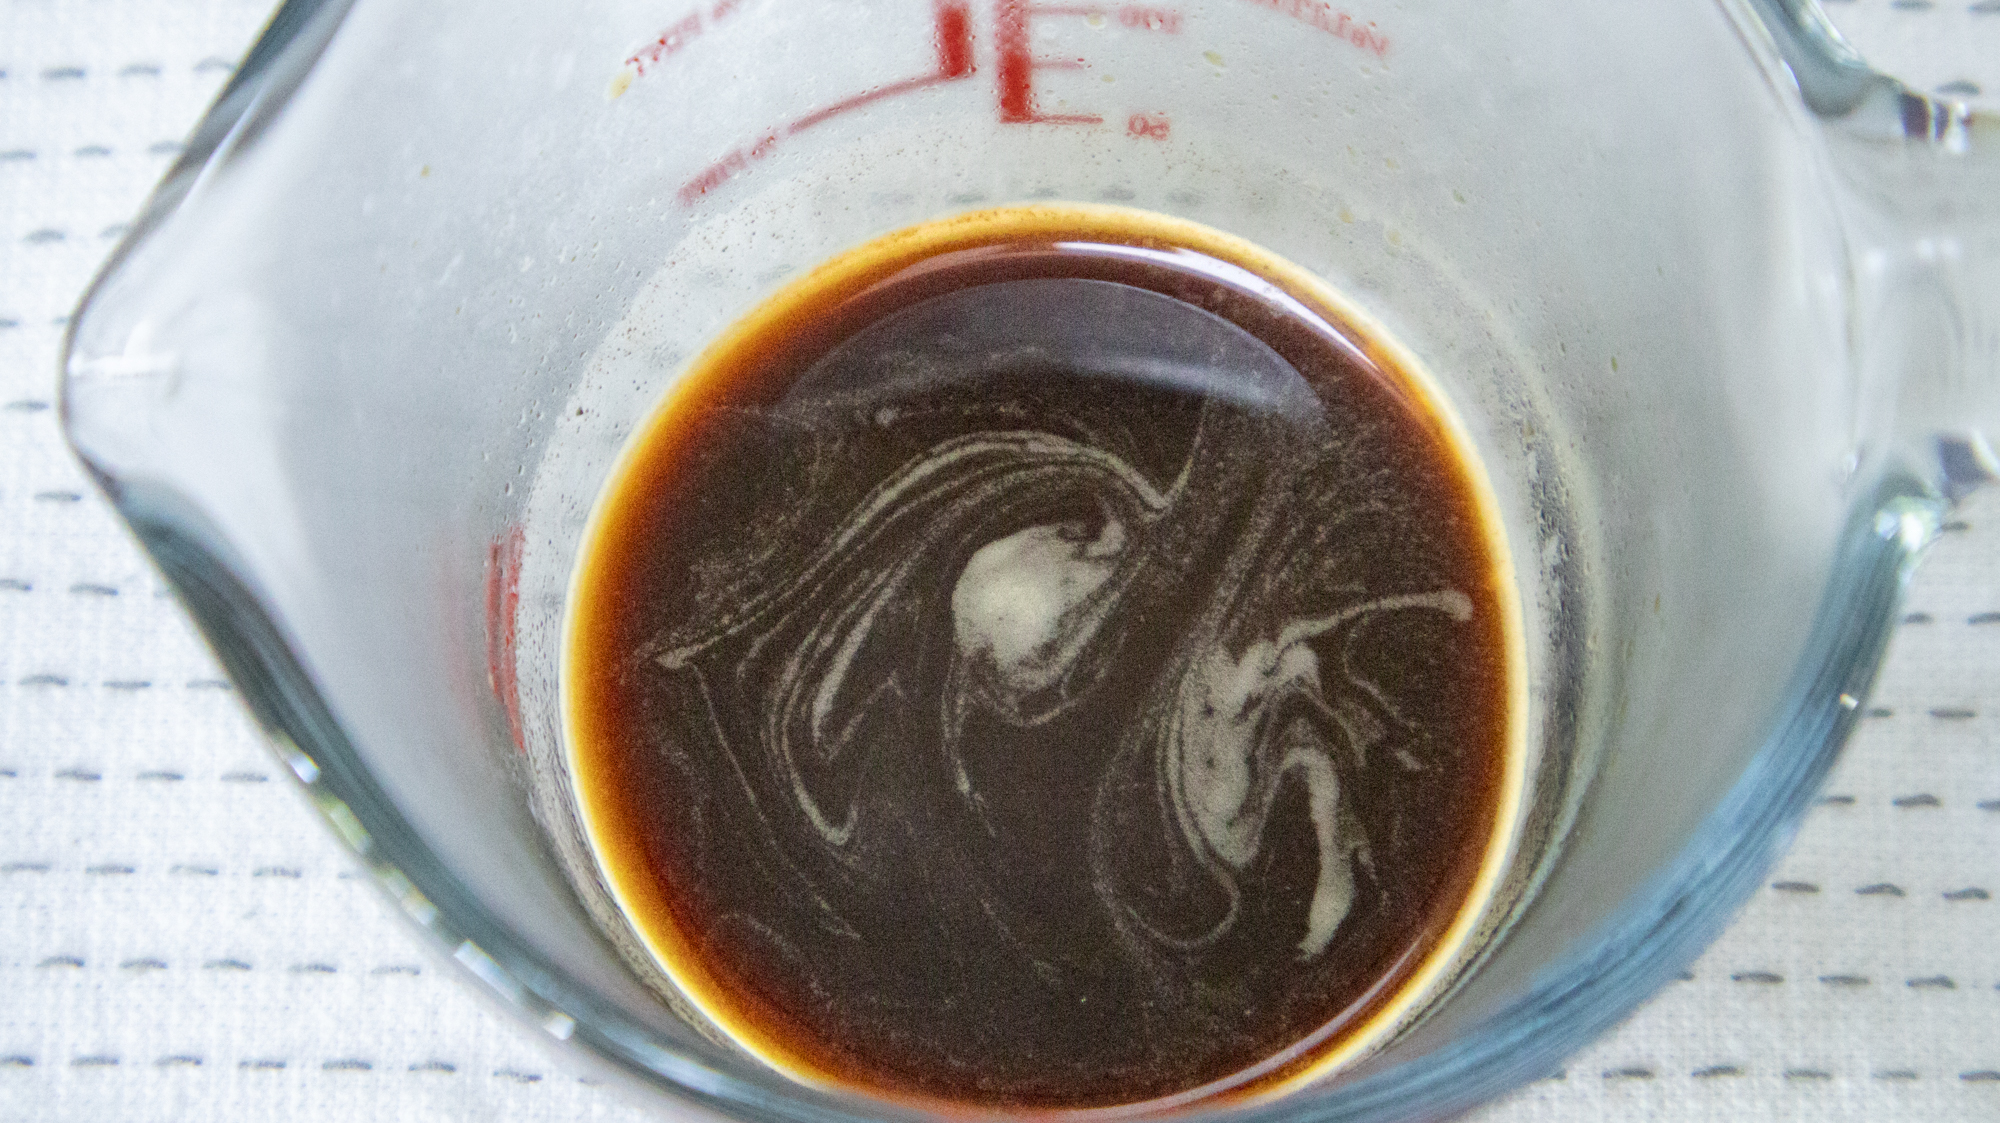
5. Pour the coffee grinds into the brewing vessel and top with 50ml of water.
6. Stir the hot liquid for 20 seconds to agitate the ground. Fellow advice, this stage is essential to ensure proper extraction. I set a timer.
7. Wait 40 seconds for the coffee to steep, then push down the AeroPress plunger with consistent pressure.
Enjoy your express-style shot as it is, or top it up with hot water or steamed milk for a latte.
The clean up
Cleaning the Fellow Prismo is not much different than the standard AeroPress filter cap. Simply unscrew the cap, remove the filter, and pop the coffee grounds out into your food compost. Rinse everything under water and dry out. It’s now ready for next time.
Is the Fellow Prismo worth it?
If you want to drink something other than a standard cup of coffee, the Fellow Prismo will deliver something closer to an espresso. And while I found it easy to use, and not much different from using the coffee chamber for a standard brew, it did have a couple of pitfalls.
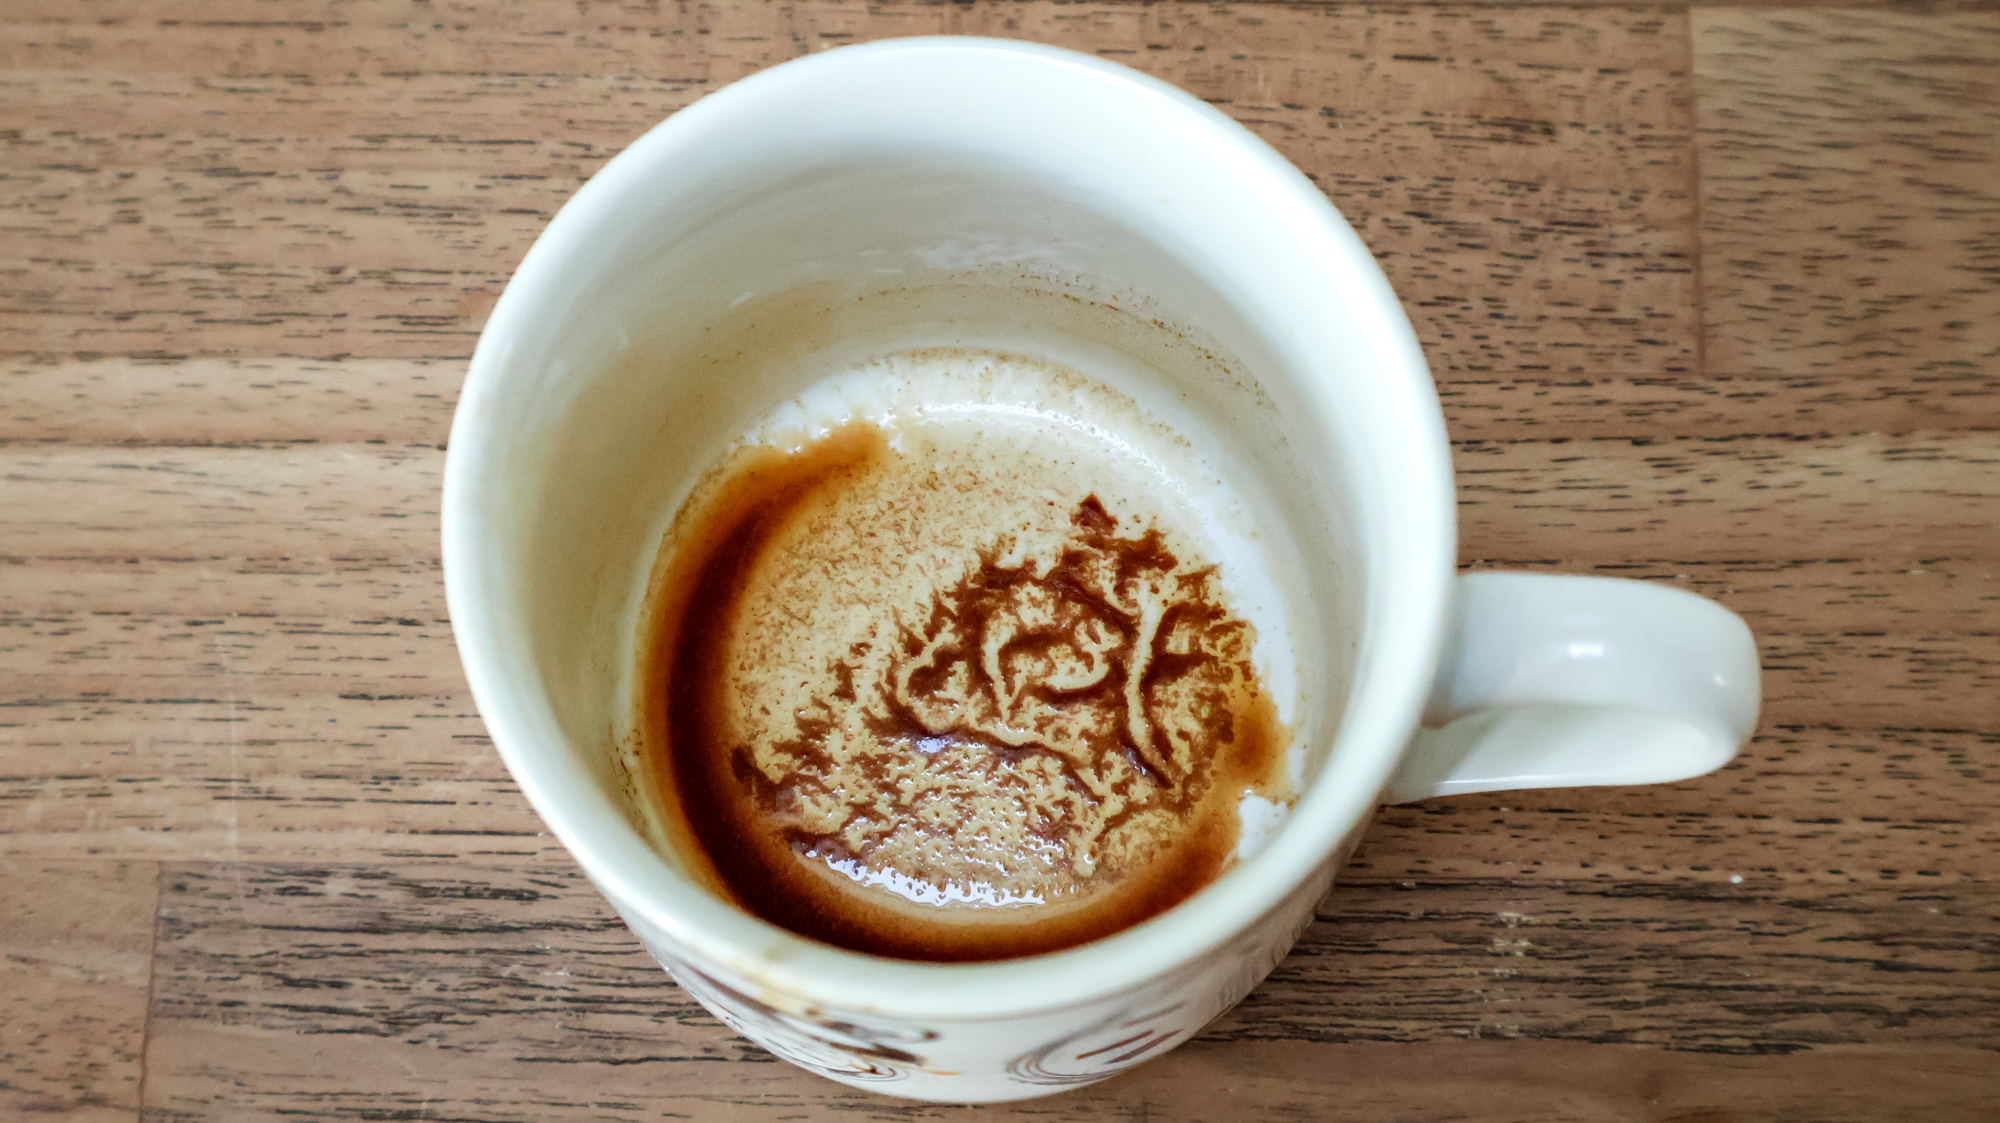
Despite various attempts, the crema I was expecting was not as forthcoming as I had hoped. Although it formed around the edges of my vessel, it wasn’t as expansive as I was expecting. The second issue was that every time I made a brew, I noticed grit at the bottom of the cup. This happened whether I was using pre-ground grinds or freshly ground beans, and the recipe I used each time was the same.
However, I didn’t notice this problem when I used the AeroPress Flow Control Filter Cap, which is also designed to brew espresso, although with this version, you will need to use paper filters.
Since I was disappointed with the gadget, I was curious to discover what other users had found, to see whether I was alone. Upon searching, it appears that I need to give it a few more goes.
One Reddit user sums it up by saying, “The Prismo by no means generates an espresso drink but I have to say, as an avid espresso consumer, the Prismo “shot” is actually quite tasty and really hits the spot for me when I’m traveling and seeking a convenient reminder of my daily espresso.”
So, for now, I’m going to experiment with the Prismo, and by the end of Coffee Week, I might well have mastered that tasty espresso-like brew.
Follow Tom’s Guide on Google News and add us as a preferred source to get our up-to-date news, analysis, and reviews in your feeds. Make sure to click the Follow button!


