


If your soundbar is cutting out, try these changes before you replace it—it’s much easier and cheaper than buying a new one!
7
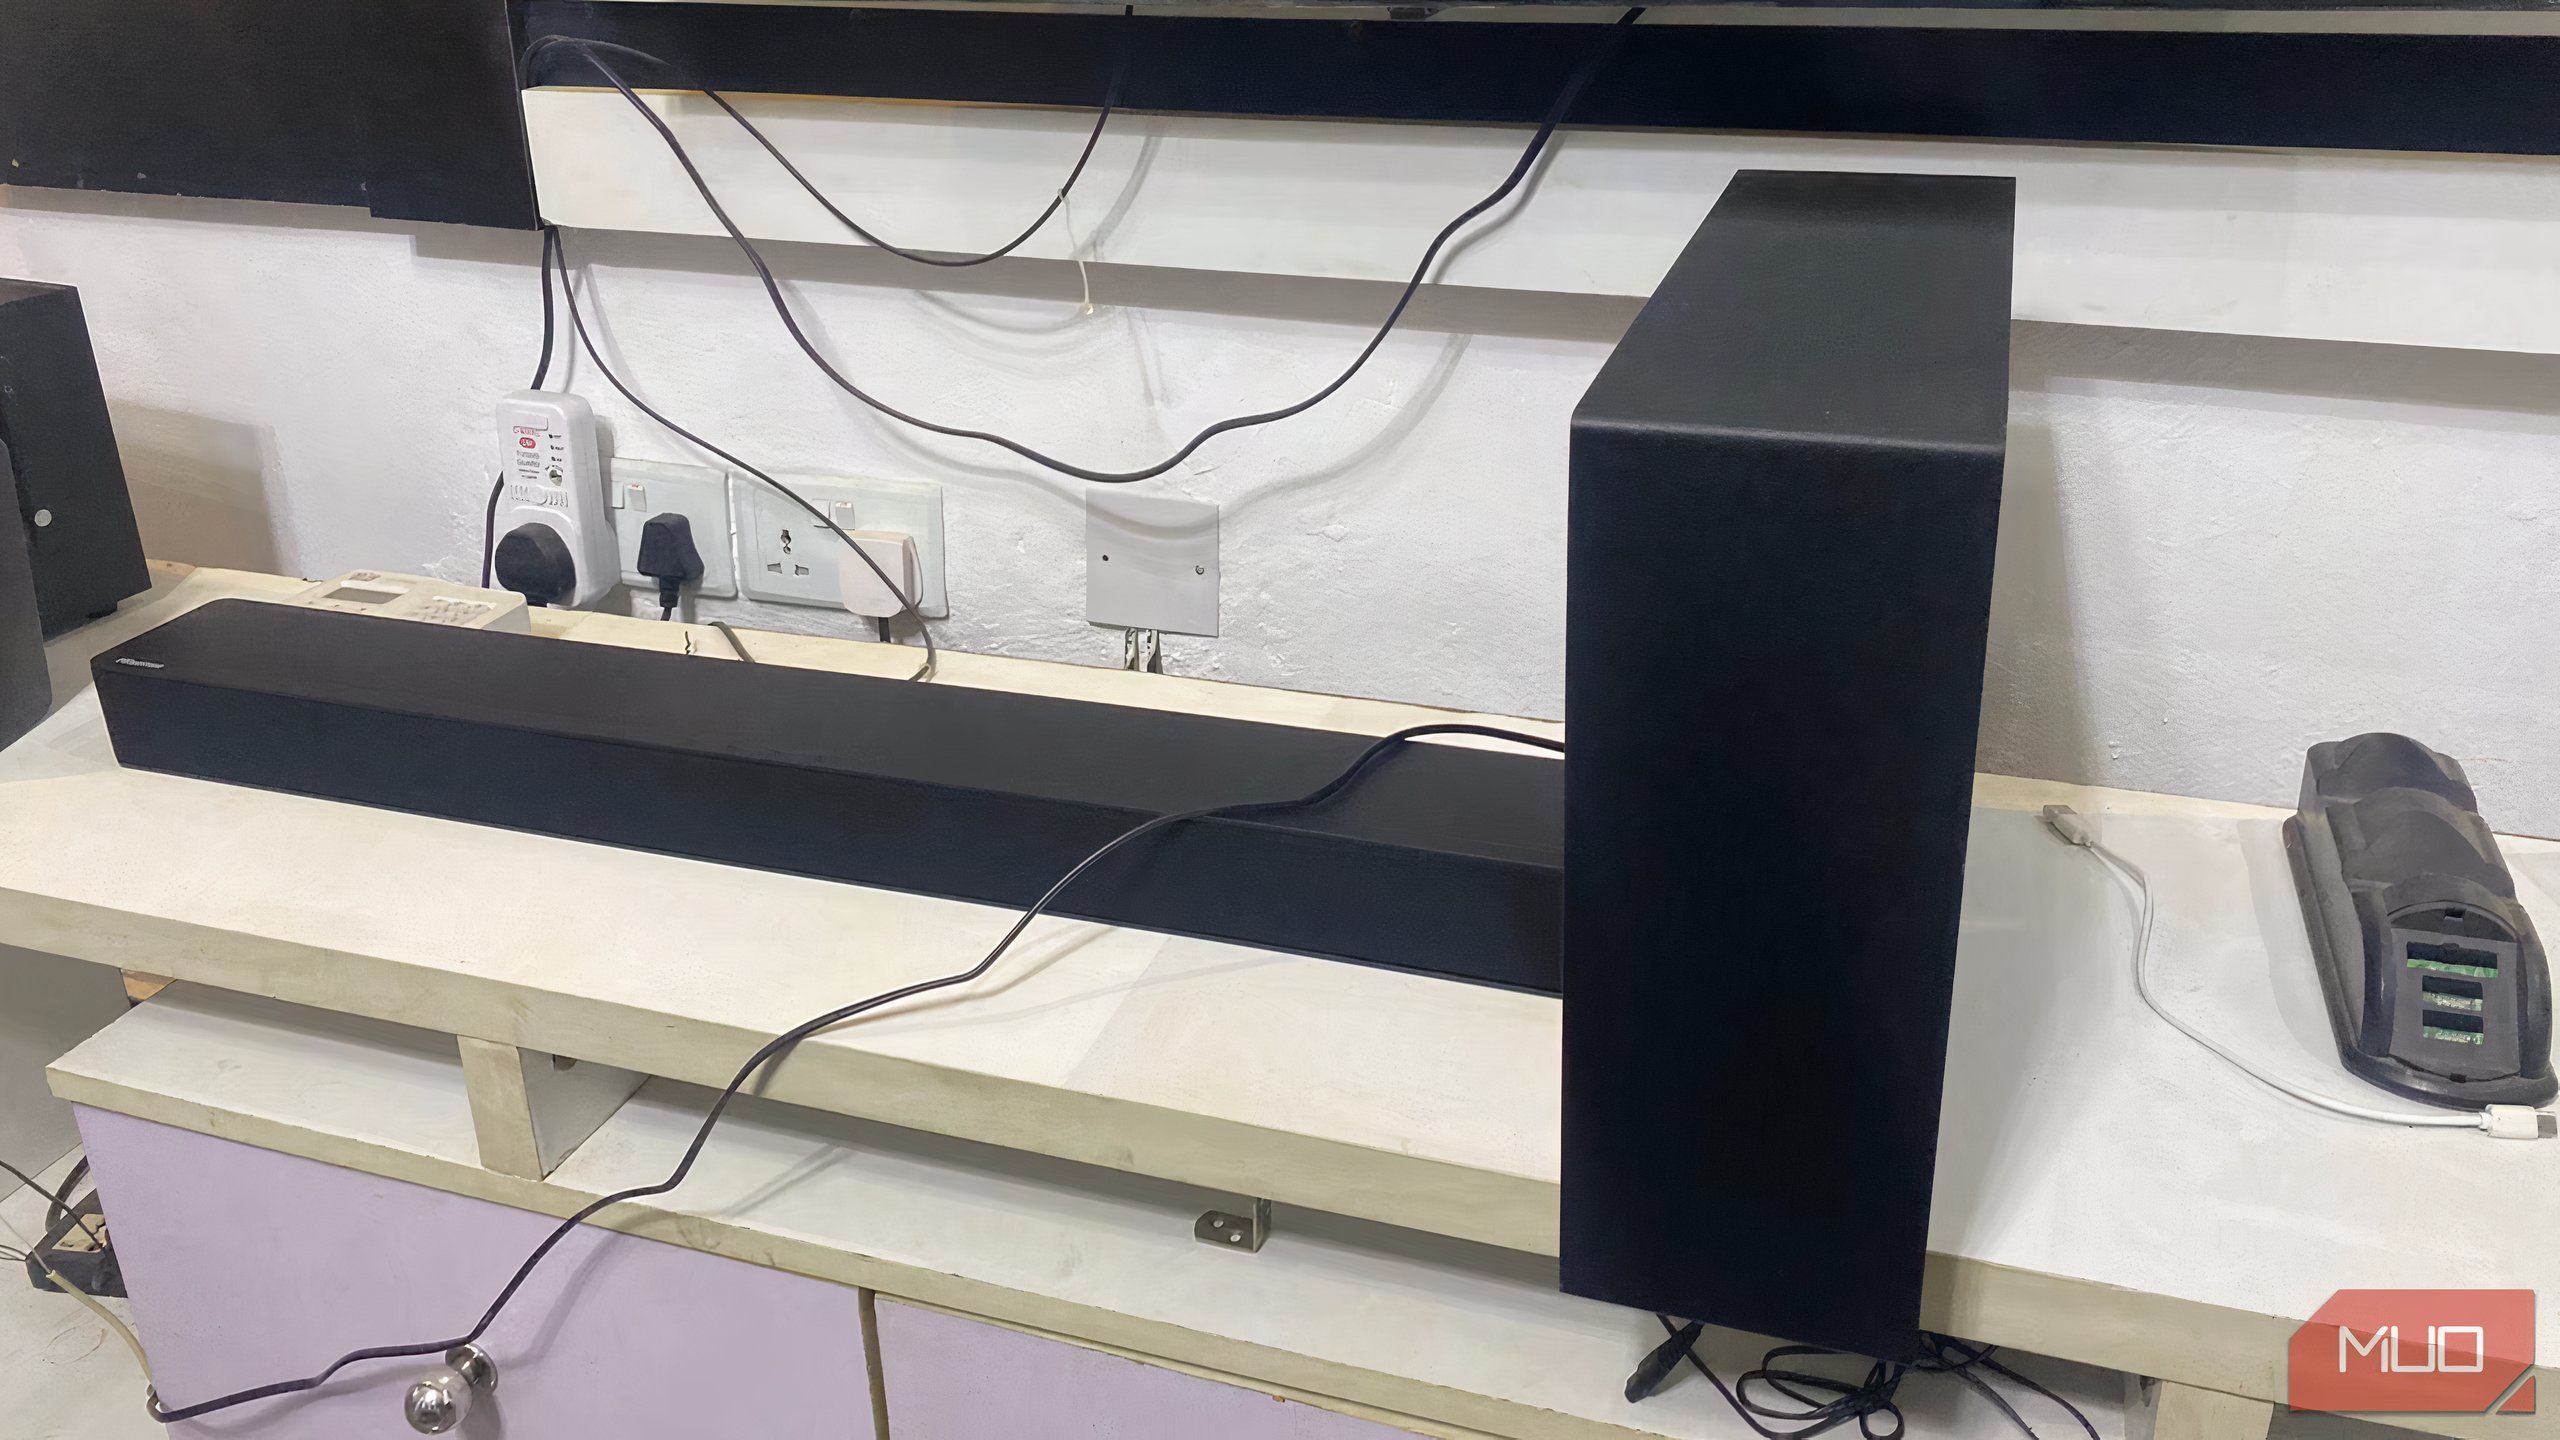
Reseat or Swap Out the Cables
A surprising number of audio problems come down to the cables. Loose or poor-quality HDMI or optical connections can interrupt the signal, causing sound to cut in and out. Even if the cables look fine, it’s worth disconnecting and firmly reseating them to ensure they’re properly plugged in.
If the problem persists, consider upgrading to a new cable. For HDMI ARC or eARC, certified high-speed HDMI cables are the safest bet for consistent performance. Optical cables should be checked for bends, kinks, or damaged tips, since they rely on a clean light path to transmit sound.
6
Clean the Connection Ports
Even if your cables are fine, dirt and dust inside the TV or soundbar’s connection ports can interfere with the signal. Over time, tiny particles can settle in the ports, making it harder for the connectors to maintain a stable link.
To clean them, first unplug your devices, then use a can of compressed air to gently blow out dust from the HDMI or optical ports. Avoid using metal tools or anything abrasive that could damage the contacts. A clean port can restore a reliable connection, especially if you live in a dusty environment or haven’t disconnected your cables in a long time.
5
Use the Correct HDMI Port
Modern TVs often have multiple HDMI ports, but only one or two may support ARC or eARC, which is the technology that allows audio to travel from the TV back to the soundbar over HDMI. If your soundbar is connected to a standard HDMI port instead of the dedicated ARC/eARC port, you may experience intermittent sound or no audio at all for certain formats.


Check your TV’s manual or look closely at the labeling near the HDMI ports—ARC or eARC will usually be marked. Moving your cable to the correct port ensures you’re getting the proper signal path and the stability that comes with it. This is especially important for high-quality audio formats, which rely on ARC/eARC to function correctly.
4
Check the Power Source
Power fluctuations can cause a soundbar to restart or briefly lose connection. If your soundbar is plugged into an overloaded extension strip along with other power-hungry devices, those fluctuations can happen more often enough to be frustrating.
For the most stable performance, plug the soundbar directly into a wall outlet. If that’s not possible, use a high-quality surge protector with enough capacity for all your connected devices. This ensures that your soundbar receives a consistent power supply, reducing the risk of unexpected audio interruptions.
3
Try a Different Audio Connection Type
Sometimes, the connection method itself is the culprit. Among all the options for connecting your soundbar to your TV, Bluetooth wins on convenience, but it’s also the most likely to suffer from interference or random signal hiccups, especially if your space is already buzzing with other wireless devices. HDMI ARC or eARC, on the other hand, gives you a solid, wired handshake between the two, keeping your audio steady and crisp. Optical cables are another dependable choice, though they can’t carry some of the newer, high-bitrate formats.
If you’ve been using one type of connection and experiencing dropouts, switching to another can be a quick diagnostic test. For example, when I moved from Bluetooth to HDMI ARC, the interruptions disappeared entirely. That confirmed the issue wasn’t with the soundbar or the TV, but the wireless link was struggling in my setup.
2
Adjust Your TV’s Audio Output Settings
Your TV’s audio settings may look a little more detailed than usual (like mine in the screenshot below), giving you choices. Here’s what each one actually does and which to use if you’re troubleshooting soundbar cutouts.

- Auto: Lets the TV decide what format to send based on what it thinks your soundbar can handle. In practice, some TVs still re-encode certain signals (often into Dolby Digital), so you might not always get the original format untouched.
- Pass Through: This is pure Bitstream. The TV sends the incoming audio exactly as it is, and the soundbar or receiver does the decoding. This is the way to go if you want to ensure formats like Dolby TrueHD/Atmos or DTS-HD MA/DTS:X make it to your soundbar intact—but only if you have eARC. On standard ARC, Pass Through is fine for Dolby Digital, DTS, or Dolby Digital Plus, but may cause dropouts if the bandwidth is pushed too far (especially with Atmos over DD+).
- PCM: The TV does the decoding and sends uncompressed PCM audio to your soundbar. It’s extremely stable and broadly compatible, but many TVs only send stereo PCM over ARC, reserving multichannel PCM for eARC.
- Dolby Audio – Dolby Digital: This forces all audio to be re-encoded as Dolby Digital (lossy, up to 5.1 channels). It’s a safe choice for older soundbars or standard ARC setups, since Dolby Digital is lighter on bandwidth and almost universally supported.
- Dolby Audio – Dolby Digital Plus: This forces all audio to be re-encoded as Dolby Digital Plus (lossy but higher quality than regular Dolby Digital, supports more channels, and can carry Atmos metadata). It works over ARC, but Atmos over DD+ can still stutter or drop out if the HDMI link isn’t flawless.
So here’s when to use what:
- Use Auto if you just want things to “work” without tinkering, but avoid it when chasing maximum quality or troubleshooting.
- On standard ARC, stick to Dolby Digital or Dolby Digital Plus to keep bandwidth demands low.
- On eARC, you can use Pass Through for lossless formats like Dolby TrueHD/Atmos or DTS-HD MA/DTS:X.
- If you get cutouts in Bitstream modes, try switching to PCM. If PCM plays smoothly, the culprit is likely a format or handshake issue rather than a faulty cable or port.
- With optical, keep it simple—Dolby Digital or DTS 5.1 only. Optical can’t carry Atmos or any lossless codecs.
This way, you’re matching each setting to your connection’s real limits instead of leaving it to chance—and avoiding those frustrating audio dropouts.
1
Reset and Re-Pair Everything
When all else fails, a factory reset can wipe away any corrupted settings or buggy configurations that may be causing the issue. Resetting your soundbar (and maybe your TV) and pairing them again from scratch can often restore performance to like-new levels.
This was my last resort when I had a stubborn dropout problem, and it completely resolved the issue. Before performing a reset, make note of any custom settings you want to keep, like EQ adjustments or preferred input sources, so that you can restore them quickly afterward.


