


Windows laptops aren’t known for their battery life, at least not without some setting up. However, these tricks will have your laptop running all day long—no need to run for power outlets.
5
Check Your GPU Settings
Dedicated GPUs consume a lot more power than their integrated counterparts. This is part of the reason why you get that performance boost during gaming, but it also comes at the cost of significantly shorter battery life. If your laptop has a MUX switch or lets you disable the dedicated GPU, you can boost your battery life quite a bit.
Some laptops will have two different GPU modes—hybrid and integrated. Both the GPUs are active under hybrid mode, which is also the normal operating mode of every laptop with a dedicated GPU. If you’re looking to extend battery life, the integrated mode comes in handy as it shuts off the dedicated GPU, massively saving on power.
This would generally result in sluggish performance in games or other programs that require a dedicated GPU. However, since the overall power draw of your system will be lower, you’ll get more battery life. On my HP Omen Transcend 14, enabling the integrated mode easily gives me six to seven hours of battery life—compared to just four on the hybrid mode.
How exactly you disable the dedicated GPU, and whether it’s possible to do so, depends on your specific laptop’s make and model. Not all laptops with dedicated GPUs have this feature, especially entry-level gaming laptops. If battery life is important to you, make sure you’re picking a laptop that supports this functionality.
4
Disable Unnecessary Services
Next up is some Windows housekeeping that can improve not only your general battery life but the overall responsiveness of your system as well. As you might know, Windows runs a ton of services in the background, not all of which might be useful in daily usage.


There are several services you can disable to get better battery life on Windows laptops. These include the Windows Search Indexer, Connected User Experiences and Telemetry, and the Background Intelligent Transfer Service (BITS), among others.
Disabling these services has minimal impact on your system. Additionally, you also unlock more performance as your system resources aren’t being held up by services that power features you rarely use. Some of these changes can also get Windows 11 to respect your privacy.
3
Check Laptop Performance Modes
Most high-performance laptops come with OEM utilities that include performance or power modes. These modes are essentially power profiles that control the wattage of your CPU and GPU. Switching to a lower power mode reduces performance, but gets you more battery life.
How exactly you control these power modes on your laptop will depend on its make or model. However, manufacturers generally include utilities like the Omen Gaming Hub, MSI Center, Dell Power Manager, Lenovo Vantage, and more on their laptops to help you quickly set the right power mode.

These tools are usually set by default to switch your laptop to a lower performance mode when running on battery power. However, it’s worth a shot to check your laptop’s performance mode if you want to extract the best possible battery life.
Windows also has three built-in performance modes that offer the same functionality. These include:
- Best Performance: Provides the maximum performance at the cost of a higher power draw.
- Balanced: Reduces power draw while maintaining system performance.
- Best Power Efficiency: Limits the power to the CPU and GPU to get the most battery life possible.
In most cases, the Balanced power mode will be more than enough to handle your daily tasks and even some light gaming, depending on your laptop’s hardware configuration. If you’re going for the most battery life you can extract from your laptop, put the Best Power Efficiency mode on. Keep in mind that your laptop will feel a little sluggish in this mode.
You can configure Windows to automatically switch to a specific power plan when on battery power or plugged into the wall. Follow these steps:
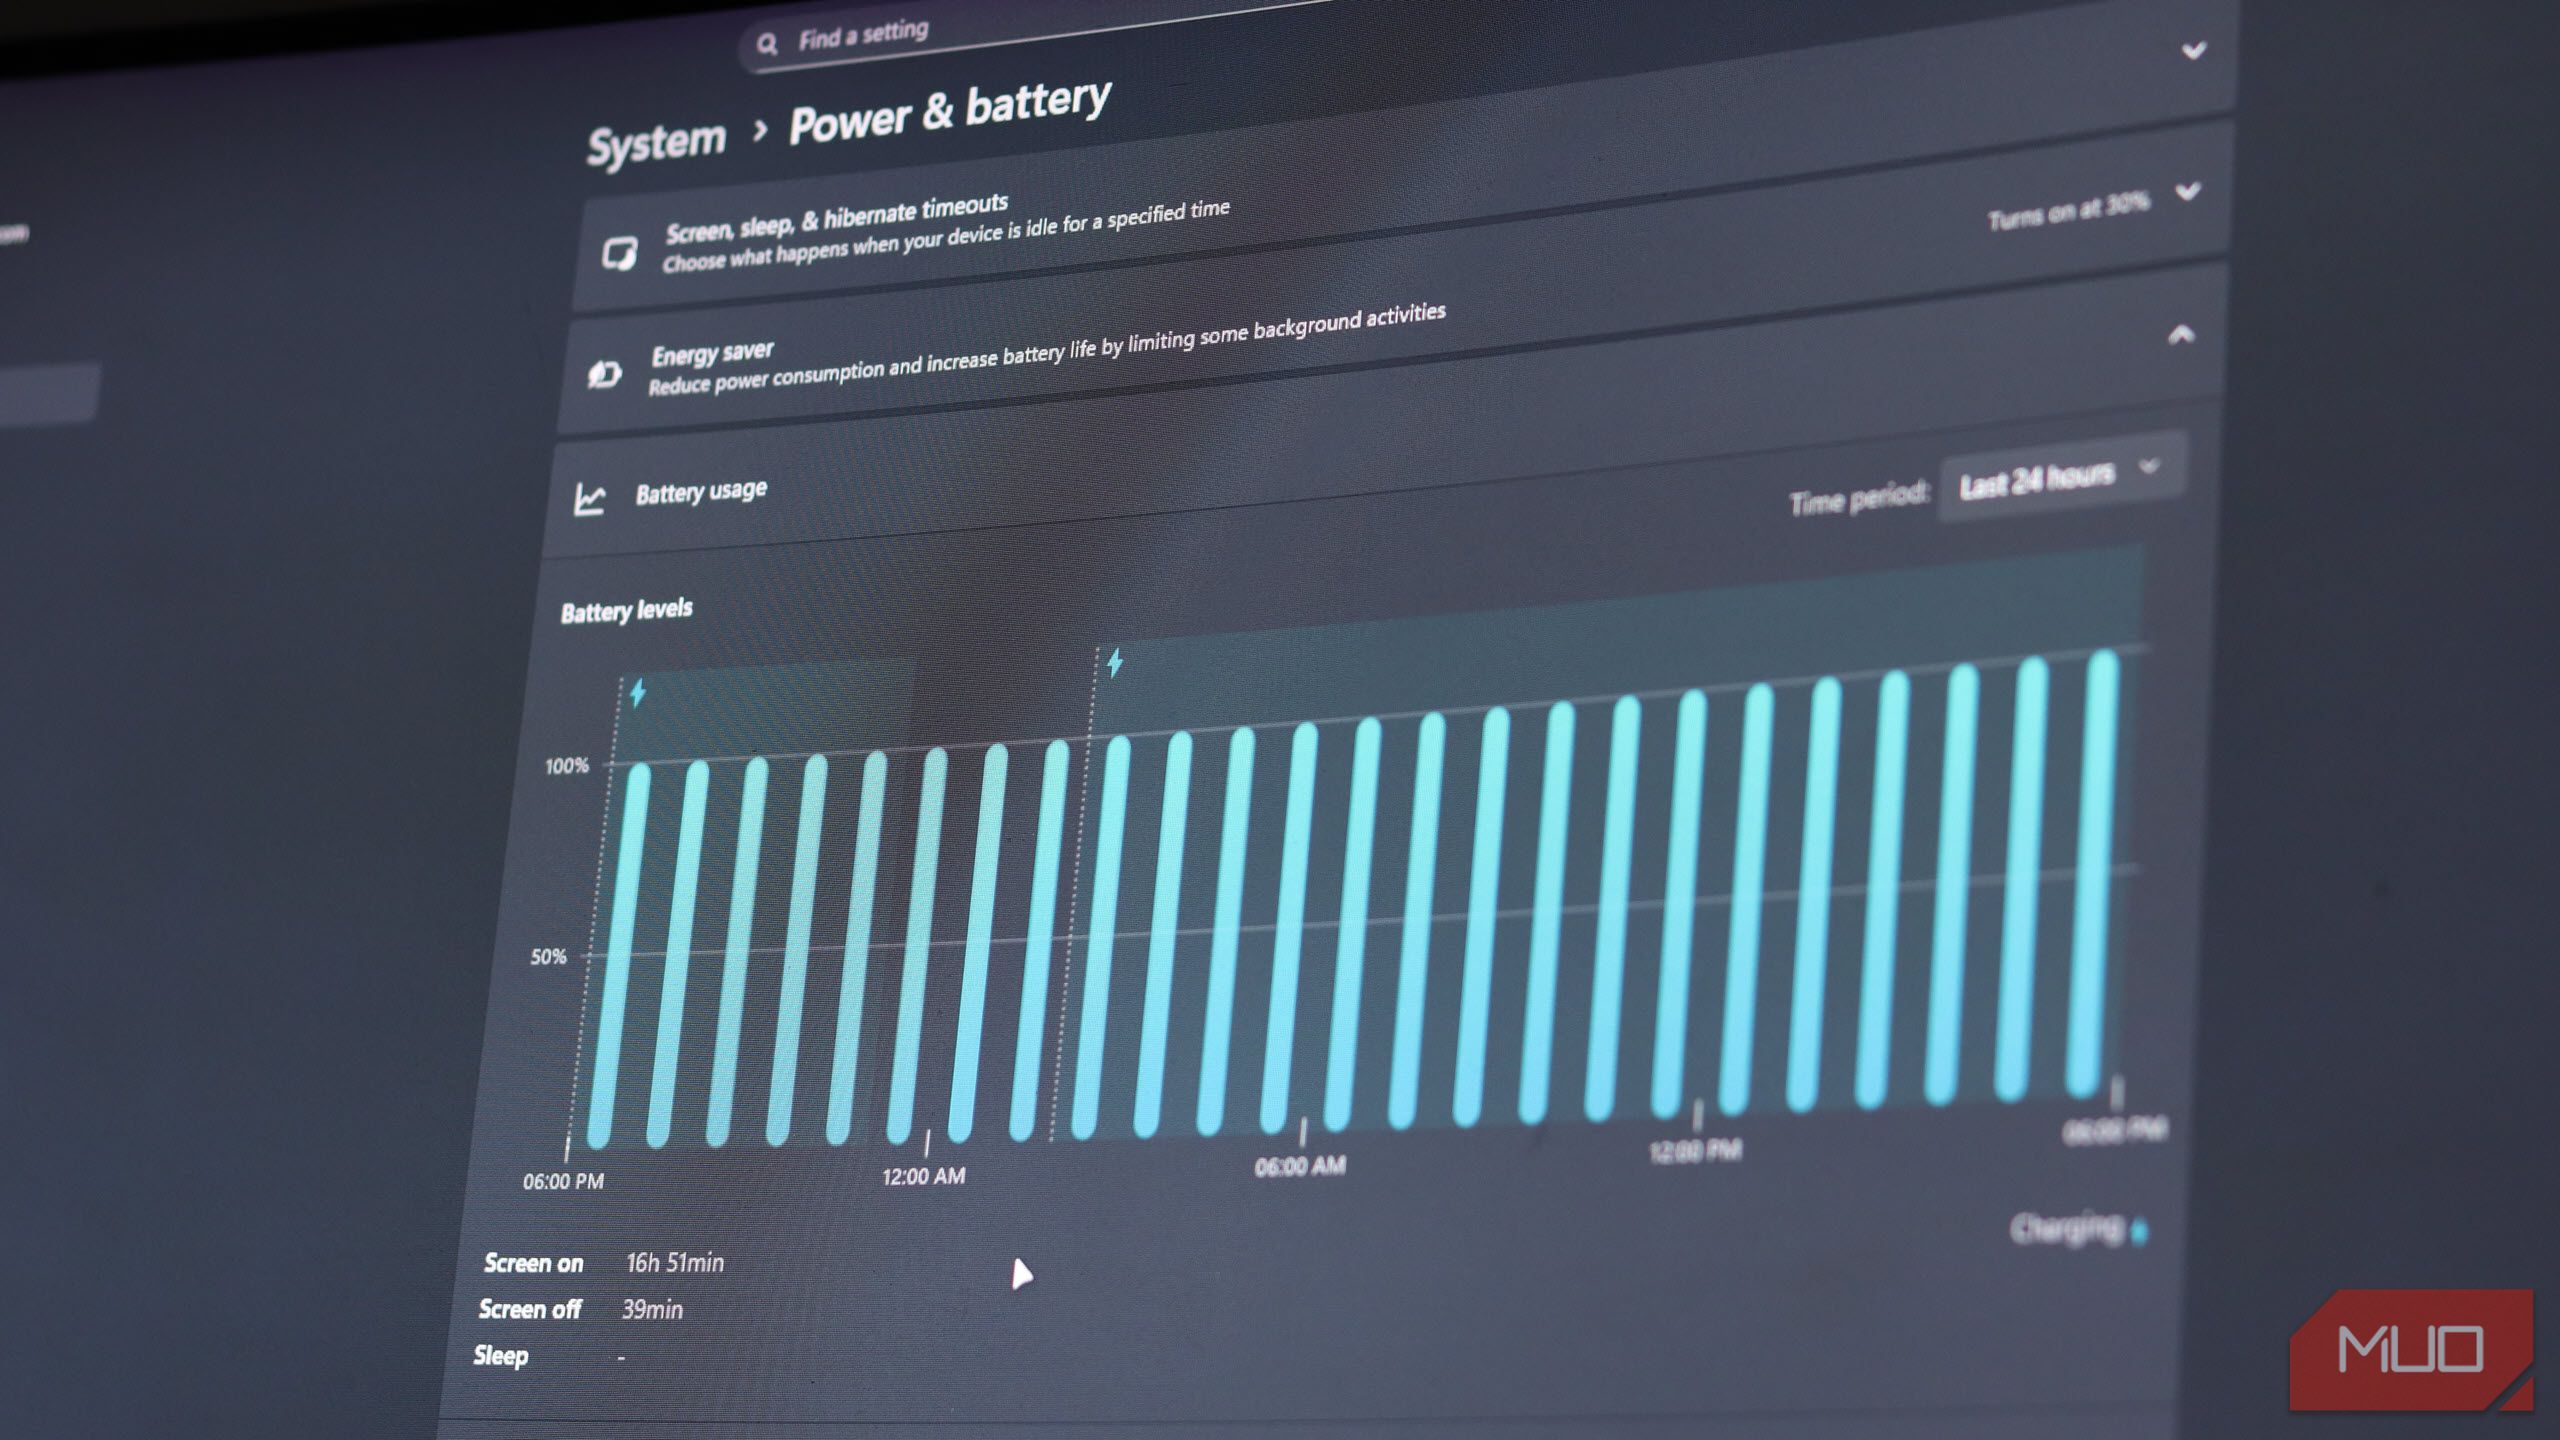
- Head over to Windows Settings and click the System section. In here, click Power & battery.
- Expand the Power Mode section and select what power modes you want to use when plugged in or on battery.
Windows also automatically enables an Energy saver mode that reduces power consumption and increases battery life by disabling some background services. You can choose to have this power mode kick in between 10 to 50% battery level.
2
Adjust Brightness and RGB
If you’ve got an OLED screen or RGB on your laptop, you’ve got to turn it down on battery power. Your display brightness, keyboard backlighting, and other RGB perks eat up more battery life than you think.

The best option here is to run your laptop screen at the lowest brightness possible and disable all other RGB, including keyboard backlight. In case you can’t disable keyboard backlighting, switching to a static, single color at the lowest possible brightness level will help. All that glowing per-key lighting may look cool, but it’s taking precious hours away from your laptop’s battery life.
Once again, the specifics on how to change these settings and what options you have available will vary between laptops of different models and manufacturers. These controls are usually found in OEM-provided control utilities, where you can set them up alongside power modes.
1
Utilize Windows Power Settings
Apart from power modes, Windows also has some additional power settings that can help you squeeze a little more life out of your battery. This includes a handy Screen and sleep setting that disables your laptop screen after a set period of inactivity to help save power. Here’s how to set this up:
- Head over to Windows Settings and click the System section. In here, click Power & battery.
- Expand the Screen, sleep, & hibernate timeouts section and set the timings as per your preferences for when your laptop is plugged in or on battery.
There are also some advanced power settings you’ll find in the Control Panel that can control power to system components. You can access them by following these steps:
- Open the Control Panel and click Power Options.
- Click Change plan settings next to your selected power plan.
- Click Change advanced power settings.
This is quite a dense menu with technical settings. If you need help figuring out what’s what, here are some of the most impactful settings:
- Processor power management: Set the Minimum processor state to 5% on battery.
- USB selective suspend: Allows idle USB devices to stop drawing power. It can be useful if you constantly use USB peripherals like an external mouse or keyboard.
- PCI Express – Link State Power Management: Set to Moderate power savings.
Depending on your battery’s overall capacity and health, a combination of these settings can easily add another hour or so to your laptop’s battery life. There are a lot of Windows 11 settings you can change to maximize battery life, so setting it up right means you won’t have to worry about charging your laptop when on the go.


