


One of the primary challenges in vulnerability management is the overwhelming number of vulnerabilities combined with limited resources. Not all vulnerabilities are equally dangerous, and not every one requires urgent remediation. For example, a vulnerability with a high CVSS score might pose little real-world risk if the likelihood of exploitation is extremely low. This is where the Exploit Prediction Scoring System (EPSS) becomes a crucial metric for prioritization.
In my previous article, I introduced a no-code solution for vulnerability prioritization using Budibase. In this article, I will demonstrate how I implemented EPSS support and integrated this metric into my filtering and analysis processes to enhance remediation efforts.
By adopting EPSS-based prioritization, you can significantly improve the effectiveness of your remediation strategy by focusing on vulnerabilities that truly matter. From my research, I have discovered that many vulnerability management solutions still do not fully incorporate EPSS, despite its availability to the public.
The good news is that you don’t need expensive platforms to implement EPSS-based prioritization.
What is EPSS, and why is it useful?
The Exploit Prediction Scoring System (EPSS) represents the likelihood that a specific vulnerability will be exploited within the next 30 days, expressed as a percentage.
The current version of the model is version 4, which was released on March 17, 2025. FIRST.org maintains the project, and the data is updated daily and available for download in .csv format.
A vulnerability with a very low probability of exploitation poses a smaller immediate threat.
This approach enhances efficiency by directing resources—such as time and effort—toward vulnerabilities that pose a more significant risk, allowing less critical vulnerabilities to be addressed later, either when they become riskier or when additional resources are available.
For example, consider two vulnerabilities: one with a CVSS score of 7.0 and an EPSS of 0.01 (indicating a 1% chance of exploitation), and another with a CVSS score of 6.5 and an EPSS of 0.91 (denoting a 91% chance of exploitation). In this case, the first vulnerability poses less real-world risk than the second.
EPSS should always be used conjunction CVSS. While CVSS indicates theoretical severity, EPSS offers insight into the likelihood of a vulnerability being exploited, providing valuable context regarding potential real-world threats.


As illustrated in the image above, when applying the EPSS method with a threshold of over 10%:
- The effort is reduced to just 2.7%, significantly lower than the effort required with a CVSS threshold of 7 or higher.
- The coverage reaches 63.2%, slightly lower than the CVSS approach, which is beneficial in preventing over-prioritizing less relevant vulnerabilities.
- The effectiveness stands at 65.2%, which is significantly higher than what is achieved with the CVSS 7+ method.
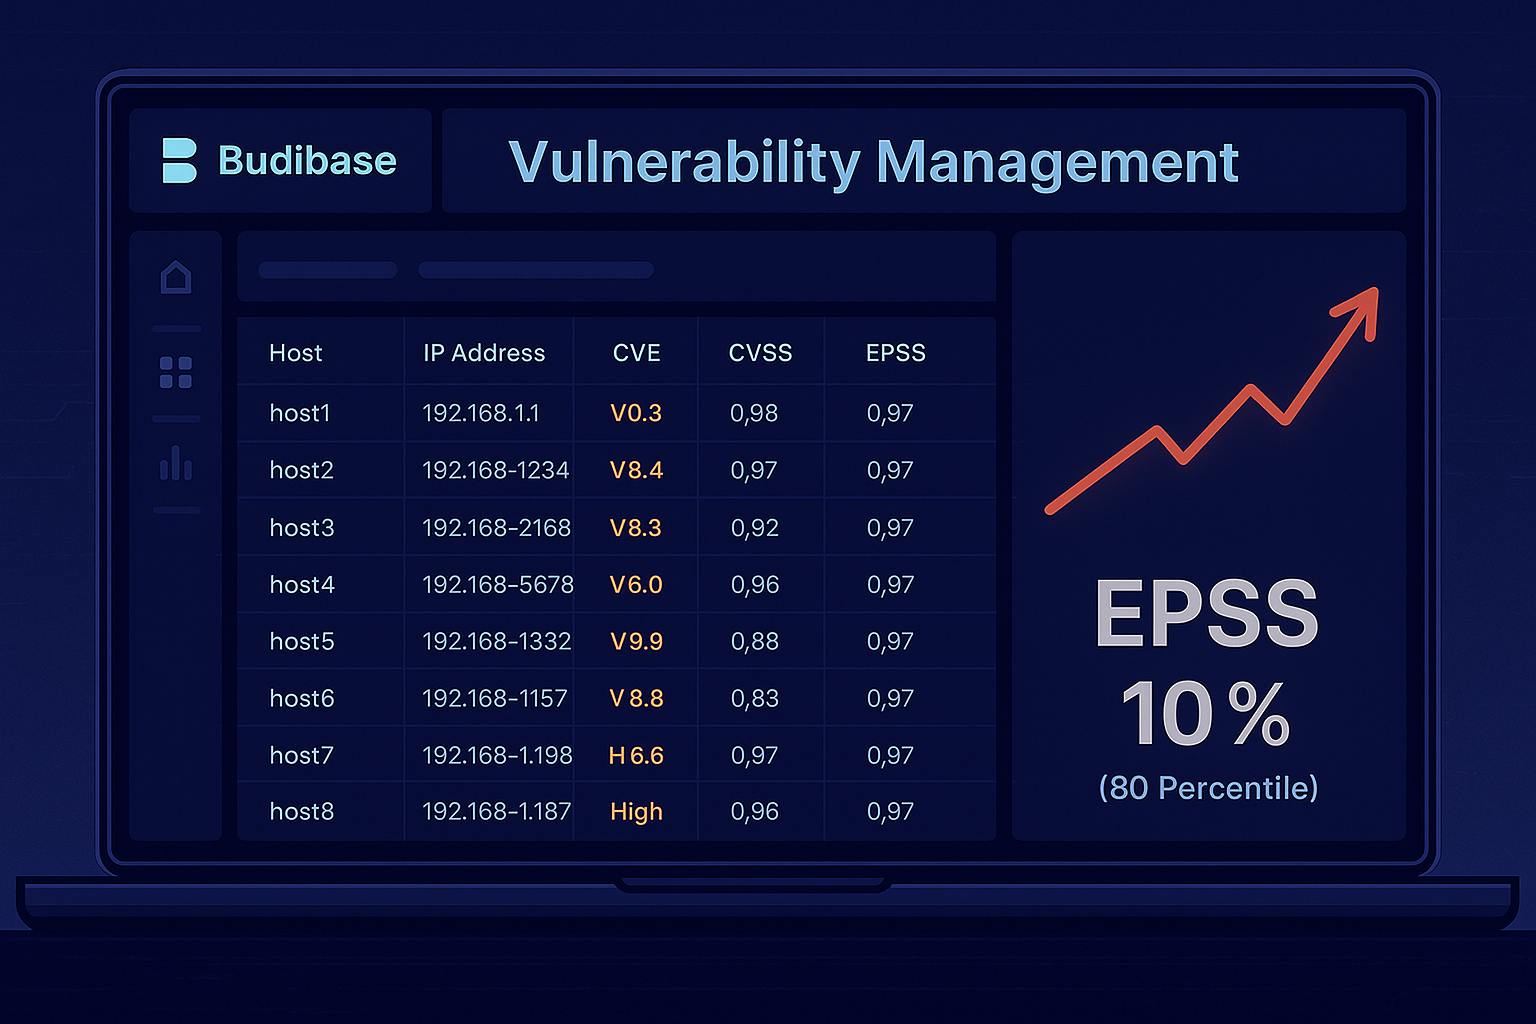
In addition to the EPSS score, there is also a percentile metric that indicates the proportion (or percentage) of vulnerabilities with the same or lower likelihood of exploitation.
For example, if a vulnerability has an EPSS score of 0.10 (10%) and a percentile of 88, it means that 88% of all other vulnerabilities have a lower EPSS score. In other words, this vulnerability is ranked in the top 12% most likely to be exploited and should be treated as a high priority.
Using the EPSS score alongside its percentile allows for more precise prioritization, especially when dealing with large datasets. A detailed explanation of how to interpret these values can be found in the article below ⬇️.
It’s important to remember that the EPSS score is a prediction and not a guarantee of exploitation. For more information on how the model works, please visit the official page: https://www.first.org/epss/model.
How I Implemented EPSS in my system using Budibase
To implement filtering based on the EPSS value, I first downloaded the archive from the official first.org website, which contains the latest exploitation probability scores for vulnerabilities. Here’s an example of the content from the CSV file in the archive:
#model_version:v2025.03.14,score_date:2025-08-02T12:55:00Z
cve,epss,percentile
CVE-1999-0001,0.0142,0.79836
CVE-1999-0002,0.14818,0.94265
CVE-1999-0003,0.90339,0.99584
...
Next, I updated the Python script I use for exporting vulnerabilities from the VM solution. I added the following enhancements:
-
Parsing the EPSS and percentile values
-
Converting these values into percentages by multiplying by 100
-
Rounding them to whole numbers
Not all CVEs are present in the EPSS dataset; for those not included, I assign the value of 99.
After importing the data into the database, I implemented the following features in Budibase:
- A filtering form for EPSS thresholds, such as
>10% - A mechanism for automatically refreshing dashboards based on the selected threshold
- Two control buttons:
- One for viewing the list of vulnerabilities in a pop-up window
- Another for exporting the results to a .csv file for further analysis or reporting.


After that, I updated the SQL queries in Budibase by adding conditions to filter by EPSS value and percentile. This enabled flexible control over the display of vulnerabilities based on the selected thresholds.
Example of a condition block:
... (
 CASE
 WHEN {{epssthr}}::text IS NULL THEN TRUE
 ELSE epssScore >= {{epssthr}}
 END ) AND (
 CASE
 WHEN {{epssrating}}::text IS NULL THEN TRUE
 ELSE epsspercentile >= {{epssrating}}
 END )
 ...
Here is an example of an SQL query for the dashboard that displays the top vulnerable services:
SELECT
COUNT(hostname) AS total, VulnerableEntity || ' ' || VulnerableEntityVersion AS VulnerableObject
FROM mat_allassets
WHERE osname ILIKE '%windows 20%' AND VulnerableEntity IS NOT NULL AND status = 'new' AND VulnerabilityIssueTime < CURRENT_DATE - {{days}}::interval AND (
 CASE
 WHEN {{ sev }}::text IS NULL THEN TRUE
 ELSE severity = {{ sev }}::text
 END )  AND (
 CASE
 WHEN {{expltbl}}::bool IS NULL THEN TRUE
 ELSE metrics ILIKE 'Exploitable: {{expltbl}}%'::text
 END ) AND (
 CASE
 WHEN {{expltbl}}::bool IS NULL THEN TRUE
 ELSE metrics ILIKE 'Exploitable: {{expltbl}}%'::text
 END ) AND (
 CASE
 WHEN {{netvector}}::bool IS NULL THEN TRUE
 ELSE metrics ILIKE '%HasNetworkAttackVector: {{netvector}}%'::text
 END ) AND (
 CASE
 WHEN {{remedy}}::bool IS NULL THEN TRUE
 ELSE metrics ILIKE '%HasFix: {{remedy}}%'::text
 END ) AND (
 CASE
 WHEN {{vulntrend}}::bool IS NULL THEN TRUE
 ELSE VulnerIsTrend = '{{vulntrend}}'::text
 END ) AND (
 CASE
 WHEN {{hostimport}}::text IS NULL THEN TRUE
 ELSE HostImportance = '{{hostimport}}'::text
 END ) AND (
 CASE
 WHEN {{epssthr}}::text IS NULL THEN TRUE
 ELSE epssScore >= {{epssthr}}
 END ) AND (
 CASE
 WHEN {{epssrating}}::text IS NULL THEN TRUE
 ELSE epsspercentile >= {{epssrating}}
 END )
GROUP BY VulnerableObject
ORDER BY total DESC
LIMIT 10;
Afterward, I included variable bindings from the UI into the SQL query. I discussed this in my previous article on vulnerability prioritization.


In the end, I developed a simple and user-friendly application that allows me to set prioritization filters, including a threshold for the Exploit Prediction Scoring System (EPSS). In the screenshot below, I set the EPSS threshold to 10 or higher, selected trending vulnerabilities older than 14 days, and required the presence of an exploit. As a result, thousands of irrelevant vulnerabilities were filtered out immediately.


The team can now prioritize the most significant vulnerabilities first. By utilizing an EPSS (Exploit Predictive Scoring System) threshold of 10%, we can cover 63.2% of exploited vulnerabilities, achieving a remediation efficiency of 65.2%, all while using fewer resources.
To disable EPSS filtering, I simply set the threshold value to 0; the filter will then no longer be applied.
Furthermore, if I set a severity filter above average, the results will usually highlight vulnerabilities such as Remote Code Executions (RCEs), Command Executions, or SQL Injections. These are the types of vulnerabilities that pose the greatest threat to the business.
Focus Where It Matters
EPSS is a powerful tool that significantly enhances the efficiency of vulnerability prioritization. Instead of “putting out fires blindly,” we now work with intention, focusing on the most critical issues first.
That said, every infrastructure is unique, and any prioritization system must be tailored to the specific environment. It’s also essential to remember that any vulnerability management process starts with discovering and inventorying assets. Without a clear understanding of what we are protecting, every other step loses its significance. Additionally, never leave default configurations in your infrastructure, as they remain one of the most common attack vectors.
I would love to hear your thoughts in the comments: Do you use EPSS in your work?


