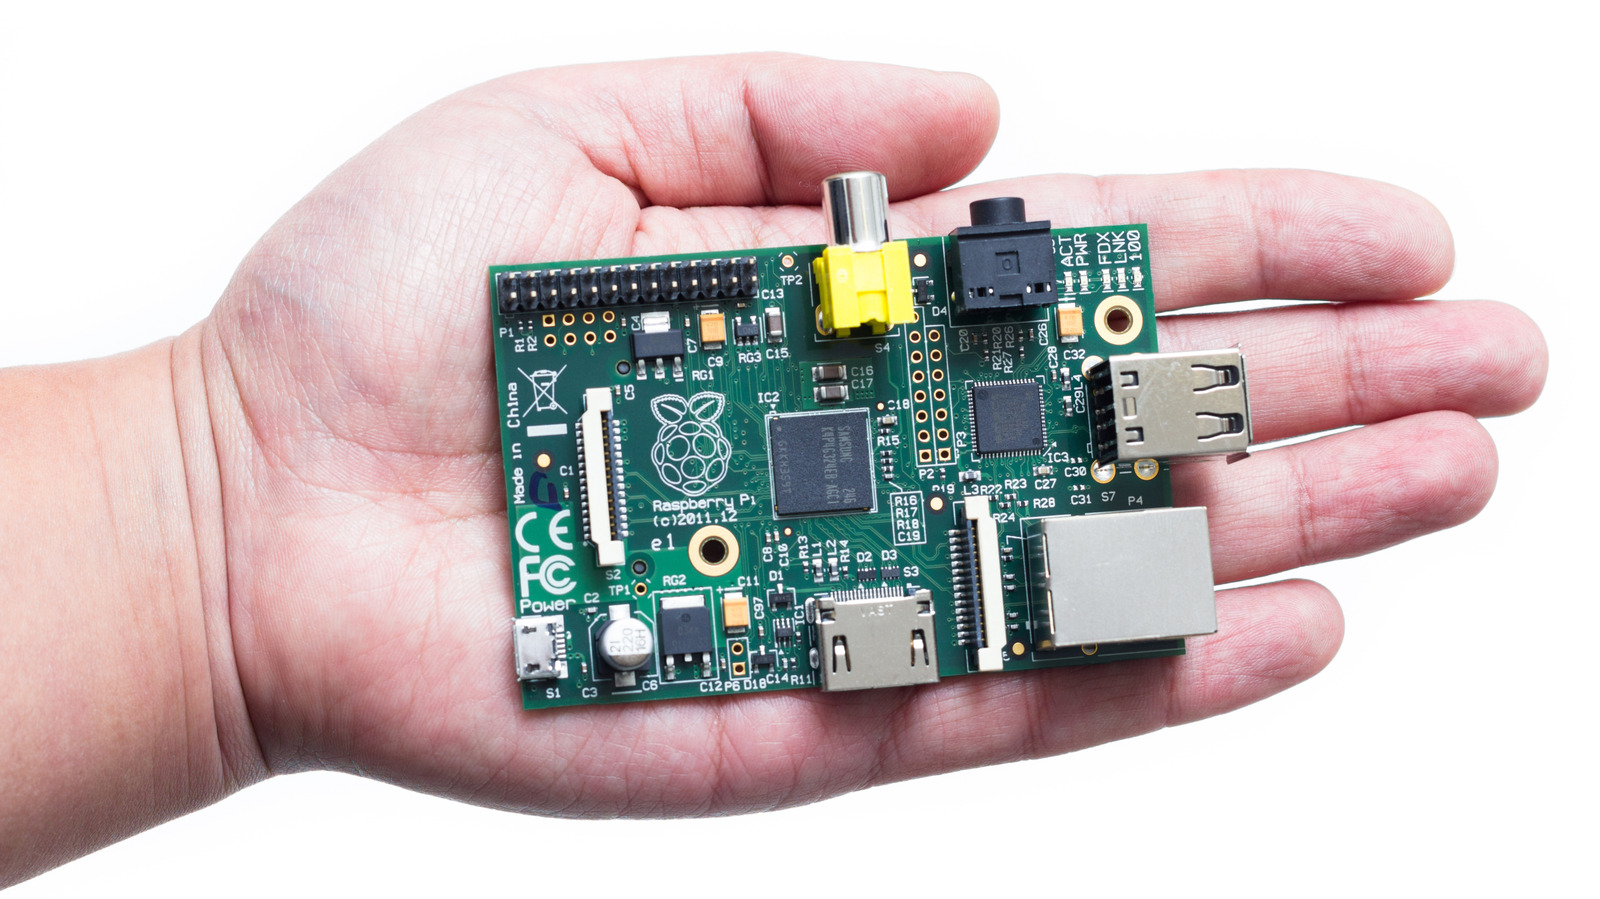
The Raspberry Pi is one of the most versatile and accessible pieces of hardware available today. Originally designed to promote computer science education, it has since evolved into a go-to tool for hobbyists, engineers, and educators. The Pi’s low cost, compact form factor, and open-source flexibility make it ideal for countless DIY applications. Even older models, like the Raspberry Pi 3, remain useful for dedicated single-purpose projects.
If you’ve got a Raspberry Pi sitting idle in a drawer, there’s no reason to let it go unused. With just a few additional components — ones you might even have laying around — you can turn it into something genuinely useful, fun, or even educational. The Raspberry Pi lineup includes both wireless and non-wireless models, each with practical uses. Wireless boards like the Pi 3, Pi 4, and Zero W are ideal for connected projects like streaming devices. On the other hand, older or non-wireless models like the Raspberry Pi 2 or the original Zero still work well for offline or wired-only setups, such as retro gaming consoles. Whatever model you have, here are five fun ways to put it to good use.
Set up a network-wide ad blocker
You can clean up your browsing and eliminate ad tracking by using your old Raspberry Pi 4 or even the older Pi 3. Instead of installing ad-blockers on each device, your Raspberry Pi can act like a filter between your router and the rest of the internet. It blocks known ad-serving domains at the DNS level, meaning any device connected to your Wi-Fi will automatically skip the spammy stuff.
Setup is surprisingly simple. Install Raspberry Pi OS onto a microSD card, install Pi-hole, and change your router’s DNS settings to point to the Pi. You’ll immediately notice websites loading faster and cleaner. No pop-ups, no auto-playing videos, and no shady tracking scripts. Pi-hole comes with a slick user interface that shows you real-time stats on how many requests are being blocked and where they’re coming from. It’s oddly satisfying, but also terrifying to see how many background trackers you’re dodging.
Build a smart home hub
If you already have smart bulbs, smart plugs, and other smart home gadgets, you might want to set up a control hub instead of relying on a dozen or so apps from different manufacturers. You can transform your old Raspberry Pi into a powerful smart home hub using Home Assistant, giving you full control of your connected devices in one place. Just keep in mind you need at least a Pi 4 with 2GB of RAM. An older Pi 3 might work as well, but you’re more likely to run into performance issues due to the lower memory.
Home Assistant is an open-source platform that runs well on a Raspberry Pi. Once installed, it automatically scans your network and detects compatible devices like Philips Hue lights, Nest thermostats, and other smart devices. You get a clean dashboard that runs in most browsers, with complete control over automations and schedules. Installation is straightforward. Flash the Home Assistant OS to a microSD card or an SSD connected via USB, boot your Raspberry Pi, and follow the setup wizard.
Broadcast your own Pi radio station
It’s time to become your own DJ. With an old Raspberry Pi, a streaming microphone, and a bit of open-source software, you can build a fully functional internet radio station. Whether you want to stream music, host podcasts, or broadcast your voice to friends or coworkers across the network, your Pi is ready to go live.
The heart of the setup is Icecast, a free streaming server you can run on your Pi. It sends audio data over your local network or the internet, and anyone with a browser or streaming app can tune in. Pair it with DarkIce, and you’ve got a complete pipeline from audio input to stream output. Setup involves configuring Icecast to handle incoming streams, creating playlists or live capture scripts, and adjusting bitrate and format to match your network speed. Listeners can tune in using VLC, their browser, or any streaming app by entering your Pi’s IP and port.
Turn it into a coding station for kids
An old Raspberry Pi is the perfect entry point for teaching kids how to code. You don’t need anything fancy. Just connect a keyboard, mouse, and monitor, install Raspberry Pi OS, and you’ve got a ready-made environment for learning the fundamentals of programming. There’s no risk of breaking your work computer, and no ads or distractions — just a safe, low-cost sandbox where creativity meets logic. You can even set up user profiles with limited permissions so younger kids don’t wander into the terminal or change system settings.
Right out of the box, Raspberry Pi OS comes with Scratch, a visual coding platform designed for kids to build games, animations, and interactive stories using drag-and-drop blocks. It’s fun, colorful, and beginner-friendly. For slightly older kids, there’s Thonny, a lightweight Python editor that makes real code feel approachable without removing the power of the language. It even includes a debugger for helping them trace what’s going wrong when something doesn’t work.
Build a retro gaming console
There’s something magical about playing classic games on vintage hardware, and with an old Raspberry Pi, you can build your very own retro gaming console. All you need to get started is your Pi computer, a power supply, a microSD card, a compatible monitor or TV, and a USB or Bluetooth controller. To tie everything together, you’ll also need a game emulator like RetroPie.
RetroPie is an open-source platform that integrates multiple emulators for dozens of consoles and arcade systems, including NES, SNES, Sega Genesis, and PlayStation 1. You can add ROMs via a USB drive, and RetroPie will organize them by platform. For extra nostalgia points, consider housing your Raspberry Pi in a classic console, a 3D-printed case, or a custom arcade-style cabinet. It’s a rewarding DIY project that turns an underused board into a dedicated machine built for retro gaming.


