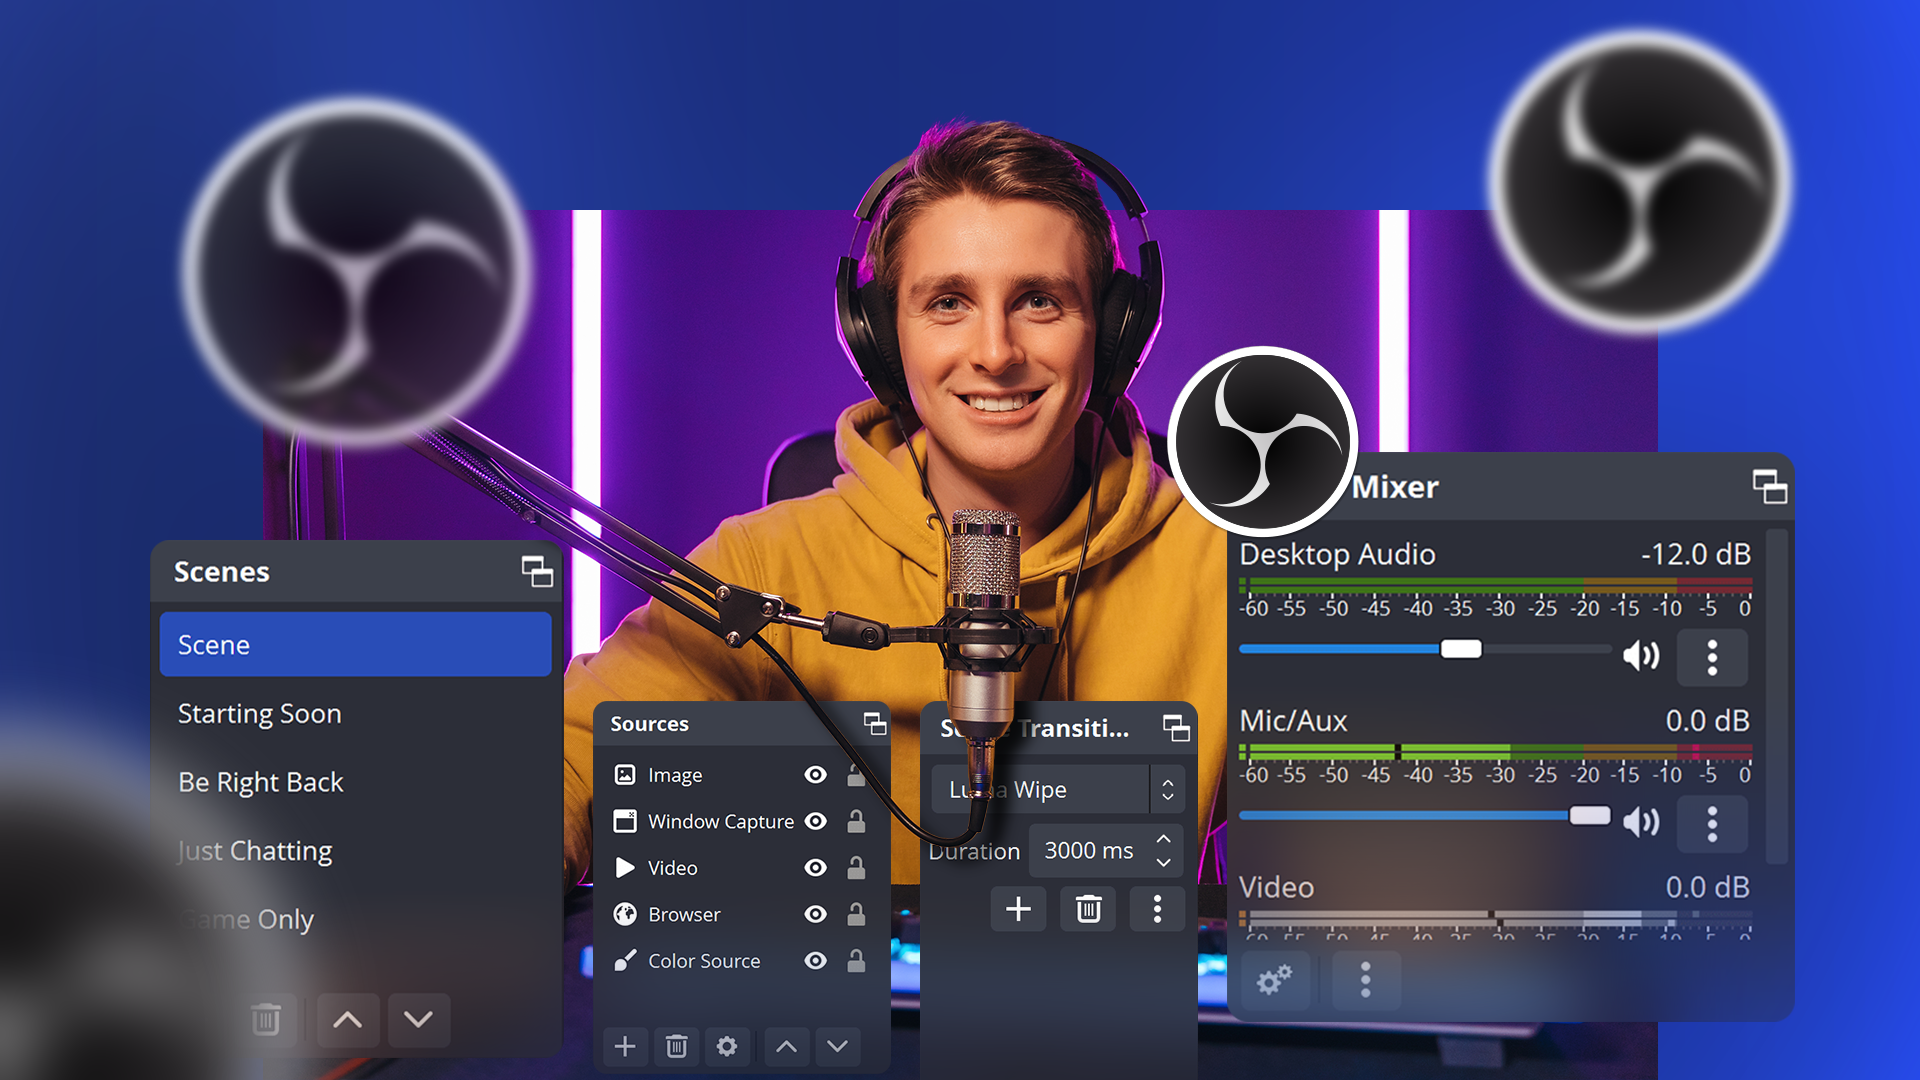
Live-streaming is a fun and often rewarding hobby that I’ve been doing for a few years now. I usually play video games on my streams, but I sometimes experiment with streaming other genres. My choice of software for my streams is OBS Studio (Open Broadcaster Software), an open-source program that is widely used by content creators.
One of the major reasons why OBS is so popular is due to how customizable it is for streamers. In this article, I will be going over some of the tools and effects that I use to enhance my streams.
Avoiding Hard-Cuts with Show/Hide Transitions
“Hard-cuts” are when a video feed abruptly switches from one perspective to another. This split-second shift can sometimes be disorienting for viewers, as it may take them a moment to mentally adjust to a new point of view between “cuts.”
A simple way to make these perspective changes smoother is by adding an animated transition effect whenever you show or hide a source. To do this, right-click on the source you want to modify. In the dropdown menu, you’ll find options to add a “Show” or “Hide” transition.
OBS offers a variety of transition styles to choose from, and I encourage you to experiment with them.
Create a Cheap Greenscreen with Chroma Key
Chroma-keying is a filmmaking trick that lets you put people in places that would be expensive or impossible to film in real life. Actors are filmed in front of a solid green or blue screen, and then that background color is removed in video editing software using a “chroma key” tool. This lets editors replace the green background with anything they want, like the top of the Eiffel Tower or on the surface of Mars.
Before I started streaming, I thought green screens were just for big movie studios or student projects. But with OBS, you can use chroma keying to make it look like you’re streaming from just about anywhere. You can also use it to hide your room if you don’t want people to see it.
In order to get this effect to work, you will first need to be in front of a green or blue solid wall for your camera feed. From there, you will click on your camera’s source on OBS and click the “Filters” menu option below your video preview dock. On the effects menu, you will click the “+” button in the bottom left corner that will open a drop-down list of effects, where “Chroma Key” will be listed. From there, you can adjust the tool’s settings to get the desired “keying” of your background to create your “at-home” greenscreen!
Checking in with My Computer’s Health with the Stats Dock
Livestreaming can be taxing on both your device and your internet connection. The output of data required to host streams can be a bit tricky to track, depending on the platform that you are streaming on, the number of people who are tuning into your stream, as well as your network’s upload speed. These factors can fluctuate depending on your location, popularity, as well as the time of day that you’re streaming at.
One of the best ways I keep track of my stream’s performance is by keeping the Stats dock open in OBS while I’m live. This tool shows you real-time info such as CPU usage, frames per second (FPS), bitrate, dropped frames, and data output while you’re live.
The Stats dock is also super helpful, even if you’re just using OBS to record and not streaming. I often use OBS as a screen and game recorder, and using this dock to keep an eye on these stats while recording helps me make sure everything’s working properly. It even shows how much storage space you have left in your output location, which is something I find especially useful since I always save my recordings to an external hard drive.
Have Scrolling Images/Text Using the Scroll Effect
This effect may not be as useful for some streamers, but OBS has a “Scroll” effect that allows a source to endlessly scroll horizontally or vertically on the video feed. You could use this filter to have scrolling text on your streams, similar to how news programs have scrolling text of headlines that they will be covering, or to share quick information, such as the weather or stock prices, in a quick but non-intrusive way.
In order to set up this effect, you will need to go to the filters on the source you want to be scrolling and select the “Scroll” option, which will be towards the bottom of the drop-down menu. From there, you can choose whether you want the source to scroll vertically or horizontally at the rate you want it to move. The source at its base value of staying still will be at “0.00” and will move up/left if the value is higher than 0.00 (positive), or down/right if the value is below 0.00 (negative).
You can have the source move both horizontally and vertically at the same time for fun as well!
Swapping Between Layouts Using OBS Scenes
Lastly, if you stream various things that each require different layouts, you can set up your OBS program to have multiple scenes to make switching between layouts easier. The “Scenes” dock is, in my opinion, one of the most important docks to utilize if you want to stream different things. From experience, I have found that the source layer duck can get cluttered very fast, the more windows and game sources you add to it.
Using Scenes, you can have different source layouts prepared for you when you switch between different scenes while streaming. These presets will make preparing for your streams faster and easier. You can also set scene transitions to make the moves to different layouts feel smoother. Both of these can be found on the Docks drop-down menu on the top toolbar of the program.
You can also find more plugins online to add more tools/effects to your stream to customize it for your intended audience. With OBS being open-source, more features are always in the works, with the developers of the program encouraging users to join them in making OBS a better platform for all streamers.


