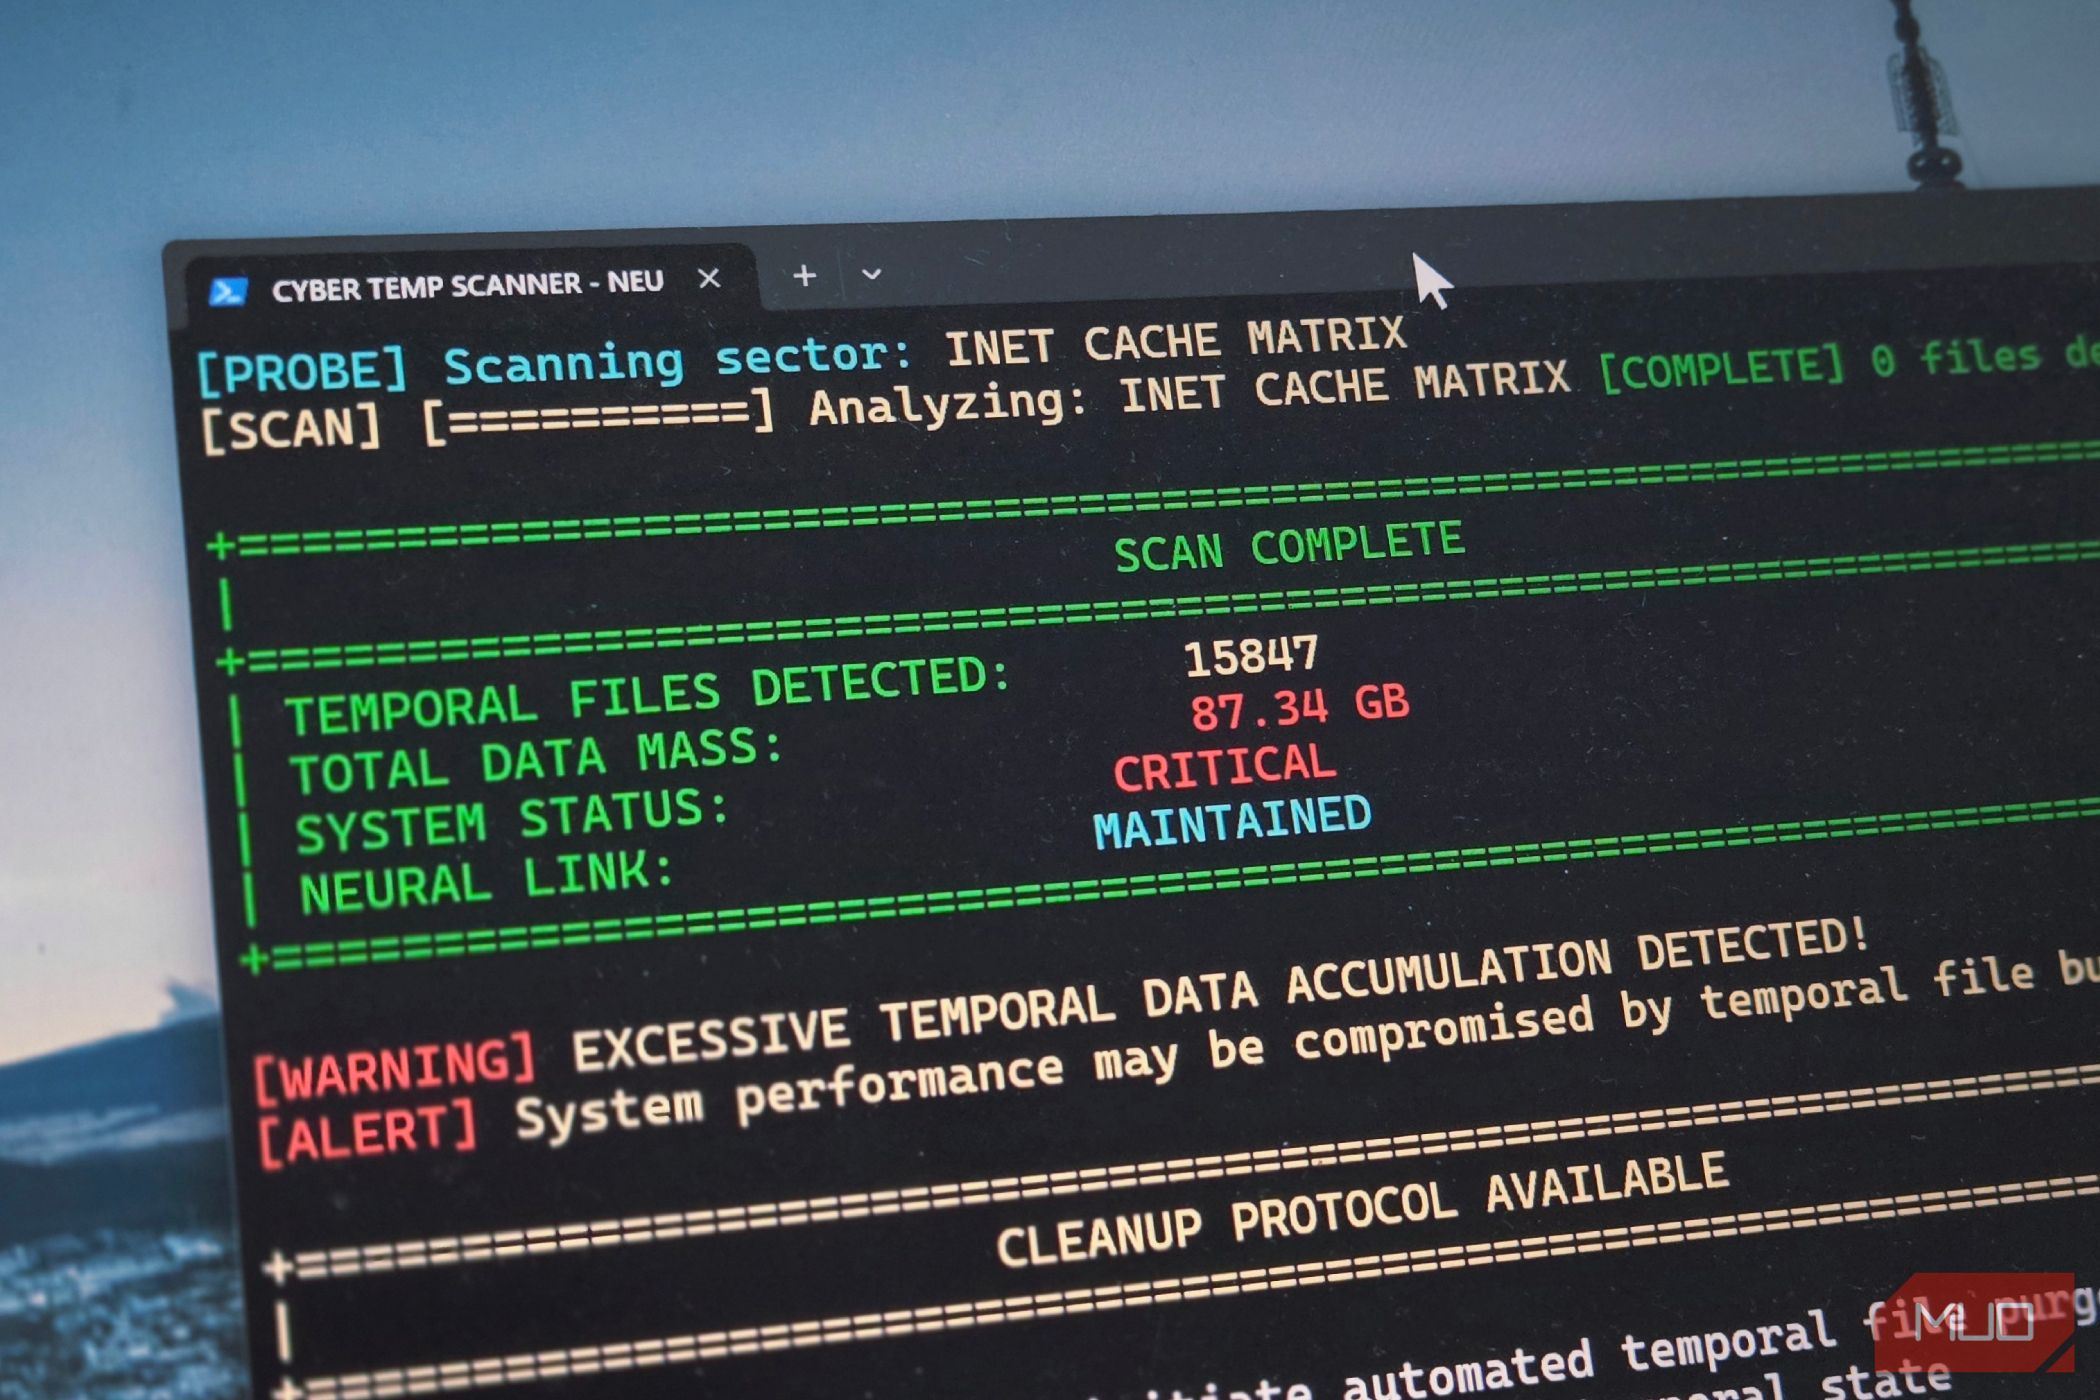
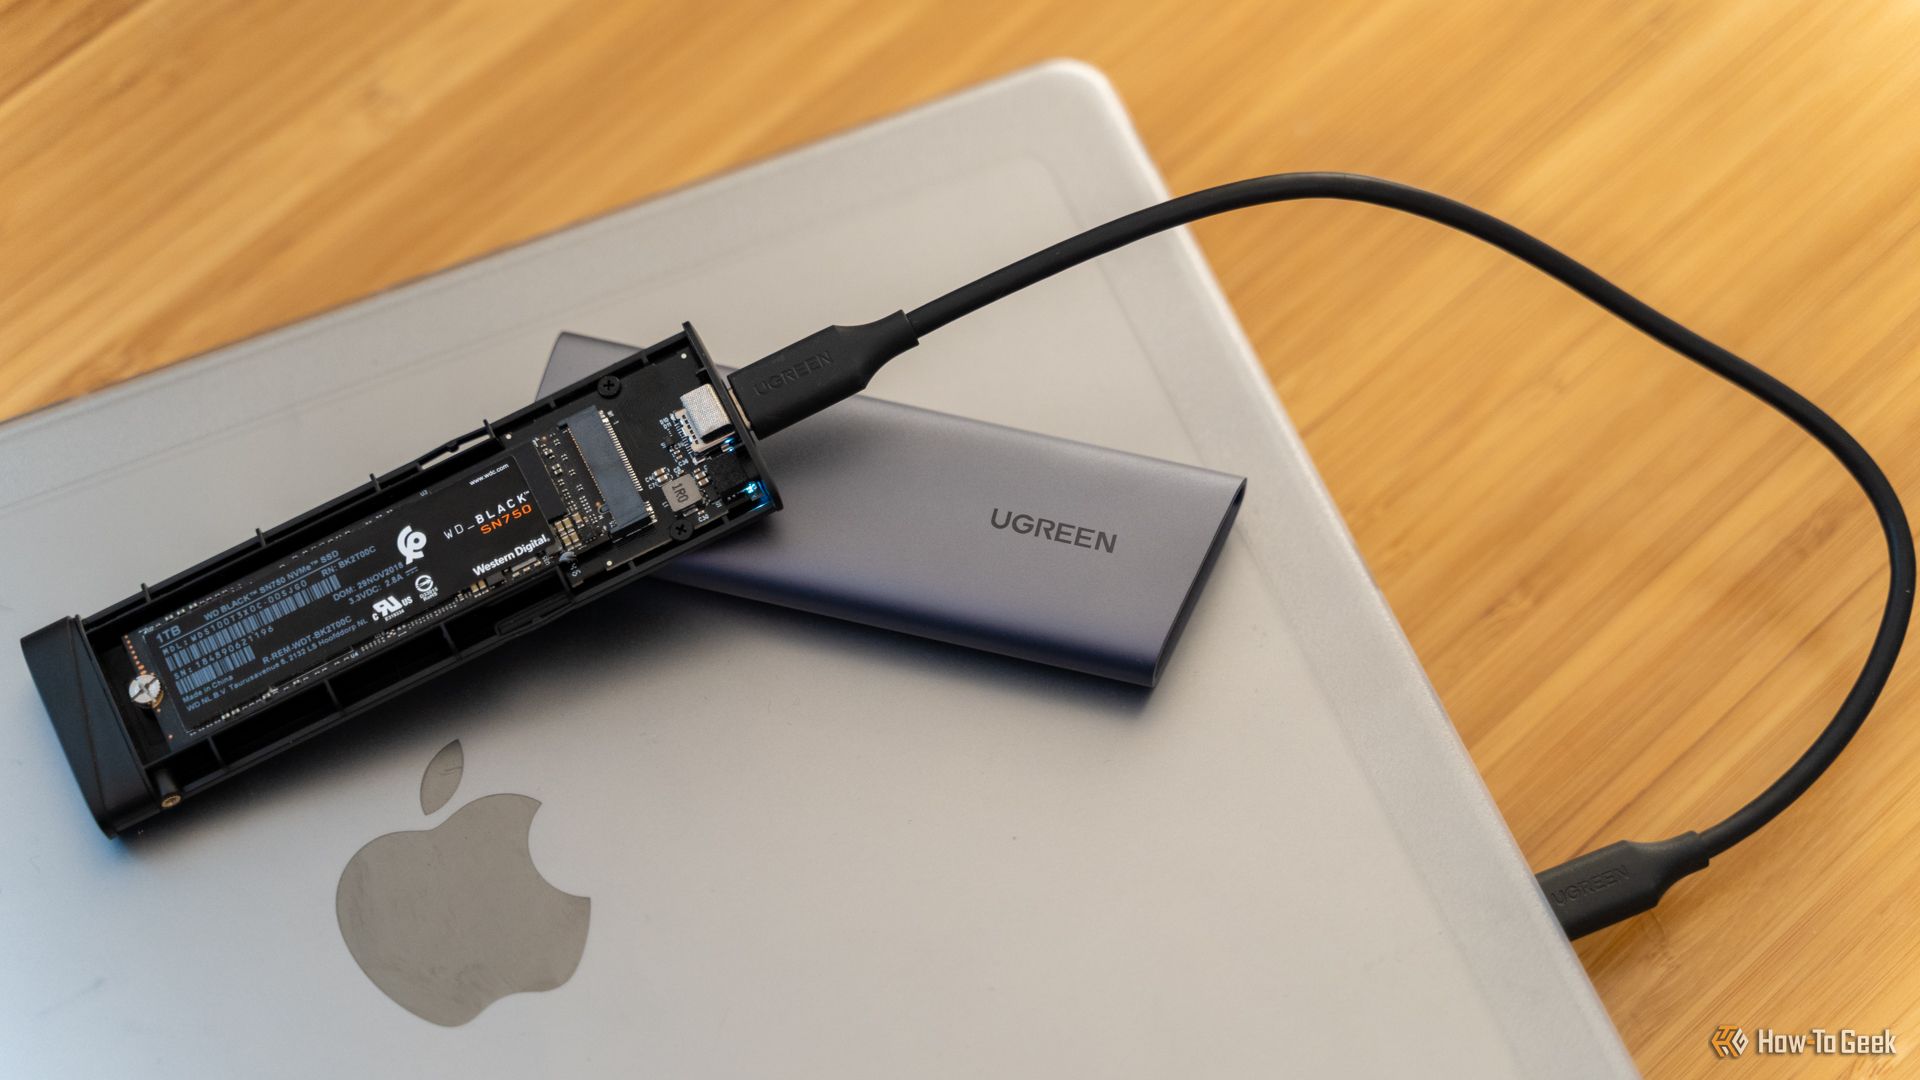
If your storage drive is always running out of space and you’re not sure what’s eating it up, check your temporary files. They can balloon into massive storage hogs, sometimes consuming dozens of gigabytes without you realizing it.
What Exactly Are Temp Files, Anyway?
Your Windows PC creates temporary files (usually with the extension .tmp) every time you run software, install updates, or browse the internet. These files store data that programs need temporarily while performing tasks, like holding downloaded installer components, caching browser images, or saving document recovery information.
The problem starts when programs don’t have the courtesy to clean up after themselves. While Windows can self-clean temporary data periodically, applications often leave behind crash dumps, installation remnants, and cached data. This requires your manual cleanup.
On older PCs with conventional hard drives, this becomes more than a storage issue. When directories accumulate thousands of files, HDDs take longer to load that directory—you might not notice the slowdown on modern SSDs with their lightning-fast random-access speeds, but mechanical drives struggle with the extra overhead.
Windows Update creates some of the biggest offenders. After major updates, Windows creates folders like Windows.old or Windows-BT, hogging 20GB or more. These contain your previous Windows installation files for rollback purposes. While that safety net sounds useful, it’s consuming valuable space long after you’ve confirmed the update works fine.
The Easiest Way to Delete Temp Files
Windows has a built-in Disk Cleanup utility to help you remove temporary and other unnecessary files without deleting anything important. To launch the tool, click Start, type disk cleanup, and open it from the search results.
Next, select your primary drive and click OK. It scans your selected drive for unwanted files and shows you all the files that you can safely delete. This includes temporary files, Windows Update cleanup, and thumbnails that are selected by default. If they aren’t, manually select the Temporary files option under Files to delete.
For a more thorough cleaning, click Clean up system files, select your drive, and click OK. This shows additional files like previous Windows installations and system error memory dump files. Also, unlike manual deletion, Disk Cleanup won’t remove any files currently in use by open apps.
After selecting the files, click OK and then click Delete files to confirm the action.
You Can Also Manually Delete These Files
If the disk cleanup fails to remove the temp files, you can also clear temp files manually. Press Windows+R, type %temp%, and hit Enter to open your user temp folder in File Explorer.
Press Ctrl + A to select all the files, then hit Delete. Windows will notify you if it can’t delete any files currently in use; simply click Skip to continue.
There’s another temp folder at C:WindowsTemp that accumulates system-level temporary files. You’ll need administrator privileges to clean this one, though. To delete the files, press Ctrl + A to select everything, delete what you can, and skip anything you can’t delete.
While the manual method allows you to force-delete temporary files, it requires caution. Never delete files you aren’t sure about. Also, stick to the known temp locations like %temp% for your user account and C:WindowsTemp for system files.
Don’t delete the Prefetch folder, as deleting it won’t free up any meaningful storage. It contains data Windows uses to speed up program launches, so deleting it can slightly slow down app launches until Windows rebuilds the files.
Set Up Automatic Temp Files Cleanup Using Storage Sense
In Windows 11, you can set up automatic PC cleanup using Storage Sense. This Windows feature monitors your storage drives and removes unnecessary files to free up space when enabled.
To enable it, go to Settings > System > Storage, then click Configure Storage Sense under Storage management. Now select the Cleanup of temporary files option.
Next, toggle the Automatic User content cleanup switch to turn it on. Additionally, choose how frequently you want Windows to run Storage Sense and whether to delete files in the Recycle Bin and downloads folder. Leave them as default/never, if you aren’t sure.
You can exclude files from OneDrive that haven’t been opened recently to free up local space, while keeping them accessible in the cloud. Storage Sense can also handle those massive Windows Update files automatically, deleting them once the 10-day Go back option expires and you can no longer roll back the upgrade.
Setting up Storage Sense takes five minutes, but it can save you hours of manual maintenance. It’s particularly valuable if you’re running Windows on a smaller SSD where every gigabyte counts. The tool runs quietly in the background, only springing into action when your specified conditions are met.
A 10-minute PC cleanup can save you from running out of storage space and scrambling to delete files when you need them most. Whether you choose manual deletion, Disk Cleanup, or automated Storage Sense, regularly clearing temp files keeps your PC running smoothly and gives you a bit more breathing room on your drive.


.jpg)


