Think great products come from sudden bursts of inspiration? Think again.
Behind every seamless user interface, stylish wearable, or smart home device you love is a carefully crafted product design process—built through iteration, research, and hours of fine-tuning by product designers obsessing over every detail, right down to the last pixel.
But, too often, teams jump from idea to execution, skipping the critical groundwork. The result?
Products that look good on paper but fall flat in the real world. Maybe it’s a feature no one uses. Maybe it’s a flow that confuses users. The truth is, most of these issues could’ve been avoided with a strong design process and critical design thinking.
This guide walks you through each step of the product design journey, from identifying the right problem to conducting user experience research, generating and refining ideas, prototyping, testing, and handing off to development.
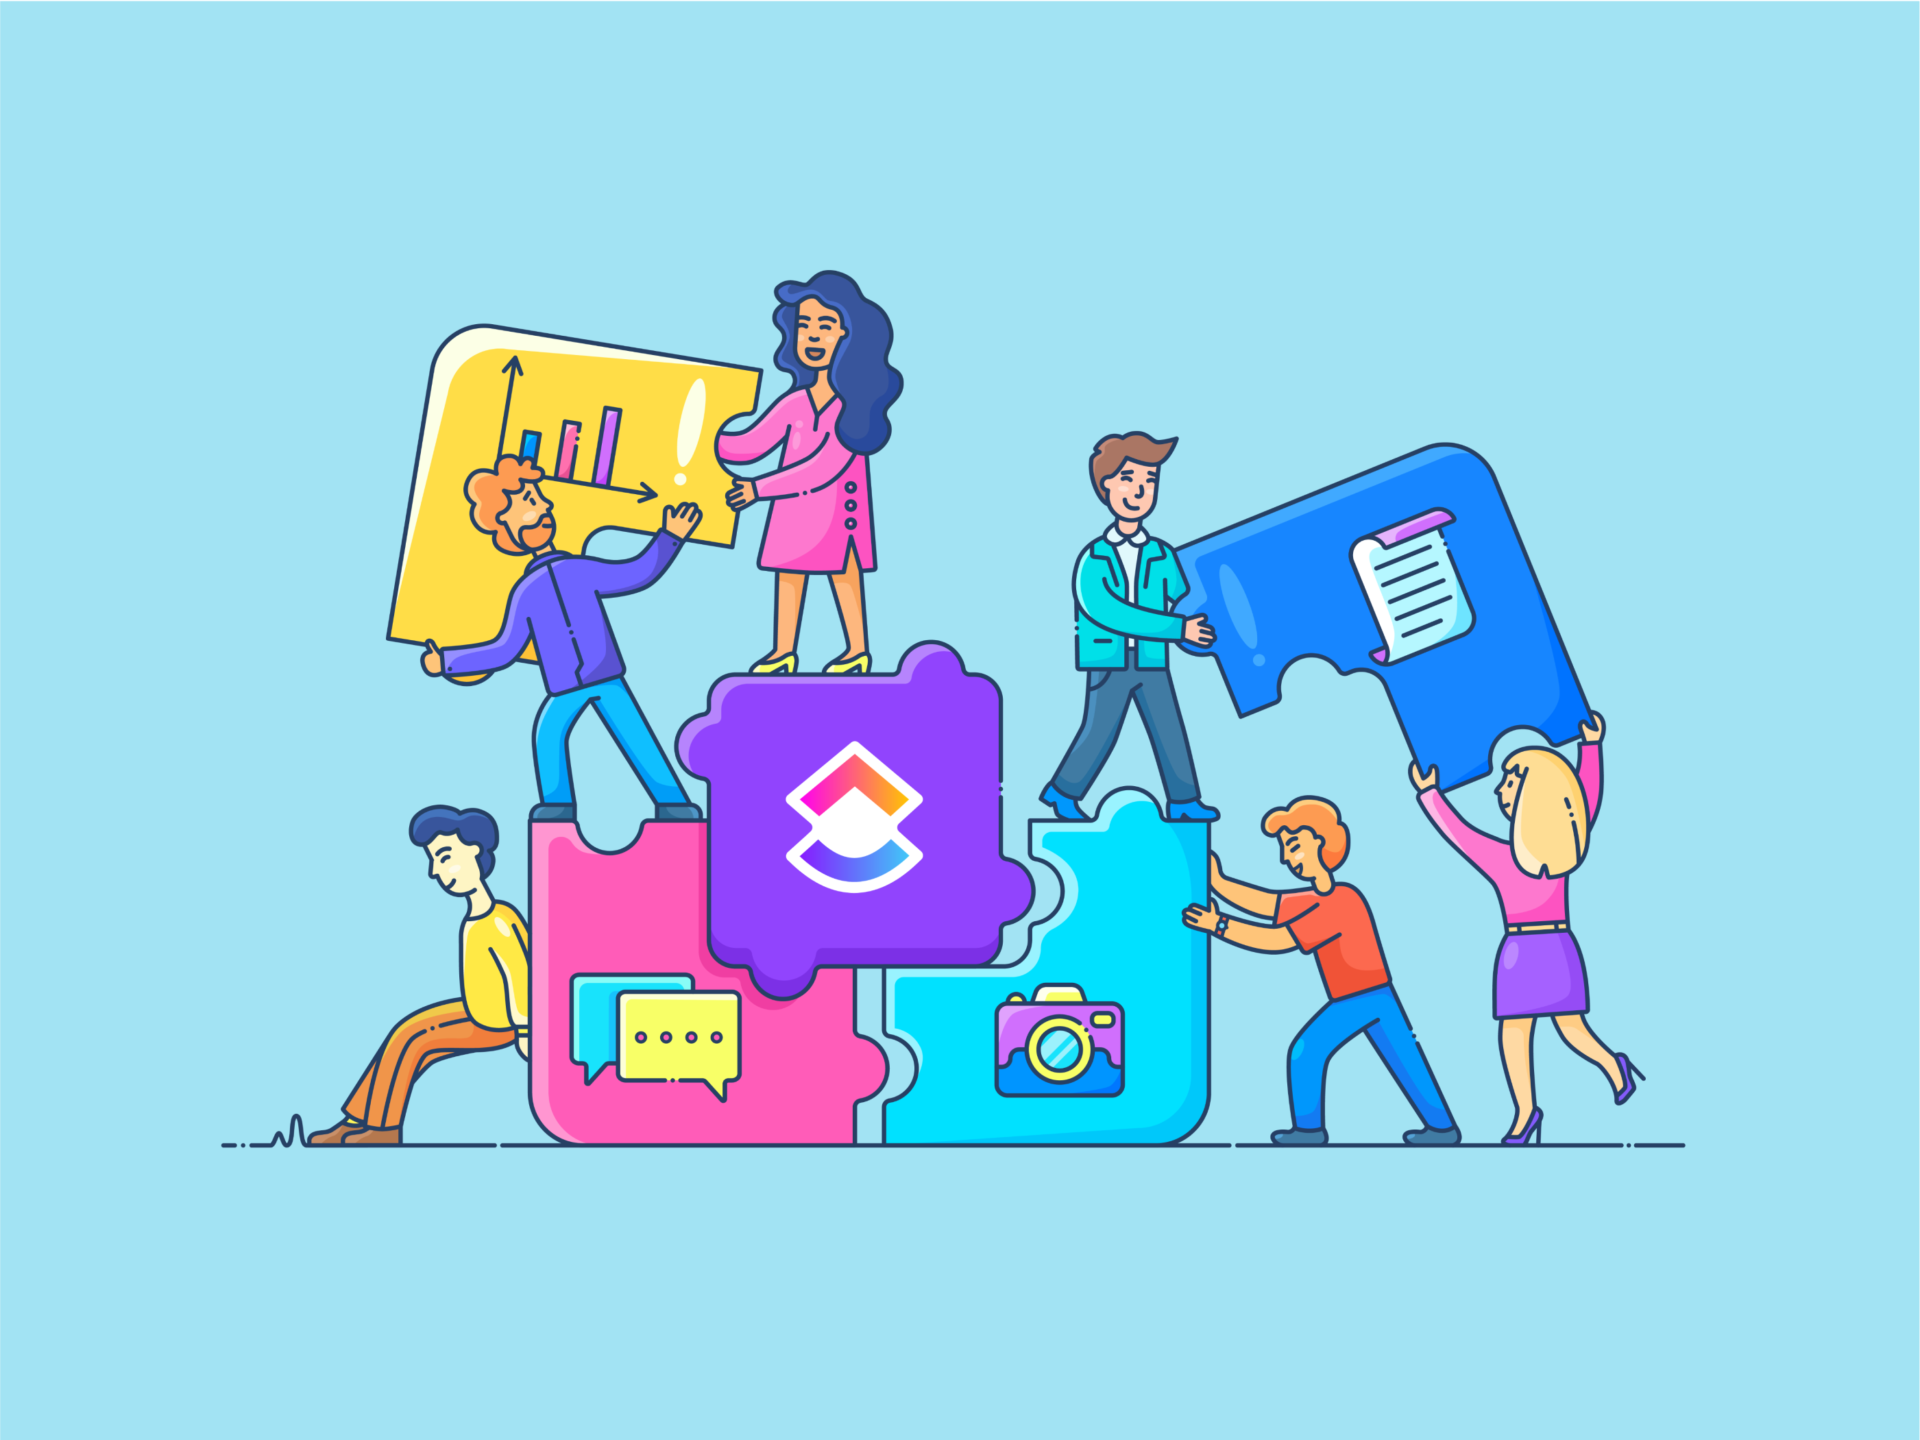
No fluff. Just the essential steps and right tools (hello, !) that support real success—for physical and digital products.
How to Follow the Product Design Process Step-by-Step
What Is the Product Design Process?
For product designers, the product design process is a structured approach to solving user problems through functional and visually appealing design. It focuses on creating products that are usable, desirable, and feasible.
Throughout the process, product designers balance user experience (UX), visual design (UI), and business goals, often working cross-functionally with product managers, engineers, and stakeholders.
Product design isn’t just about how a final product looks aesthetically. It’s about making sure it works well, is accessible and functional, and scales with the design team. At its core, product designing brings together research, planning, creativity, and testing to build something valuable.
⭐️ Featured Template
The Product Design SOP Template provides a step-by-step framework to streamline and standardize your product design process. It helps teams ensure consistency, clarity, and efficiency from ideation to launch and ensures that all design elements align with brand standards and guidelines.
Why the product design process matters ✨
Adhering to a well-defined product design process offers a range of benefits that contribute to creating successful, user-centered products:
Keeps everyone aligned
A clear process ensures that all team members, from designers and developers to stakeholders, share a common understanding of goals. This alignment reduces confusion, encourages collaboration, and streamlines decision-making throughout the project.
Helps catch problems early
By validating ideas through research, prototyping, and user testing early in the process, teams can identify potential issues before they become costly or time-consuming. Early detection of flaws or misalignments reduces the risk of major revisions later on.
Ensures the product addresses real user needs
A user-centered approach grounds the design process in real-world insights, ensuring that the final product solves meaningful problems for its intended audience. This increases user satisfaction, adoption rates, and overall product success.
Balances aesthetics with functionality
Great design isn’t just about how a product looks—it’s also about how it works. The process helps UX designers create visually appealing products without compromising on usability, accessibility, or performance.
Saves time and money in the long run
While it may initially seem time-consuming, following a structured design process minimizes wasted effort and reduces the likelihood of costly redesigns. By building the right product the first time, teams avoid unnecessary delays and expenses.
👀 Did You Know? Skipping user testing early in a project at Vanguard led to an unexpected design overhaul halfway through development. This not only delayed timelines but also significantly inflated the budget. Investing in thorough design reviews early helps catch potential issues before they become costly mistakes.
Stages of the Product Design Process
The product design process typically moves through five key stages: research, ideation, prototyping, testing, and implementation. Each stage builds on the last to ensure the minium viable product is user-centered, functional, and effective.
Here’s a simple breakdown of each step in the product design journey:
1. Understand the problem
Before you start designing anything, you need to uncover why the product or feature exists in the first place. This phase sets the foundation, clarifying the user pain, business goal, and constraints. Without a solid problem definition, even great designs will fall short.
🎯 Ask yourself:
- What pain are we solving, and how is it currently being experienced?
- Who experiences this problem most frequently or severely?
- What changes if we don’t solve this?
- Are we solving a symptom or the root cause?
- What internal limitations (tech, team, time) could shape the solution?
✅ What to do:
- Interview stakeholders to understand business goals. Talk to product managers about revenue goals or churn issues tied to the user experience
- Review past support tickets and user feedback. Identify patterns, such as end users struggling to find a key feature or misunderstanding instructions
- Analyze competitor products. Compare onboarding flows and identify where competitors guide end users better or worse
- Define success metrics for solving this problem. Reducing time-to-value, increasing NPS, or lowering task failure rates
- Create a shared discovery doc with key context. Summarize what you’ve learned so far and document assumptions that need testing
💜 Here’s how can help you solve this:

Docs act as your centralized source of truth during discovery. You can:
- Create a “Problem Statement” doc outlining the user pain points, affected personas, and project goals
- Create a real-time document with nested pages for interviews, quotes, data points, etc.
- Use comments and @mentions to bring in stakeholders to clarify insights
- Link the Doc to relevant Tasks and Goals for traceability
- Add a definitions or glossary section to reduce miscommunication across teams
2. Conduct user research
Once you understand the internal view of the problem, it’s time to validate it with real users. User research helps you build empathy, uncover unmet user needs, and avoid false assumptions that often derail the final product design later.
🗣️ Ask yourself:
- What’s causing friction in the current user journey mapping?
- Are we hearing different issues from different segments?
- What workarounds have users invented—are they solving problems we didn’t even know existed?
- Are users abandoning the product at certain stages?
- Which user behaviors contradict what they’re saying?
✅ What to do:
- Run surveys to gather broad quantitative data. Use Forms to ask, “What’s the most frustrating part of using X feature?”
- Conduct 1:1 interviews to understand user needs. Listen for hesitations or confusing terminology while users describe their workflow
- Analyze behavior through session recordings or heatmaps. Identify if users are skipping key steps or struggling with navigation
- Review community forums, social media, or app store reviews. Look for repeated themes in complaints or praise that might point to design opportunities
- Segment insights by persona or use case. Freelancers vs. teams may need drastically different flows or levels of customization
💜 Here’s how can help you solve this:

Forms help you gather structured data and automatically convert responses into actionable tasks.
- Build forms with custom dropdowns, priority tags, or conditional logic to group insights
- Use Automations to route submissions into task lists with status labels like “To Analyze” or “Critical Insight”
- Tag each response with a user persona and journey stage for clear customer segmentation
- Convert high-priority issues into subtasks under a “Research Learnings” doc
3. Come up with ideas
Now it’s time to turn insights into ideas. Ideation is about divergent thinking—coming up with many possible solutions, even if they seem unrealistic at first.
💡 Ask yourself:
- What’s the boldest solution we could try?
- Which ideas solve the most painful user problems?
- Are we thinking about edge cases or just the happy path?
- What ideas are feasible given our constraints?
✅ What to do:
- Run brainstorming workshops (Crazy 8s, How Might We, SCAMPER method) with diverse roles. Bring in marketing or support to surface insights beyond the design team and craft effective user stories
- Use “How Might We” prompts to frame the challenge. “How might we reduce onboarding drop-off without overwhelming new users?”
- Sketch quick flows or UI patterns on a whiteboard. Visualize a revised dashboard layout with collapsible modules
- Group ideas into themes using affinity mapping. Group sticky notes from a whiteboarding session into clusters like “Trust,” “Speed,” or “Personalization”
💜 Here’s how can help you solve this:

Whiteboards act like interactive visual canvases where teams can brainstorm ideas, map workflows, and collaborate in real time—all in one place.
How to use Whiteboards:
- Facilitate real-time brainstorming sessions with team members during ideation sprints. Add sticky notes, emojis, text, and shapes to capture a wide range of ideas quickly
- Group ideas by theme using color codes or clusters (e.g., “UX improvements,” “Tech constraints”)
- Draw arrows and connectors to visually map out flows, user journeys, or decision trees
- Turn sticky notes into tasks directly, reducing handoff friction and improving traceability
- Embed links to user and market research docs, prototypes, or user quotes directly onto the board
- Quickly document wins, challenges, and next steps during retrospectives
- Invite stakeholders to comment asynchronously on concepts or flow diagrams

You can also try Mind Maps. They help you organize and visualize your ideas, features, and workflows as branching, hierarchical diagrams that evolve as your thinking grows.
How to use Mind Maps:
- Structure big ideas into logical hierarchies. Example: “User Onboarding” → “First 5 Minutes” → “Signup Form,” “Tutorial,” “Empty State”
- Build architecture diagrams for user flows, navigation, or information architecture
- Highlight dependencies or sub-features with branches (e.g., “Report Builder” → “Filters,” “Export,” “Auto-Save”)
- Drag and drop branches to rearrange ideas easily as the scope changes
- Visualize versioning options or A/B paths in a decision-making tree
- Connect mind map nodes directly to Tasks or Docs for easy actionability
- Share your map with cross-functional teams to align on structure before design begins
4. Create prototypes
Make rough versions of your product, like sketches or digital mockups. These help you test ideas without building the full thing. You can also use AI tools for graphic design (such as Brain) to generate the right visuals.
✏️ Ask yourself:
- What assumptions am I testing with this prototype?
- Can a new user understand and complete the main task?
- Where might users get stuck without asking for help?
- Are we focusing on flow logic or UI polish at this stage?
✅ What to do:
- Draft wireframes and clickable prototypes. A Figma prototype showing a redesigned task creation flow
- Write realistic UX copy using Brain. Generate alternate CTAs like “Start Now,” “Try Without Signup,” etc.
- Mock error states, loading states, and edge cases. What happens if no results are found or there’s no internet connection?
- Design for accessibility and mobile adaptability. Ensure contrast ratios and tap targets are usable on touch devices
- Collaborate with product and content early. Align on terminology like “project” vs “campaign” to reduce cognitive load
💜 Here’s how can help you solve this:

Brain, the world’s most complete and contextual AI assistant, lets you accelerate prototype creation by generating useful content ideas and placeholder copy. You can:
- Ask Brain to write empty state messages, feature tooltips, or welcome screens
- Use AI to rewrite long instructions in simpler language
- Generate UX writing that fits your tone and context
💡 Pro Tip: With Brain MAX, your desktop AI companion, you’re not limited to what’s inside —you can connect data from your other apps and let AI work with the full picture. Imagine designing a new feature prototype: Brain MAX can pull customer pain points from support tickets in Zendesk, surface insights from product feedback in Slack or Jira, and then generate contextual UX copy—like empty states, tooltips, or onboarding messages—that reflect real user needs.
Here’s how it works:
5. Test with users
Let users try your prototype. Watch how they use it and ask questions.
🔍 Ask yourself:
- Where are users struggling, and why?
- Are users interpreting features the way we intended?
- What surprises emerged from testing?
- What feedback is most critical to act on?

✅ What to do:
- Run moderated and unmoderated tests. Give users 5 tasks and observe their actions and hesitations
- Log task completion rates. For instance, did 8/10 users complete the checkout? How long did it take?
- Ask post-task questions via Forms, like “What confused you about this screen?” You can also analyze and summarize Form responses with Brain’s AI insights
- Categorize issues by severity and recurrence. For example, if 70% of testers miss a button, that’s high priority
- Turn feedback into tasks for design iteration. Create subtasks for each major usability issue with relevant Figma links–manually, or just prompt Brain to do it for you automatically
🧠 Fun Fact: Various user testing methods can uncover hidden pain points in the product design process before launch, saving time and budget. A simple button tweak cut customer support queries by 25%!
6. Finalize the design and hand it off
Once the design works well, polish it and pass it to developers. Make sure they have all the details they need.
🤝 Ask yourself:
- Is every interaction state covered—default, hover, error, loading?
- Do devs understand why each design decision was made?
- Are specs, behaviors, and copy 100% documented?
- Do we have a feedback loop for dev clarification?
✅ What to do:
- Finalize designs with notes and edge cases. Hover behavior for buttons, logic for empty states
- Host a walkthrough with developers. Explain the rationale behind the layout hierarchy or tab placement
- Use Chat to resolve last-mile doubts. For instance, “Should this tooltip show on hover or after 2 seconds of inactivity?”
- Link all assets (Figma, Docs, Specs) in one place. Centralized in a single task or Epic folder
- Track dev questions, design changes, and QA bugs in real time
💜 Here’s how can help you solve this:

Chat is a real-time messaging feature built into tasks and Documents. It makes collaboration with developers, writers, or QA smoother and more contextual.
How to use Chat:
- Discuss handoff queries without jumping to Slack or email
- Share Figma links or Loom walkthroughs inside task threads
- Ask clarifying questions (e.g., “Should this scroll or paginate?”) during dev handoff
- Use threads to separate discussions by topic (e.g., copy vs responsiveness)
- Keep a documented trail of decisions, feedback, and file versions
- Use reactions, tags, and mentions to manage urgency and ownership
7. Keep improving
After launch, keep listening to feedback. See how target users are interacting with the product and find ways to improve it.
🚀 Ask yourself:
- How are target users interacting with our product now?
- What feedback is surfacing through support or reviews?
- What should we optimize in our next sprint?
✅ What to do:
- Monitor engagement and drop-off rates
- Track support tickets and friction areas
- Run regular UX audits and feedback sessions
💡 Pro Tip: During the ideation stage, limit your team to a 20-minute ‘bad ideas only’ round before jumping into real concepts. This opens up creative thinking, helps surface unexpected directions, and lowers the pressure to be perfect, often leading to better final ideas.
How to Integrate Feedback and Iterations
No design is perfect the first time. The best products go through many rounds of feedback and changes. Here’s how to do that well:
- Test early and often: Don’t wait until the end to show your design to target users. Get their thoughts early
- Collect feedback clearly: Ask simple questions, take notes, and organize your findings
- Be open to changes: Feedback can be tough, but it’s how you improve. Stay curious, not defensive
- Make small updates often: Don’t wait to make big changes—improve things bit by bit as you go
The right tools speed up the design process, improve collaboration, reduce confusion, and help you build smarter, more user-friendly products.
From sketching ideas to gathering user feedback, here are some essential tools that cover every aspect of creative workflow management:
1. Figma (Best for real-time collaborative design and prototyping across distributed teams)
Figma is one of the most popular tools for UI/UX design, and for good reason. It’s cloud-based, which means your entire team can design, review, and give feedback in real time.
Whether you’re creating web design workflows, wireframes, high-fidelity prototypes, or sharing design systems, Figma keeps everything in one place and accessible across teams.
2. Sketch (Best for creating clean, scalable UI designs with a strong plugin ecosystem) (Mac-only)
A long-time favorite among Mac users, Sketch is known for its clean interface and focus on UI design. It’s great for creating static screens, design systems, and pixel-perfect mockups.
While it doesn’t offer real-time collaboration like Figma, it integrates well with tools like Zeplin for developer handoff and is supported by a vast library of plugins.
3. Adobe XD (Best for interactive prototyping and animations within the Adobe Creative Suite)
Adobe XD combines design and prototyping into one tool. You can create interactive mockups with transitions, animations, and voice interactions—all inside a familiar Adobe environment. It’s a strong choice for teams already using other Adobe products like Photoshop or Illustrator.
📮 Insight: 83% of knowledge workers rely primarily on email and chat for team communication. However, nearly 60% of their workday is lost switching between these tools and searching for information.
With an everything app for work like , your project management, messaging, emails, and chats all converge in one place! It’s time to centralize and energize!
4. Miro (Best for early-stage brainstorming, mind mapping, and visual collaboration)
A digital whiteboard built for collaboration, Miro helps teams brainstorm, plan, and visualize ideas together in real time.
It is perfect for the early stages of the project design process—think user journey maps, affinity diagrams, and stakeholder workshops. With sticky notes, templates, and real-time updates, it helps teams capture messy ideas and organize them into actionable plans.
🧠 Fun Fact: The value a feature adds to product design is key to deciding if it stays or goes. Remember Clippy, the paperclip assistant in Microsoft Word? Despite its potential, Clippy became more of a distraction than a helper, failing to meet user needs. Its poor implementation made it a target for Millennial IT humor!
5. Notion (Best for organizing research, design documentation, and team-wide knowledge sharing)
Notion is a flexible workspace that lets you conduct market research, create documentation, track tasks, and share software design documents with your product team. It’s handy for storing user interview summaries, design decisions, and feedback logs in one centralized place.
💡 Pro Tip: Try a few product design tools with your team before committing. Many offer free plans or trials, making it easy to explore what works best.
These tools excel when used together—each tackling a different stage of the creative design process, from early planning and ideation to usability testing and developer handoff.
Or you can skip the app juggling and use one platform that covers it all: .
Integrating for efficient product design

Bringing a product to life through great design requires more than creativity. You need to blend coordination, clarity, managing creative teams, and cross-functional communication.
As an everything app for work, offers a central hub where design teams can stay on top of their tasks, align with stakeholders, and iterate faster—all without losing track of the details.
Here’s a quick primer on it:
No wonder, leading organizations like Powerflex are using to keep their design teams chaos-free and aligned with market trends.
At the heart of that efficiency is the Design Project Management workspace, built specifically for creative product development workflows. It helps design teams map out project timelines using visual tools like Gantt charts and timelines so everyone knows what’s due when and how tasks connect.

You can assign ownership by tagging specific team members to tasks, ensuring clear accountability for business objectives across different stages of the product design process —from initial conceptualization and wireframing to feedback, revisions, and final delivery.
Each task can include detailed checklists, file attachments, comments, and Custom Fields, making it easy to manage every stage of the design cycle in one place, with complete transparency and control.
Designers can link assets, attach Figma files directly to tasks, and comment on visuals in real time, so feedback relevant for product development doesn’t get buried in Slack threads or email chains.
also plays nicely with your design stack. Integrations with Adobe Creative Cloud, Figma, InVision, and other creative tools allow designers to update work, receive comments, and share progress without switching apps.
For teams juggling multiple clients or campaigns, custom dashboard designs and folders keep everything organized while allowing for fast status updates on the product development process.
Jakub Grajacar, Marketing Manager, STX Next, sums it up really well:
Instead of starting from a blank page, designers can use ’s many templates to get an initial draft or concept prompt that helps kickstart the creative design process. This is especially useful during brainstorming or early ideation phases. Here are some to try:
Creative & Design Template

offers dedicated templates to help product development teams hit the ground running. The Creative & Design Template is perfect for agencies or in-house teams managing multiple deliverables.
It includes task statuses like ‘In Review’ and ‘Client Feedback,’ custom views for campaign tracking, asset approvals, and creative sprint planning, and the ability to automate reminders and review cycles to keep creative production moving.
Graphic Design Template

Built specifically for visual designers, the Graphic Design Template includes lists for concept development, asset creation, and branding. It supports easy file sharing, integrates with design tools, and includes spaces for feedback threads, making it easy to collaborate across remote teams.
Challenges in the Product Design Process and How to Overcome Them
The product design process is rarely a straight line. It’s a winding path shaped by user needs, business goals, and evolving constraints.
Along the way, teams encounter persistent challenges that can derail progress or dilute the outcome.
- Ambiguity in requirements: Designers often start with incomplete, unclear, or constantly changing requirements. This creates confusion about what’s being built and why, leading to wasted effort and missed user expectations
- Conflicting stakeholder feedback: Multiple stakeholders often provide feedback with different priorities, pulling the design in opposing directions. Without a clear decision-making process, this creates delays and compromises the vision
- Overemphasis on aesthetics: Teams sometimes prioritize visual polish too early, focusing on how things look instead of how they function and impact user satisfaction. This leads to endless iteration without solving the core user problem
- Breakdown in cross-functional communication: Misalignment among design, product, and engineering teams frequently leads to delays, rework, and fragmented user experiences. Without shared understanding, critical context gets lost
- Feedback loops that never end: Lack of defined review stages traps teams in continuous feedback cycles with no clear endpoint, causing missed deadlines and designer burnout
👀 Did You Know? Some design operations teams have experienced a 20% increase in satisfaction after making the switch to .
How to stay on track with the design process
When timelines stretch or design loses its direction, it’s usually not because people aren’t working hard—it’s because they’re solving the wrong problem at the wrong time.
To stay on track, teams need more than just timelines and tools. They need design checkpoints that implement decisions and prevent unnecessary rework.
Here’s what that looks like in practice:
🧭 Anchor each design phase to a problem statement
Don’t move forward without agreeing on the problem you’re solving. Restate the problem at every stage—wireframe, prototype, visual design—to keep discussions focused and avoid drifting into endless ‘what ifs.’
✅ Enforce a ‘one round, one decision’ rule
Instead of collecting feedback endlessly, structure reviews with clear decision criteria. One round of feedback = one decision made. Anything unresolved goes into a backlog, not back into the current sprint.
🧊 Freeze requirements mid-sprint
Product and design teams often fall off track when new features or ‘quick changes’ slip in midway. Set a rule: after kickoff, no requirement changes for two weeks unless there’s a critical blocker.
🚩 Use a ‘Red Flag’ column in your design task board
Add a dedicated space for blockers, unresolved stakeholder input, or conflicting feedback. This surfaces issues early and signals when a design task needs immediate cross-functional attention.
✋ Don’t polish until validated
Teams waste days perfecting screens that never ship. Make it a rule not to release high-fidelity mockups until the low-fidelity version of the final product has been validated by the target audience or accepted internally. Focus on clarity, not color palettes.
Design Your Products for Success with
The product design process requires clear direction at every stage—from thorough research and ideation to prototyping and final implementation. Each step builds on the previous one, and staying organized throughout can make all the difference in the quality of your output.
helps eliminate the common roadblocks that disrupt this flow. With features like customizable workflows, task management boards, real-time collaboration, and easy integrations, keeps everything from research plans to design feedback in one place.
It ensures your team stays aligned and productive, no matter how complex your creative project management requirements are.
If you’re ready to simplify your design process, can help you stay organized and focused. Sign up for free now!

Everything you need to stay organized and get work done.


