
Waking up to a brand-new day and greeting the sunrise with a warm smile is exactly what the doctor ordered. But if you’re the kind of person who needs a special trick to never miss your morning alarm again — and you just happen to own an iPhone — you can now change your iPhone alarm’s snooze time in iOS 26, along with choosing a custom alarm tone. You’ll even be able to add tracks and playlists you’ve downloaded to your Apple Music or iTunes account, or download additional alarm tones by visiting Apple’s Tone Store. You can also create a custom alarm sound using one of your iPhone or iPad’s built-in apps: GarageBand.
On the surface, GarageBand may seem like instrument-focused software, but it’s actually a fairly robust audio-editing tool that’s tailor-made to work with Apple products. Since it’s pre-installed on new iPhone and iPad devices, it also becomes an obvious choice for editing audio tracks on Apple’s gadgets. Creating a custom alarm tone in GarageBand is pretty straightforward, and we’ve outlined all the steps required to get the job done.
Making a custom alarm in GarageBand is easy

We’re going to use a combination of GarageBand and your iPhone or iPad’s built-in Files app to build a custom alarm tone. The former serves as our import-export dashboard, while the latter is simply where our audio files will be located once we create them. Your iPhone or iPad should already have GarageBand installed, but if you need to download it, you can do so through the App Store.
Once you launch the app, select the blue “+” icon at the top-right corner of the screen. You should then see two options: Live Loops and Tracks. Tap Tracks > Audio Recorder. On the next screen, tap the loop icon in the top-right corner, followed by Files > Browse items from the Files app. Scroll or search for the track you want to use, then long-press and drag the file into GarageBand.
Now that the track is loaded into GarageBand, it’s time to create an export. You should see a downward triangle icon in the top-left corner of GarageBand. Select it, then choose My Songs. Long-press the option that says My Song (the current name of our alarm tone), then tap Share > Ringtone > Export.
How to set up your custom alarm tone
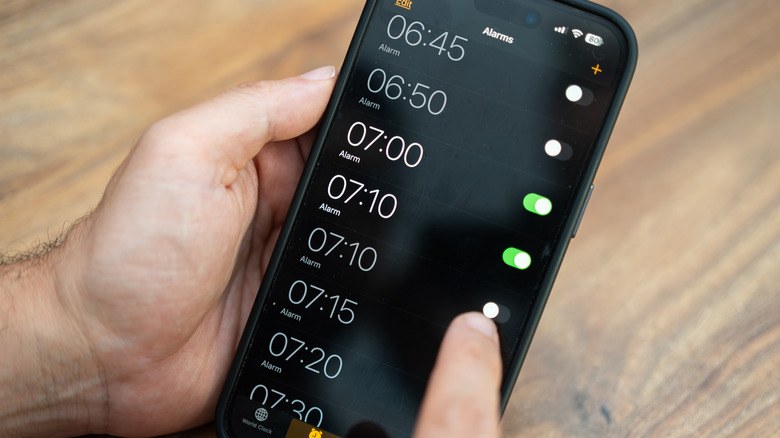
We’ve gone through the process of creating our custom alarm tone. Now, all we need to do is set it up. Close GarageBand if you haven’t already, then open the Clock app on your iPhone or iPad. Tap Alarm, then choose one of the alarms you’ve already created, or tap the “+” icon to make a new one. To finish up, select Sound, choose the custom tone you created (it may still be called My Song if you didn’t change the track name), and tap Save.
Give yourself a round of applause, because you’ve reached the end of your alarm-making journey. This is also an excellent fix if your iPhone alarm isn’t going off, or you think the existing tones just aren’t loud enough to wake you up. One of the best parts of working with GarageBand and the Files app is that you can use any audio format that the latter supports. This bodes well for those who plan on ripping an MP3 from a YouTube video, or those looking forward to creating a personalized wake-up announcement in Voice Memos. Whether you’re going with an energetic song or a brash reminder to “Get the heck out of bed,” your Apple devices come equipped with the tools to kickstart your morning routine.


