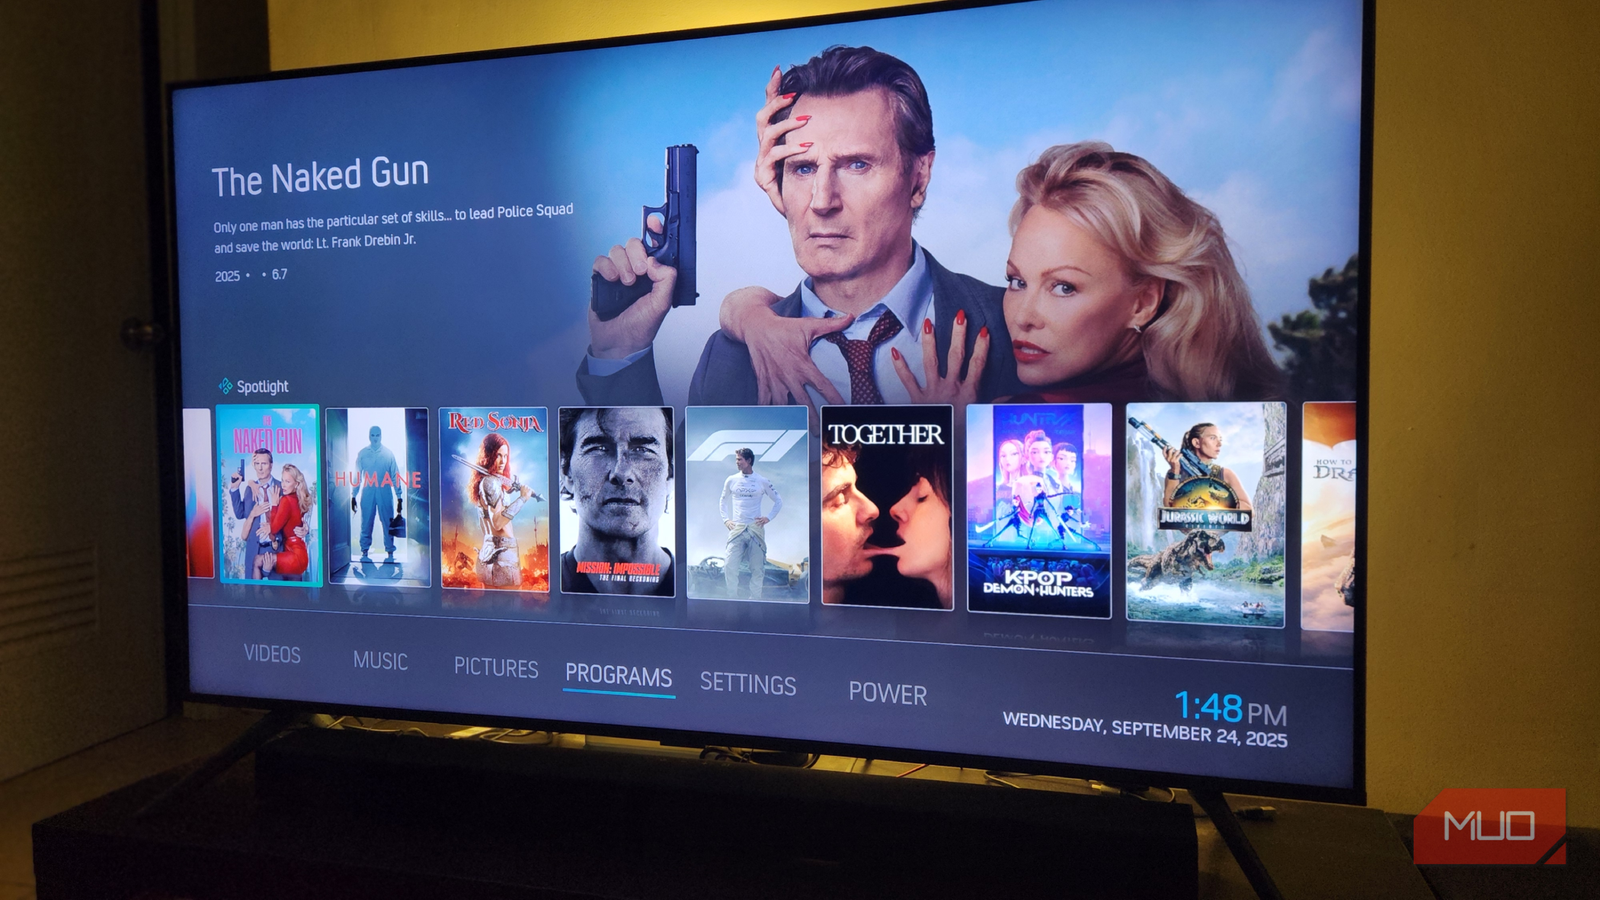
Kodi was a little plain right out of the box when I first installed it five years ago, and it hasn’t changed much since. As one of my favorite apps installed on my Fire TV Stick, I wanted it to look cool while helping me stay organized and keep all my favorite streaming services in one intuitive place that’s tailored to my needs.
Since then, I have explored bespoke themes, experimented with add-ons, optimized my settings, and refined my media library to create a personalized media hub. I’m now much happier with my Kodi interface and usability, and it’s become everything I need in a custom entertainment center.
Choosing the right add-ons to unlock Kodi’s full potential
Essential plugins expand functionality and enhance your entertainment setup
While Kodi might look overly simple when first installed, think of it as a blank canvas. Beneath this clean interface lies a wealth of open-source flexibility, and Kodi boasts a native app store of add-ons that help it reach its full potential. I started by browsing Kodi’s official repository, as this is full of safe and reliable community-approved options.
Here, you’ll find a variety of familiar services, including YouTube, Twitch, and Pluto TV, for streaming content, as well as audio add-ons such as SoundCloud and Mixcloud, and a range of gaming add-ons. If you were hoping to find Spotify, this and other mainstream audio apps are available via a third-party plugin. You’ll also find numerous utility add-ons, such as Trakt, which syncs your TV history and shares playlists with the broader community, and Artist Slideshow, which creates slideshows of popular artists to use as a Kodi skin.
Custom skins and themes give Kodi a fresh new look
Personalize Kodi’s interface with stylish designs and layouts that suit your taste
Changing skins is the most effective way to personalize your Kodi interface. Kodi’s default skin is called Estuary, which is solid enough, but pretty boring. It’s fun to dive into Kodi’s customization options and try a few out; I eventually settled on Arctic: Zephyr – Reloaded, which features a minimalist aesthetic and an intuitive layout. This skin made browsing easier, and I appreciated the ability to tweak fonts and colors.
Themes add even more customization options, allowing me to change the color palette and background image to suit my living space. These minor adjustments make a big difference, as your TV takes up a lot of real estate on your wall. The process is easy, as most skins can be installed directly from the Kodi repository, and you’ll see the changes instantly.
Categorize, tag, and display your content for a better experience
It’s essential to keep your files organized if you want to get the most out of Kodi. I quickly realized the importance of correctly structuring my files in dedicated folders and naming them using a consistent format. This helps Kodi source and display accurate information from your media’s metadata, including images, descriptions, and personnel details.
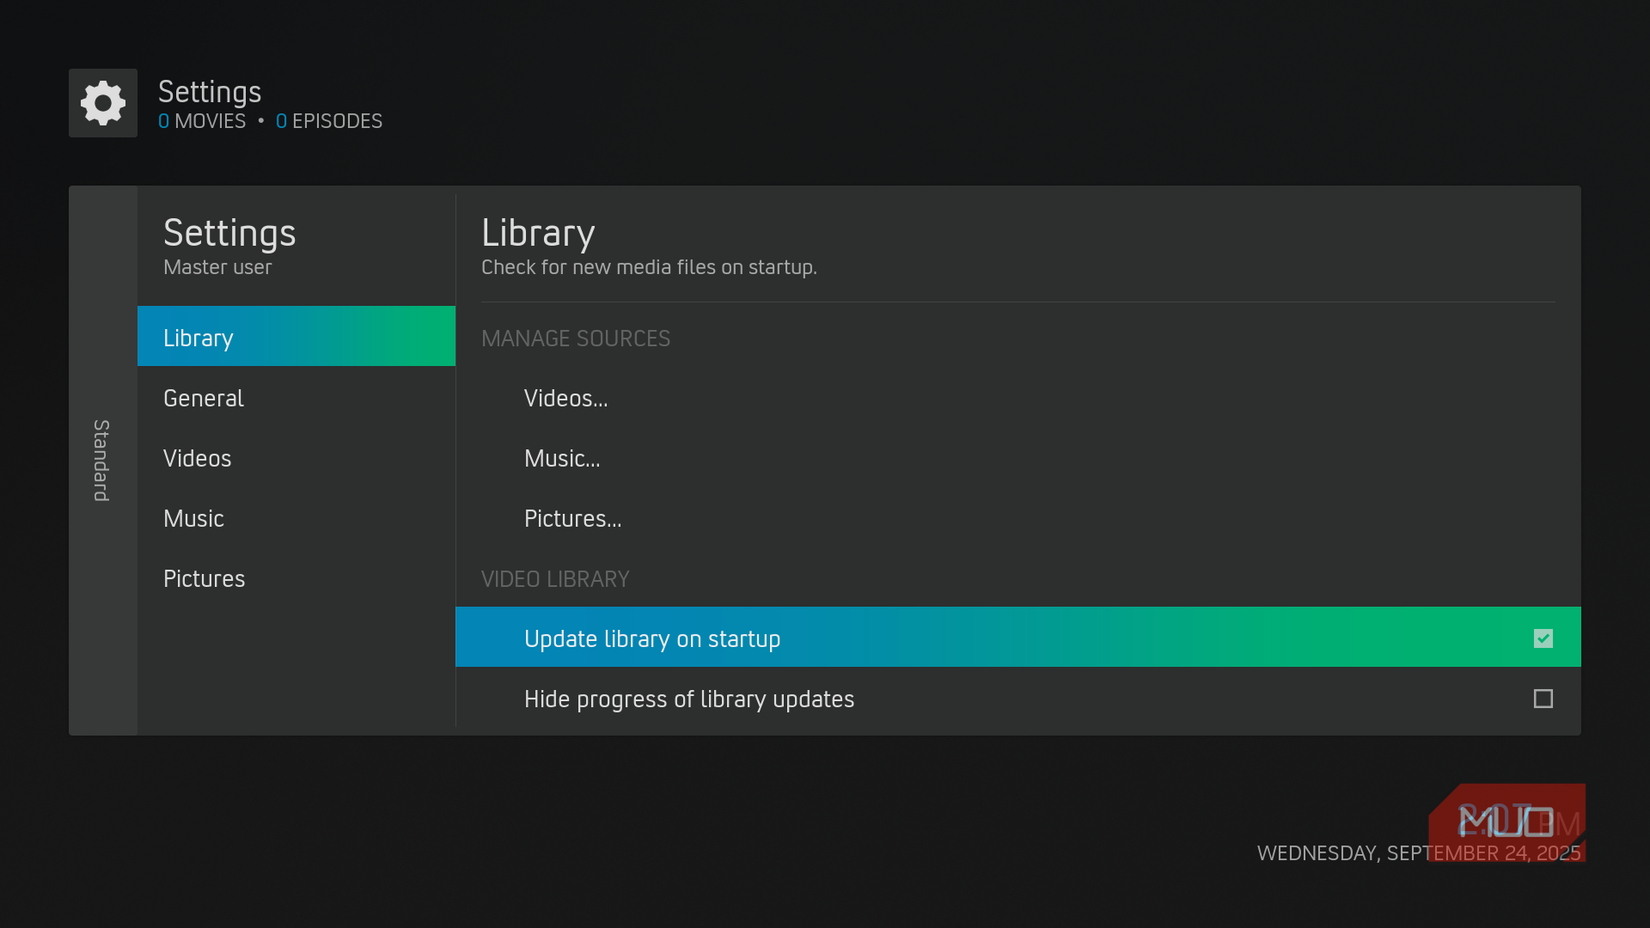
Another neat trick is to enable library updates on startup (go to Settings > Library and check the Update library on startup box) to keep things current and clean. I also installed the Universal Movie Scraper and TheTVDB add-ons to ensure my metadata is accurate. Now that everything is ship-shape, browsing my library is not only easier but it’s more comprehensive and aesthetically pleasing, with proper images, ratings, and plot summaries.
Integrating streaming services for an effortless experience
Combine local files and online platforms for an all-in-one media hub
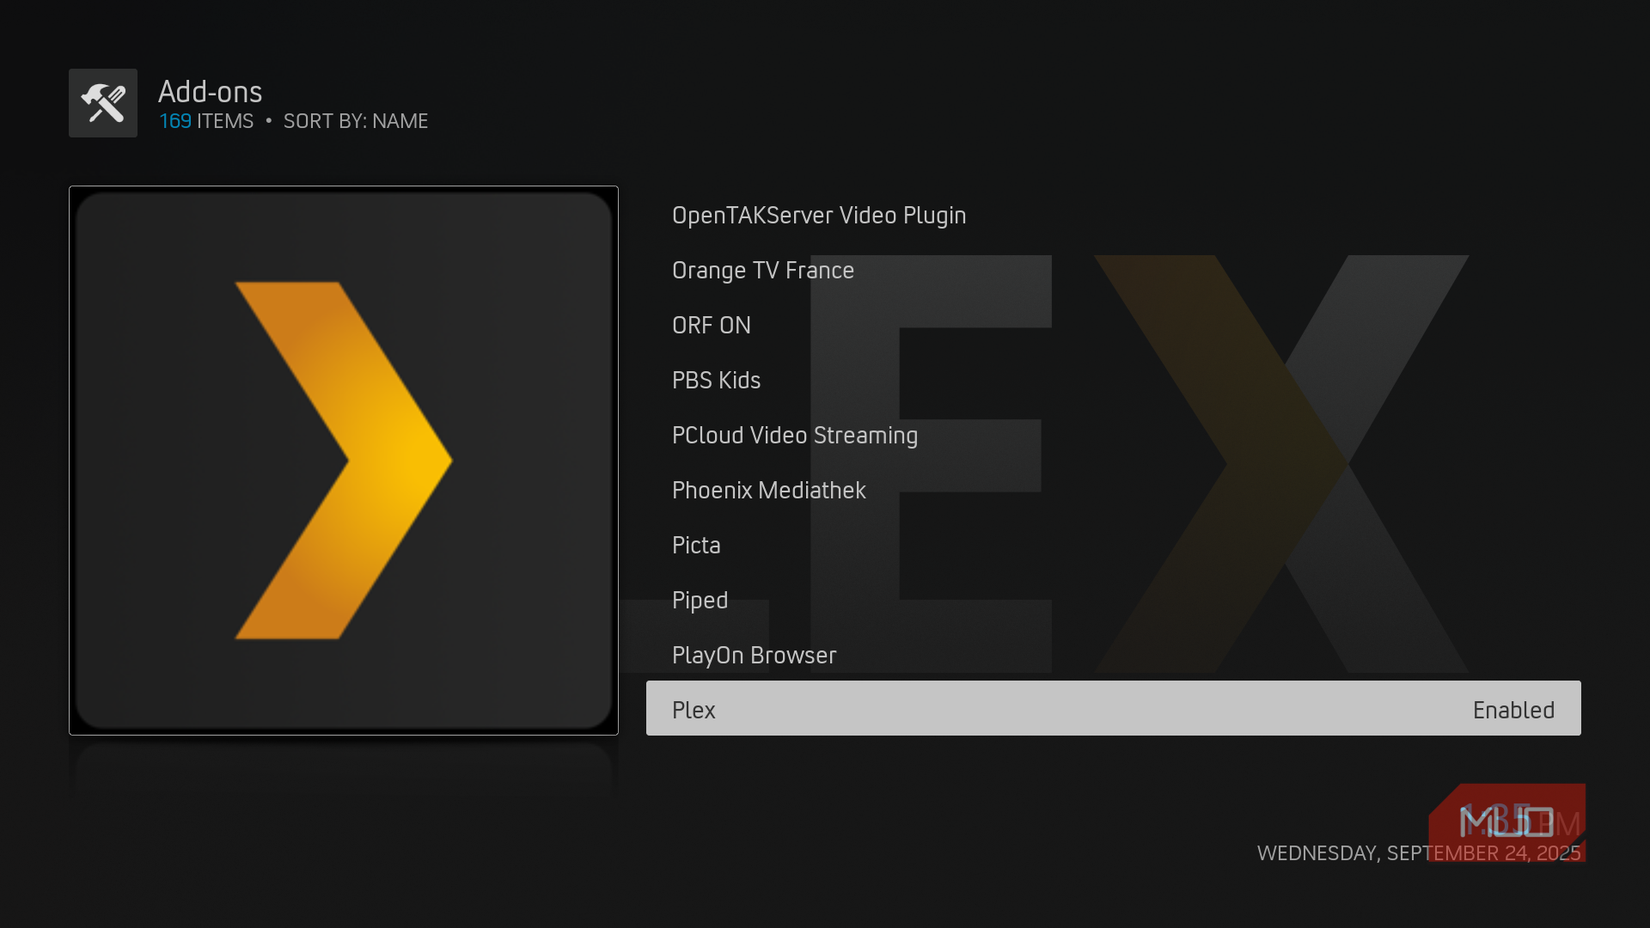
One of the things that I like best about Kodi is that everything is available from a single central hub, including all my streaming services. By connecting my Plex server via its dedicated add-on, I can access all my media and Plex’s live TV services remotely from within Kodi’s interface.
A host of well-supported (but unofficial) plugins for services like Netflix and Disney+ are available in Kodi, although these require a bit more effort to set up. You’ll also find official IPTV options for live TV streaming and a native personal video recorder. Having all these services under one umbrella is what makes Kodi special, as it allows you to browse everything you need without the tedium of switching between apps.
Tweaks that optimize performance and make everything smoother
Fine-tune settings and tools to boost speed, stability, and usability
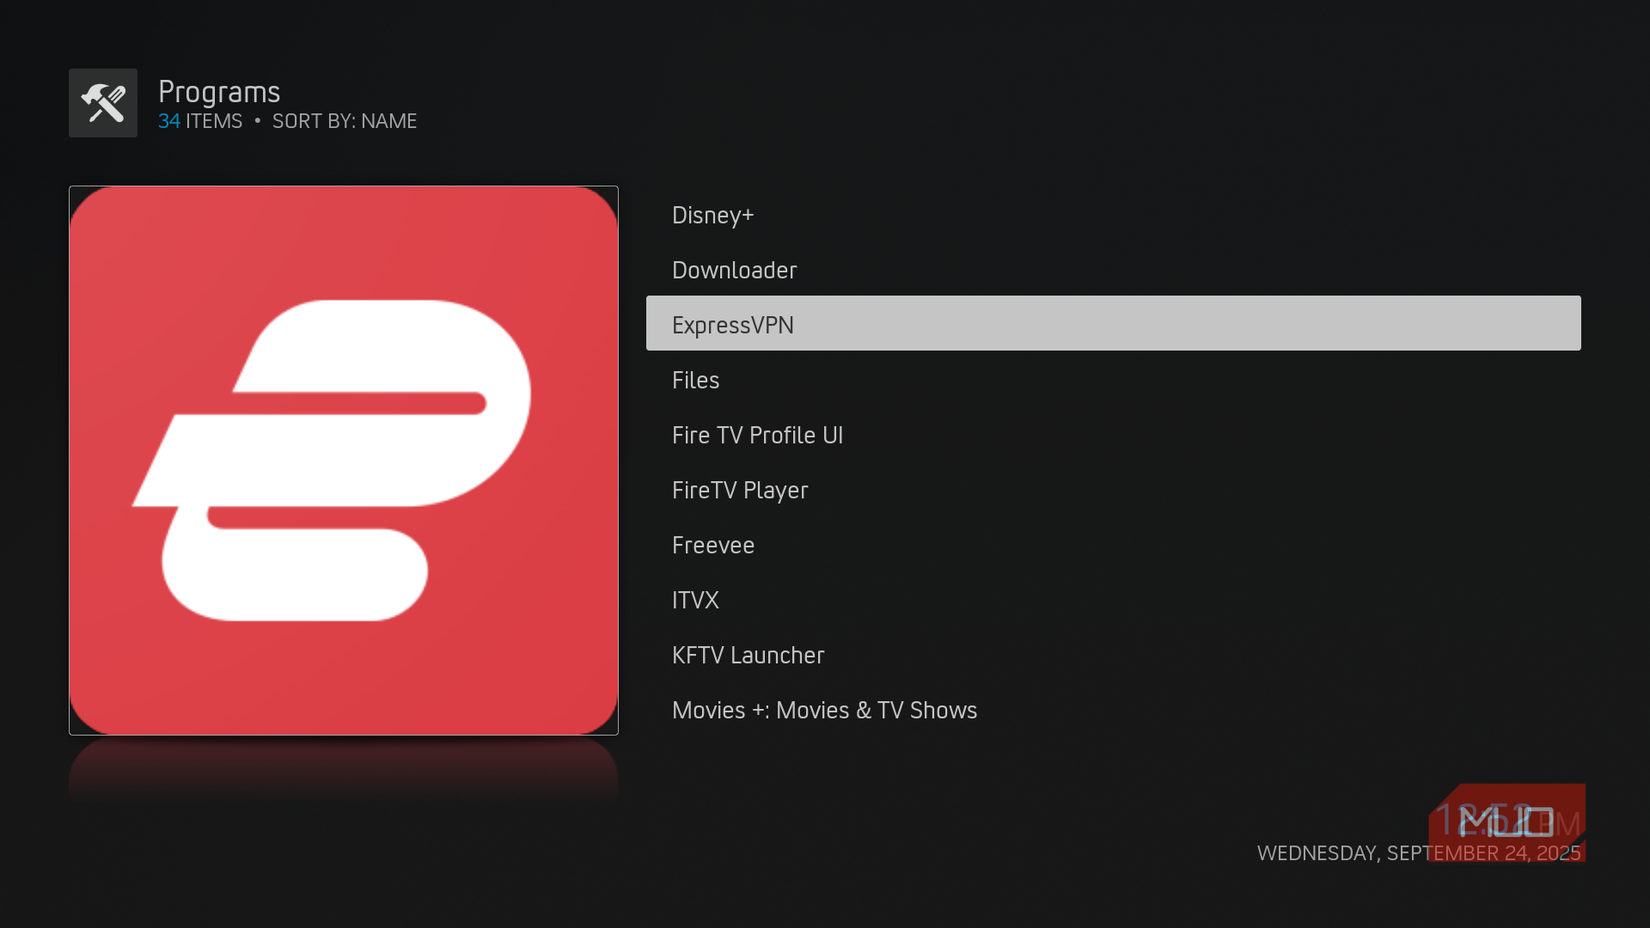
While Kodi is certainly powerful, it felt a little sluggish on my Fire TV Stick when I first installed it. After some digging, I found a few ways to optimize it to make it run more smoothly. First, I added the Texture Cache Maintenance utility to clear my cache regularly and limited background processes on my Fire TV Stick, which improved Kodi’s responsiveness. I also made sure to delete unnecessary add-ons and skins I wasn’t using, which freed up system resources and kept things tidy. Finally, I installed a VPN on my Fire TV Stick (accessible via Kodi) as an extra layer of security.
While seemingly minor, these optimizations transformed Kodi from an acceptable media player into a significantly faster and more usable hub. I now experience smooth playback, quick navigation, and virtually no crashes.
Why my customized Kodi setup feels perfect
It took time to explore the various customization options, test add-ons, and refine my Kodi preferences, but now I have a media hub tailored to my specific requirements. I love that I can watch movies, view my personal media collection, and browse live TV news, all without leaving the Kodi interface.
One of the best parts is that, due to Kodi’s open-source nature, my setup will continue to evolve, and there’s always room for experimentation as I eventually grow tired of its aesthetics or seek new services. Kodi started out as just another app on my Fire TV Stick, but with a little effort, it has become the centerpiece of my home entertainment system. If you’re also willing to explore its settings and spend time checking out the numerous community resources, you can customize your Kodi and unlock its full potential.


