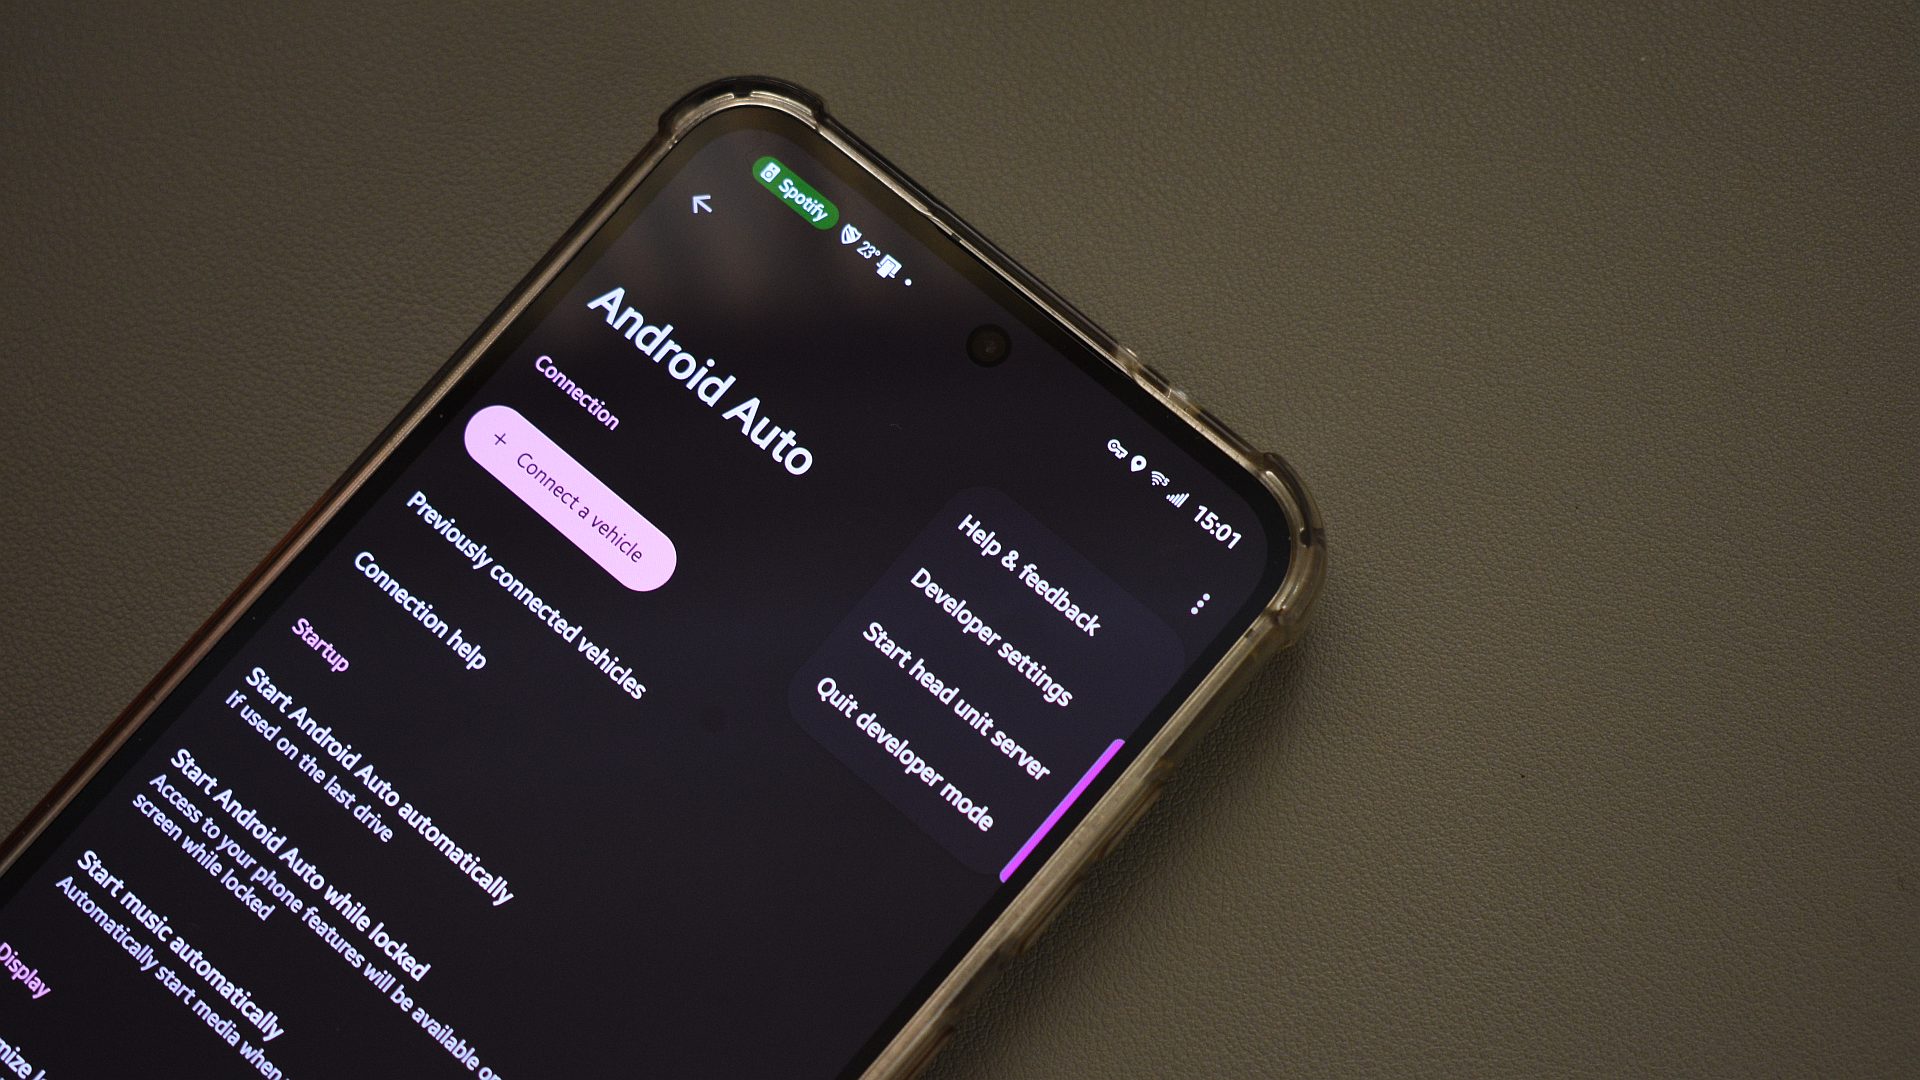
If you’ve been using an Android phone for a few years now, chances are, you are familiar with almost all the hidden features available. But beyond those, there’s a secret world tucked away in the Developer Options menu that you may not be aware of. And no, these aren’t just tools for app developers. Inside, you’ll find playful, practical, and sometimes downright quirky tweaks that can change how your phone looks, feels, and behaves.
From faking your location to speeding up animations, adjusting display density, or visualizing every tap, these hidden settings let you personalize your device in ways the standard menus simply don’t allow.
The Developer Options isn’t enabled by default on Android phones. To access it, head to Settings > About phone > Software information and tap the Build number seven times. Enter your lock screen password, and you’ll see the Developer Options menu appear in the Settings app.
5
Fake your location
Trick apps and friends with fake locations
One of the features that made me dive into the Developer Options menu back in the day was “Mock Locations.” If you’ve ever wanted to trick an app into thinking you’re somewhere else or pull a playful prank on a friend by sharing a fake location, this is your golden ticket.
Once you unlock Developer Options, you can let certain apps simulate your GPS location. Imagine appearing to be in Tokyo while you’re actually sipping coffee in your living room. It’s surprisingly easy to set up. To start, you need to download a location spoofer app from the Play Store, like Fake GPS location. Then, head to Developer Options, find Select mock location app, and choose the app from the list.
After that, open the Fake GPS location app, pick a location anywhere in the world, and set it as your current location. Your phone will then think you’re actually there.
4
Tweak display density
Make everything fit just right
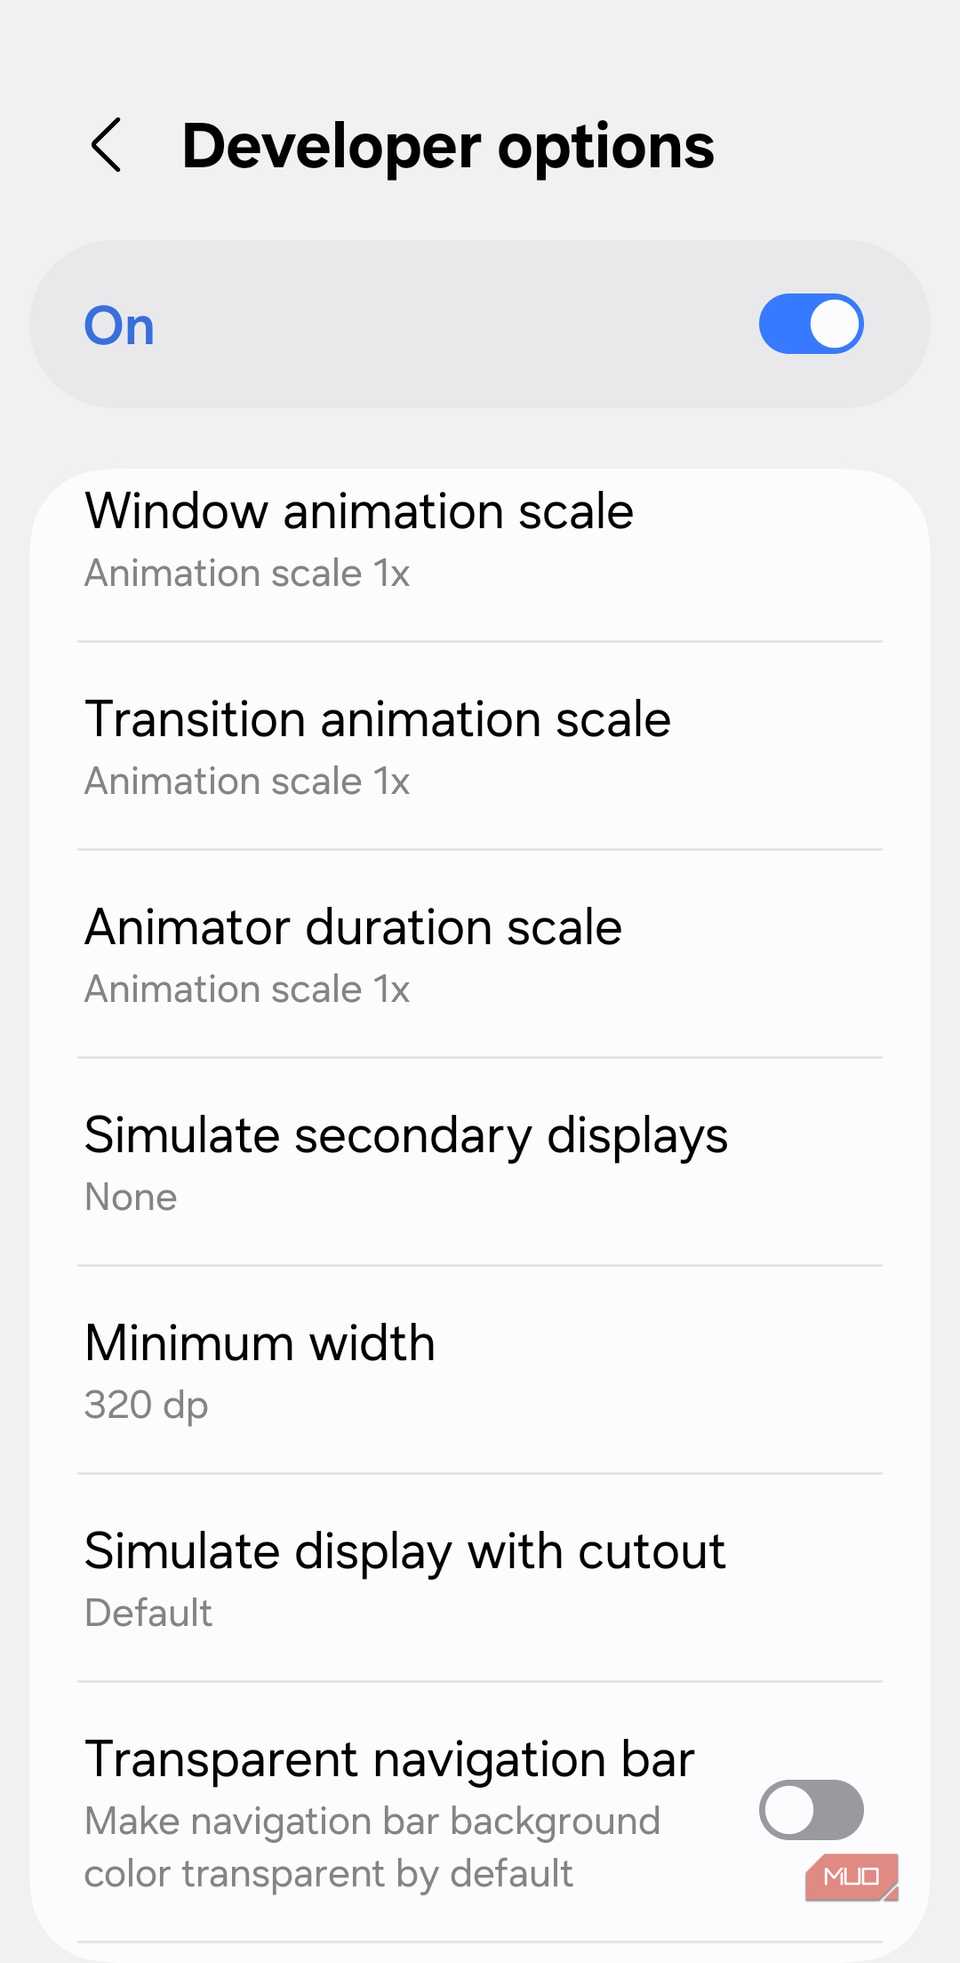
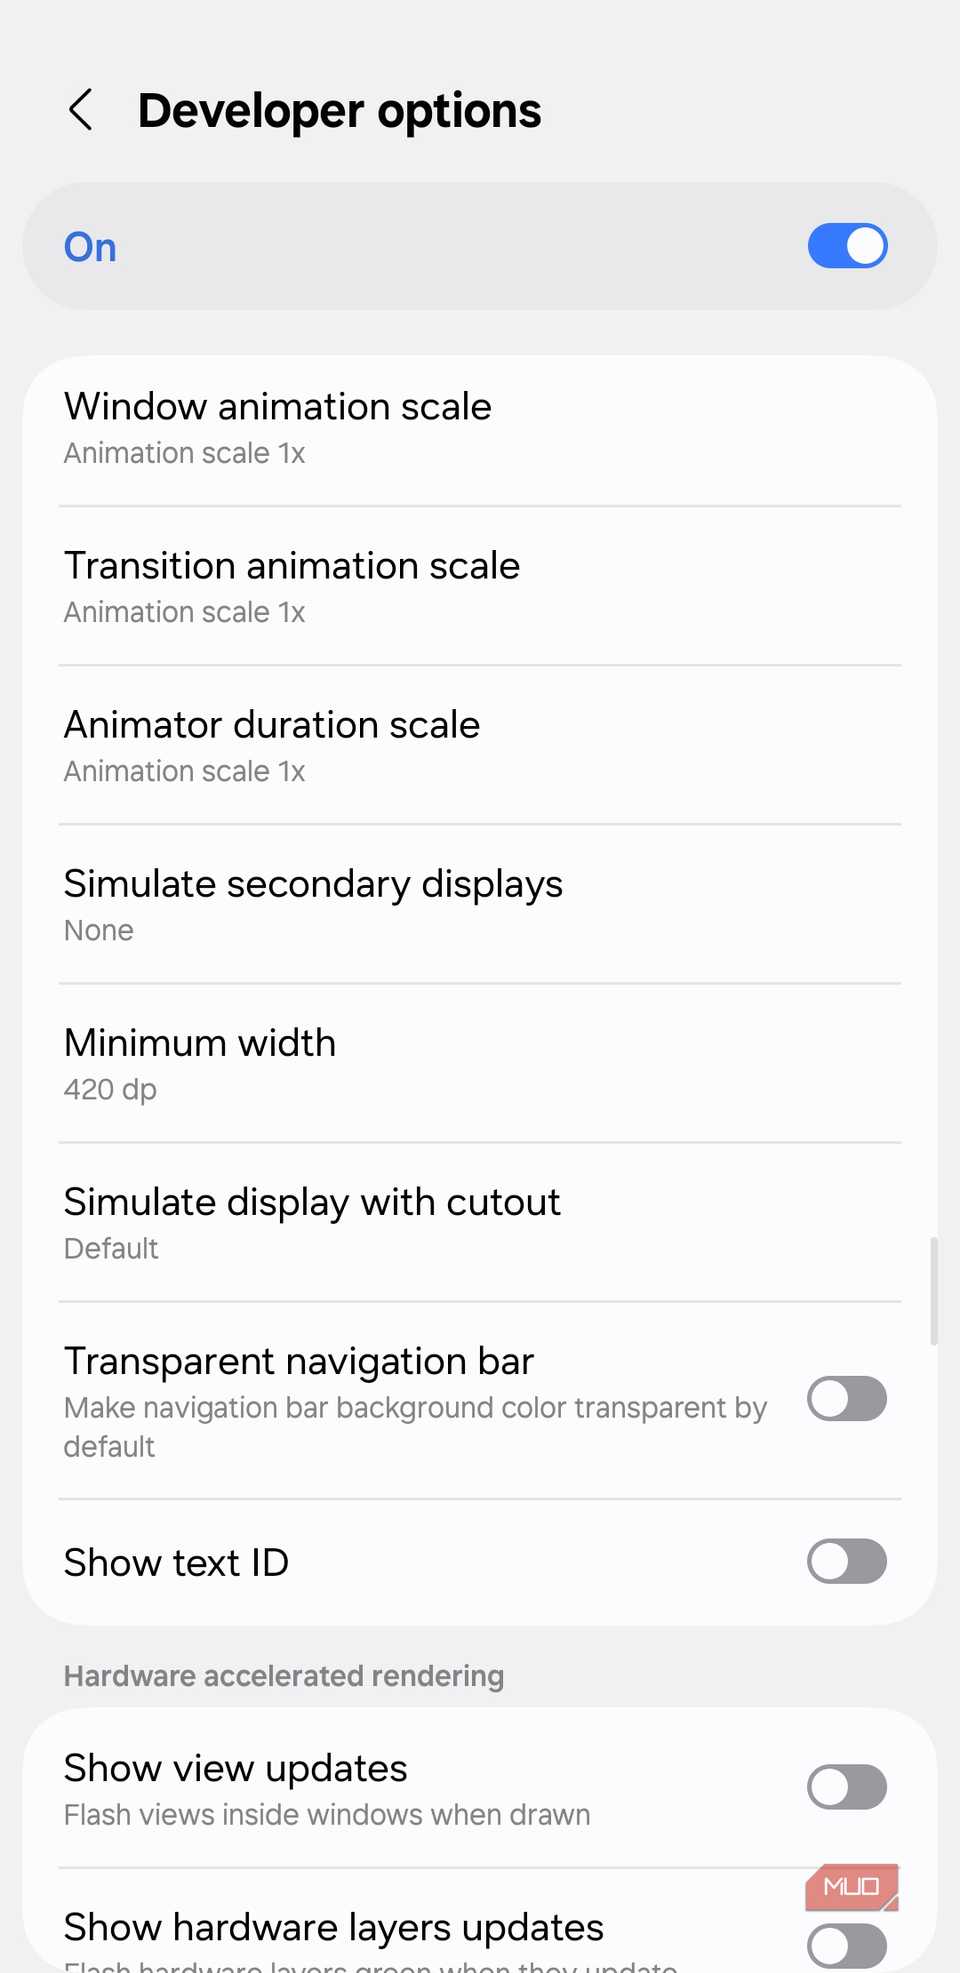
It’s possible to adjust the text and icon size on Android phones, but if you want more control or want to tweak everything at once, the Display Density setting in Developer Options is your secret weapon. This feature lets you adjust the size of icons, text, and other interface elements by changing your device’s DPI, or dots per inch.
To play around with it, go to Developer Options, scroll to Smallest width or Minimum width, and tweak the number. A higher number makes everything smaller, while a lower number makes everything bigger. Don’t worry—you can always reset it if things get a little too wild. This is quite useful if you want to be able to see more content at a glance or just make everything easier to read.
3
Control animation speed
Slow it down for drama, speed it up for fun
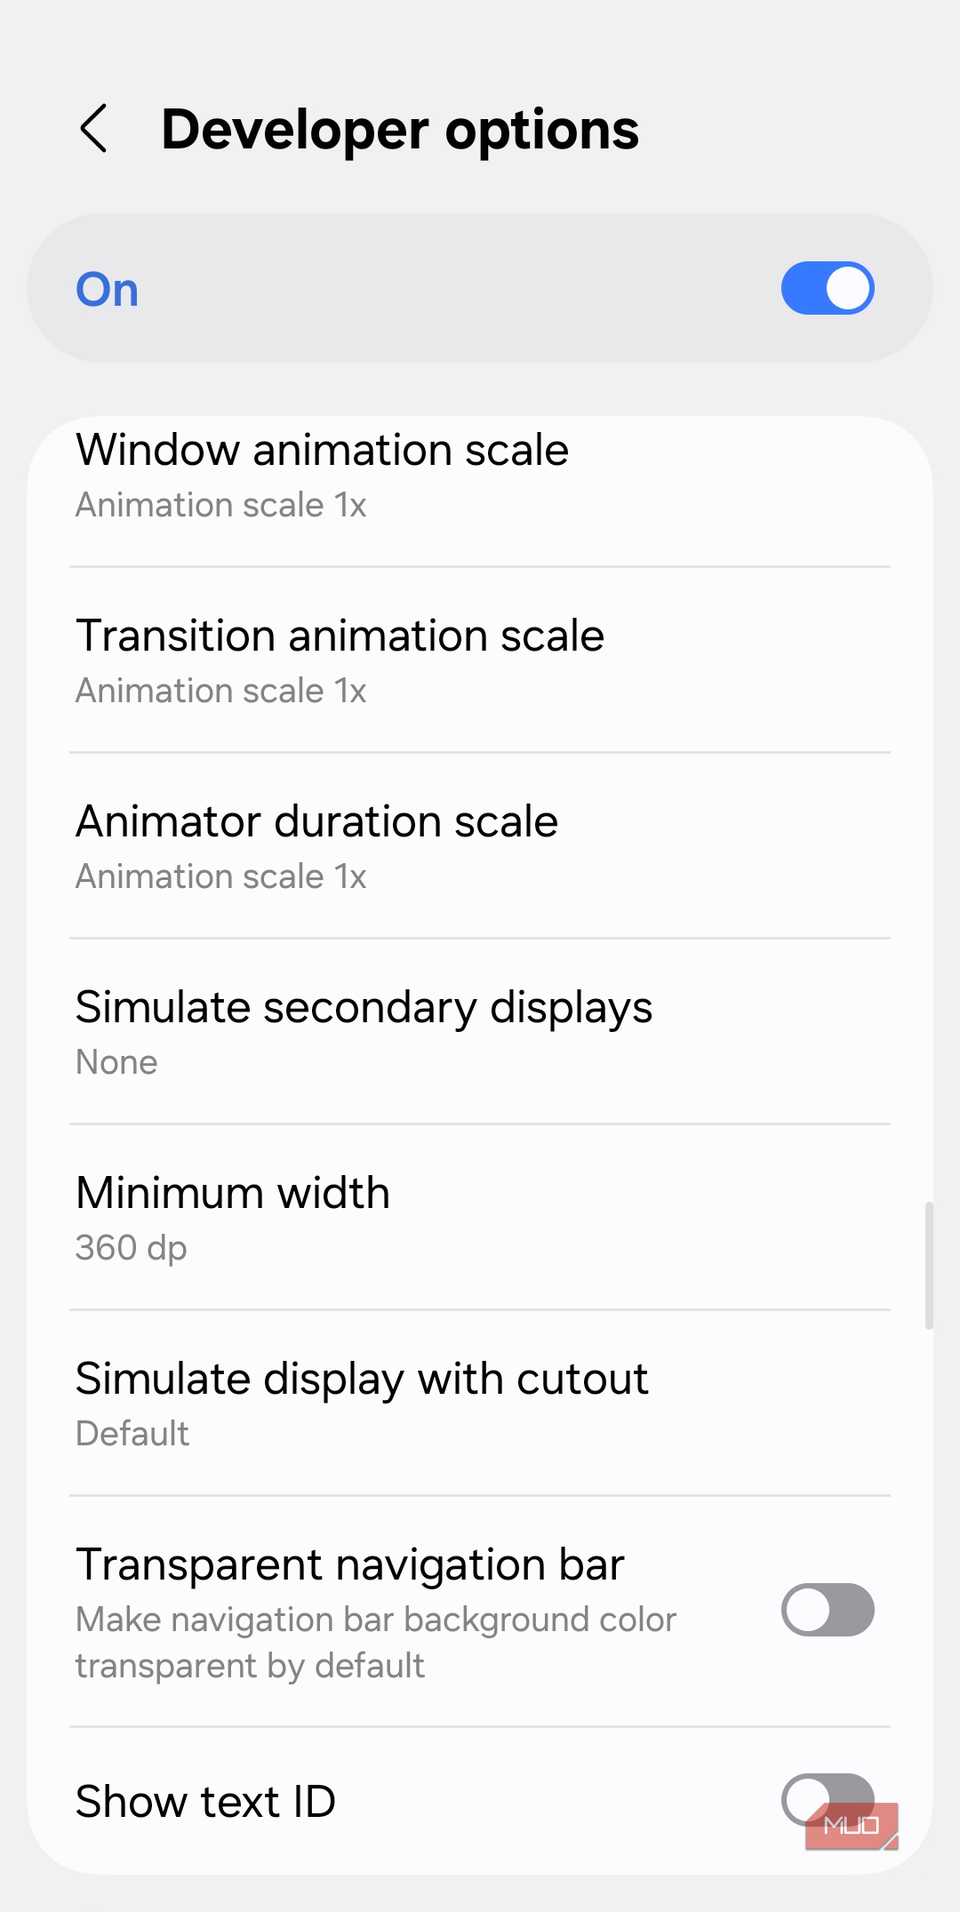
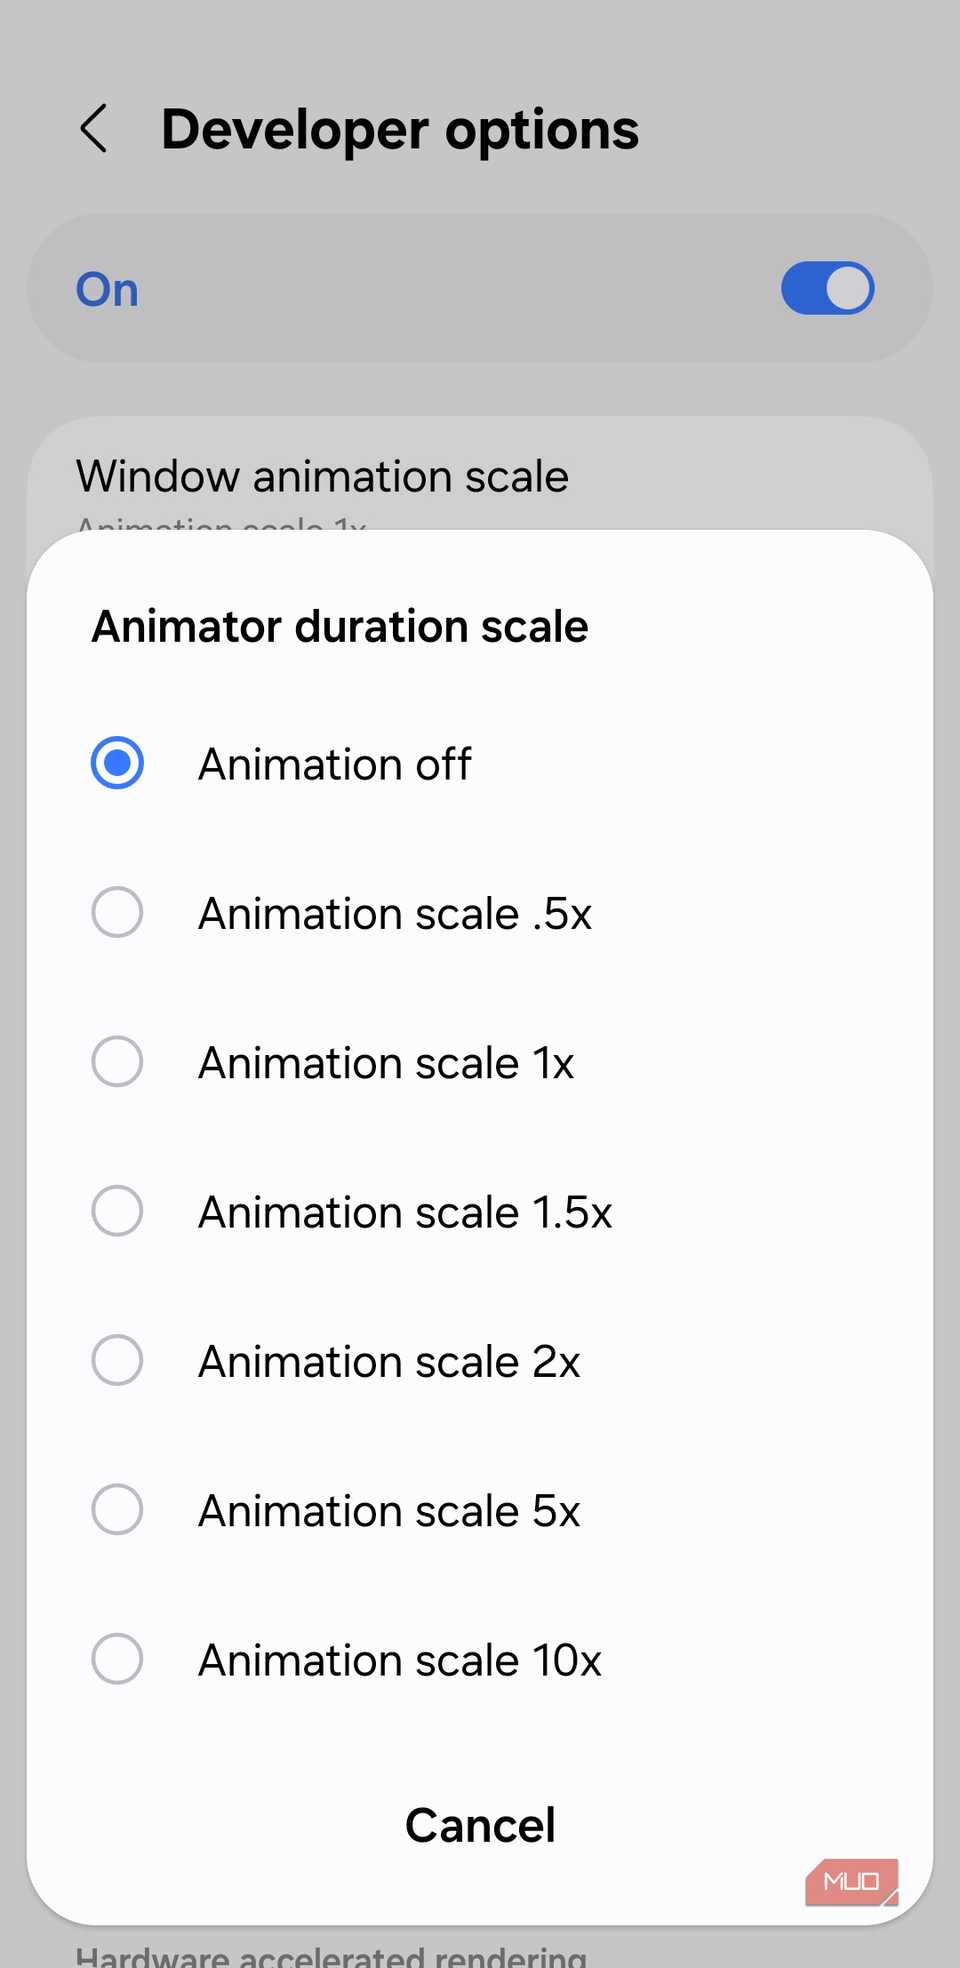
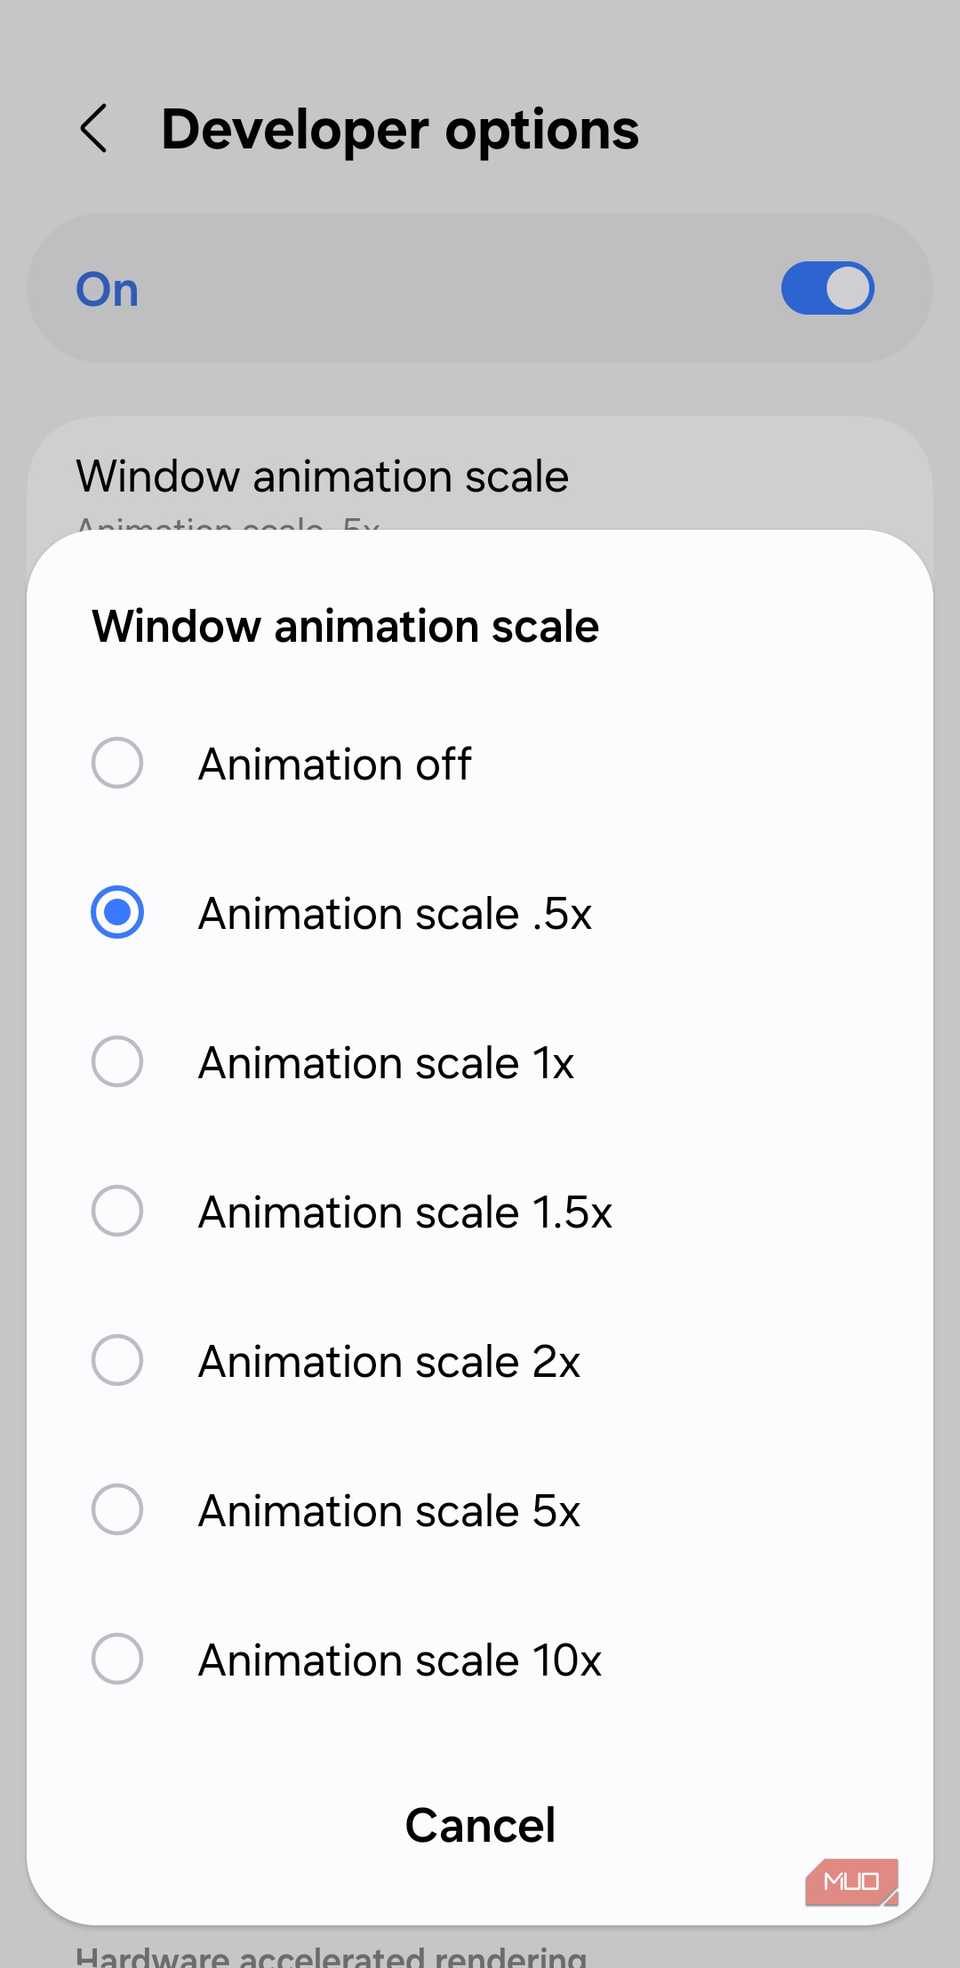
You may not realize it, but your Android phone is full of animations. Every time you open menus, minimize apps, or switch between screens, your device is quietly showing off smooth transitions. By default, these animations run at the same speed whether you’re on an entry-level phone or a flagship powerhouse.
Developer Options lets you take control with Window animation scale, Transition animation scale, and Animator duration scale. By lowering these values, you can make your phone feel faster and more responsive. Crank them up to make everything glide slowly and dramatically, or dial them down to 0.5x—or even turn them off entirely—to give your old phone a lightning-fast feel.
2
See refresh rate
Know exactly when it hits 120Hz
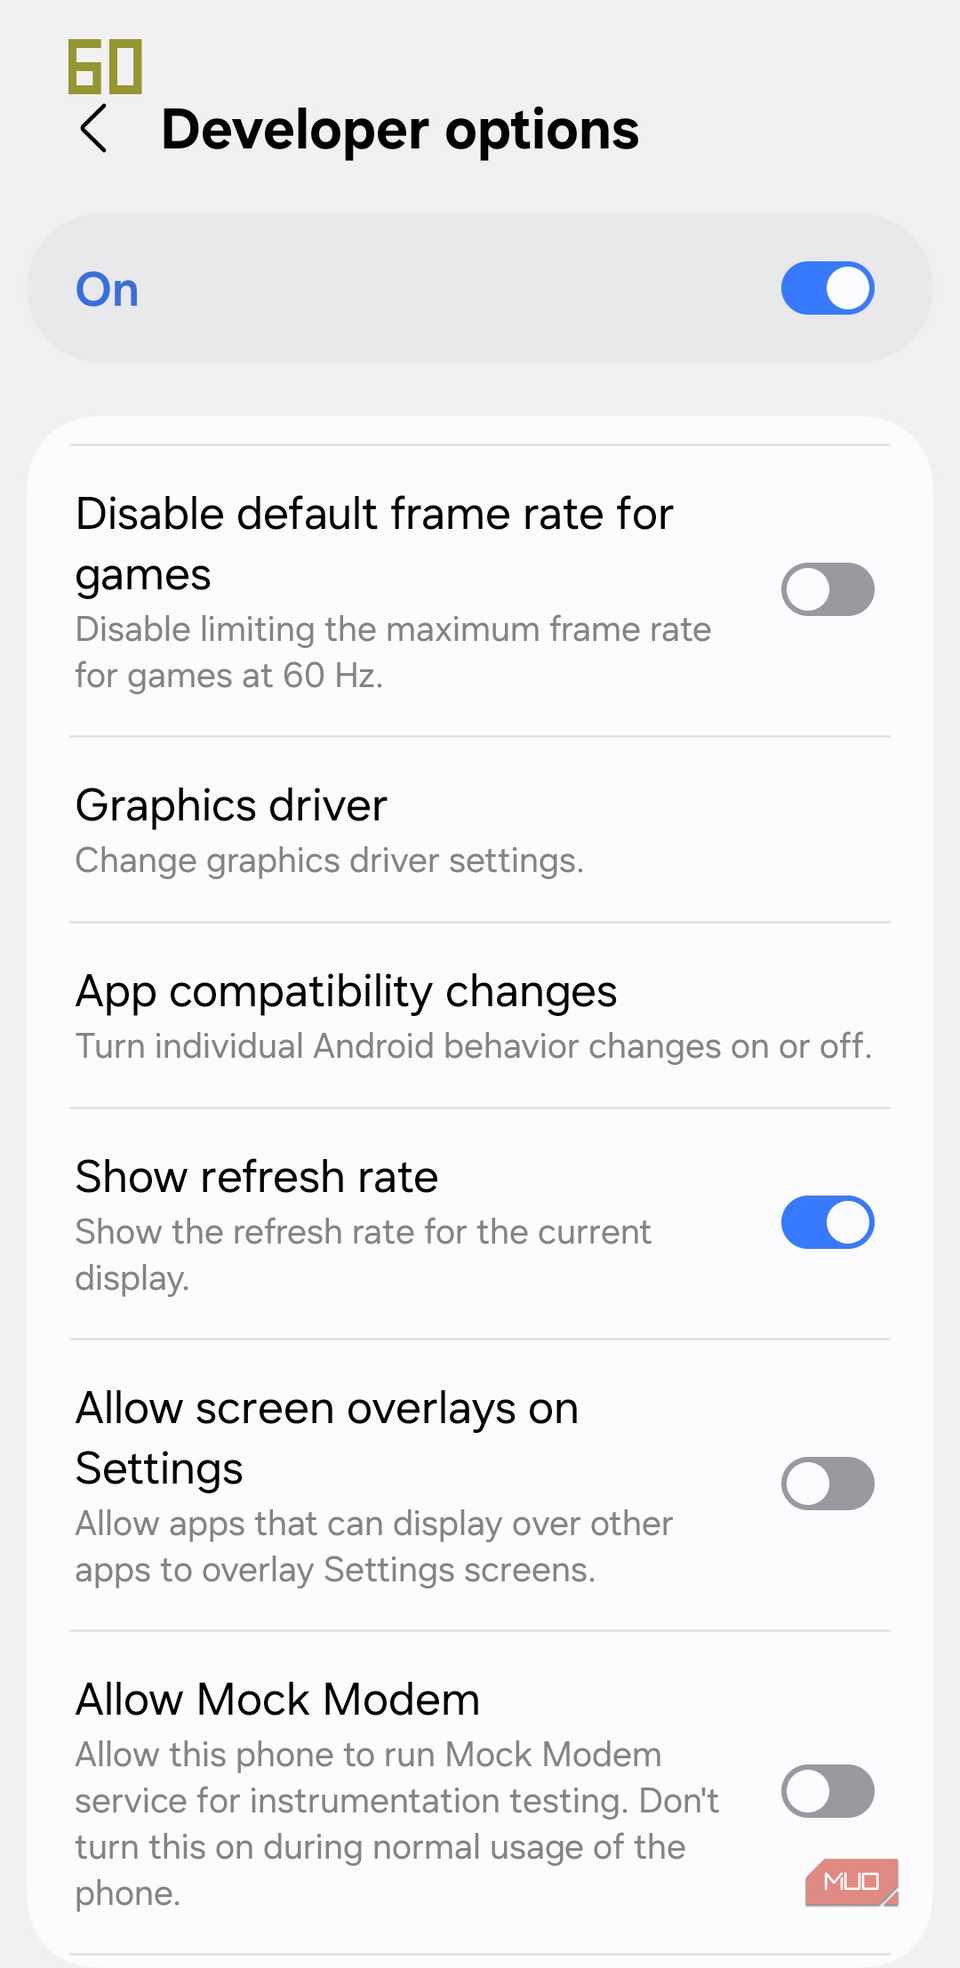
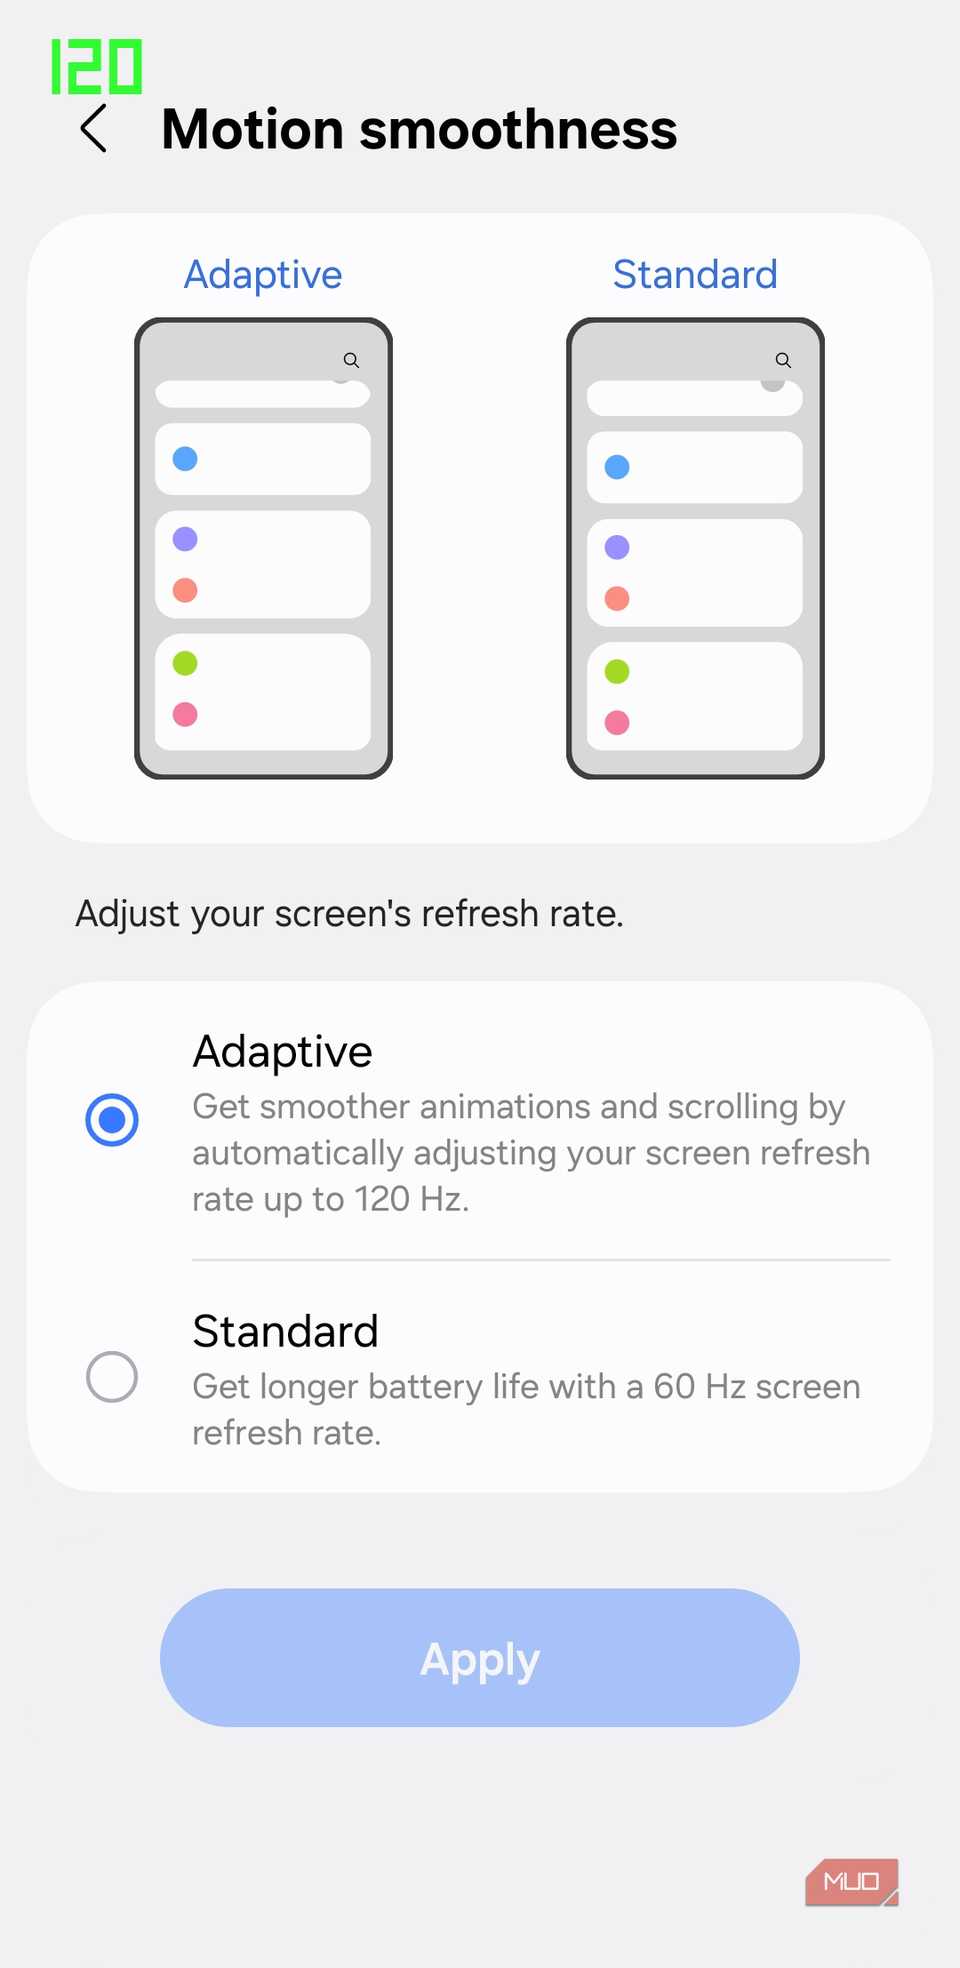
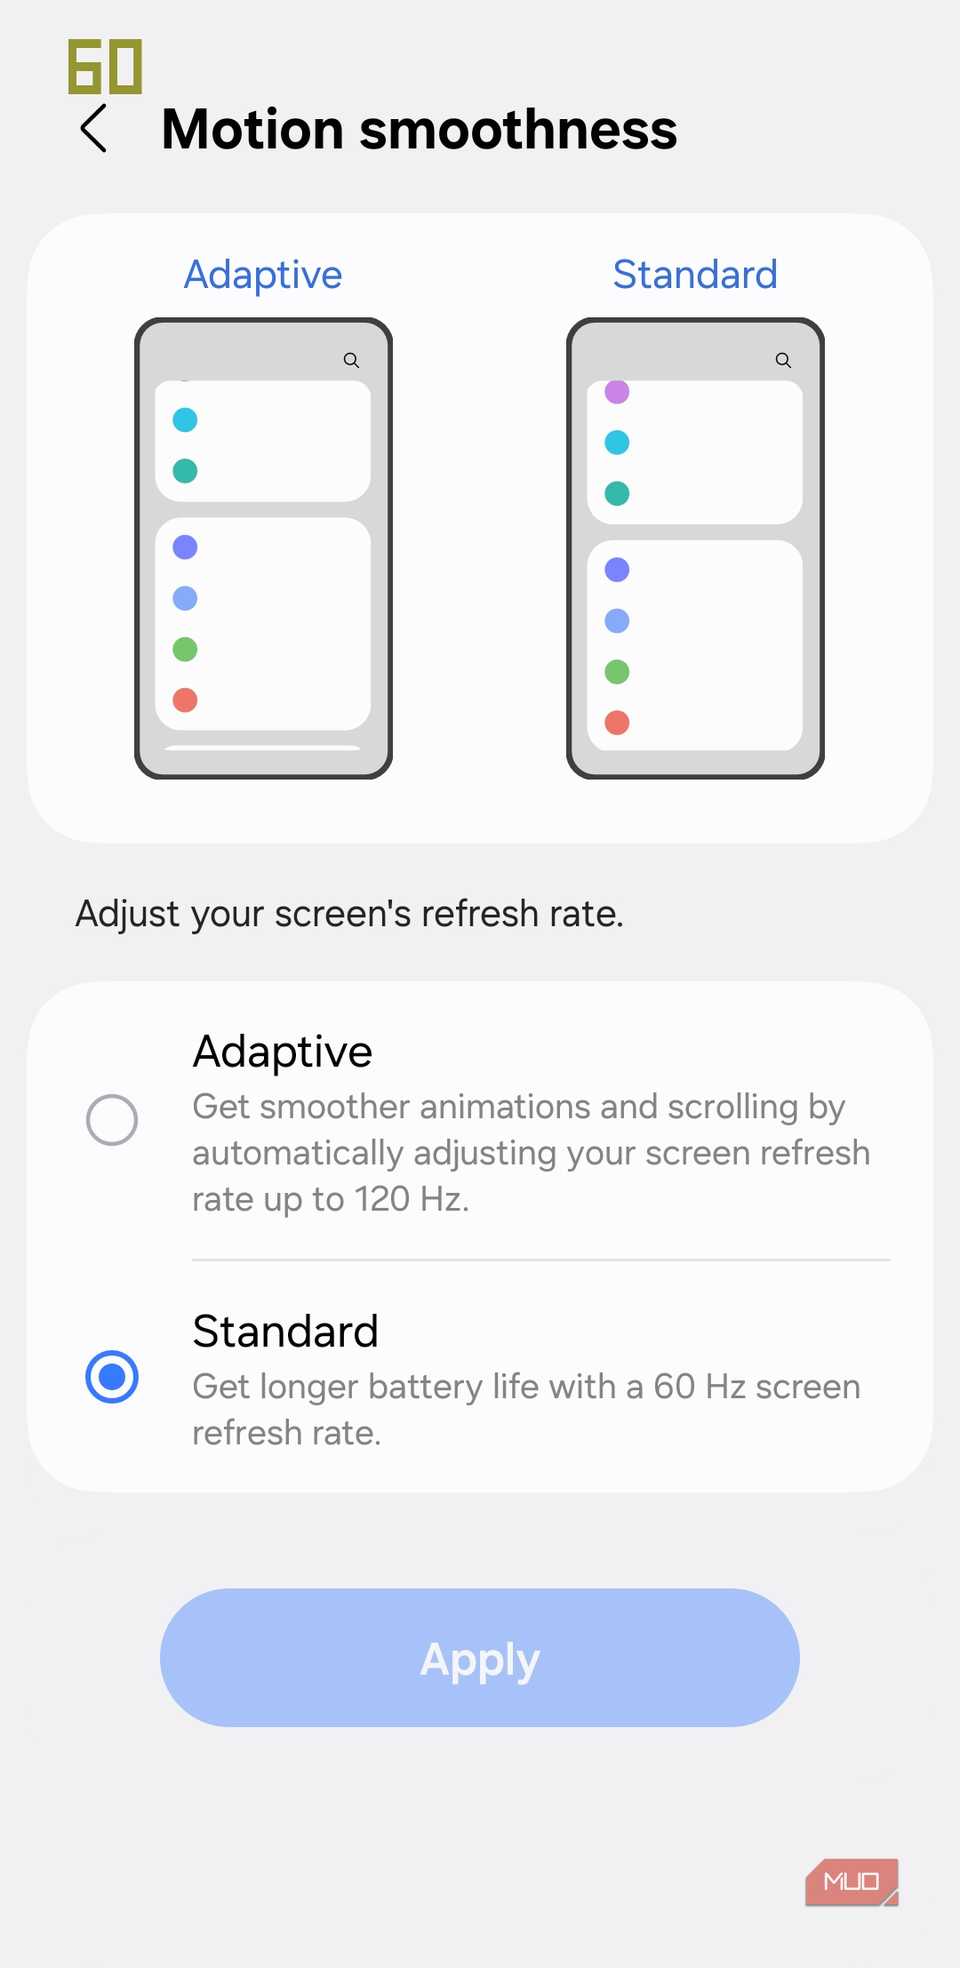
Most Android phone manufacturers love to advertise “120Hz” or other high refresh rates. In reality, your phone automatically adjusts the refresh rate depending on the content to save battery and provide a smoother experience. If you’re curious about how smooth everything really is while gaming or scrolling, Developer Options lets you take a closer look.
In Developer Options, look for the Show refresh rate option and enable it. Once activated, a small indicator appears on your screen, usually in the corner, displaying the current refresh rate in real time. This is especially handy if you’re using a device with a variable refresh rate that changes depending on the app or game. You can see exactly when your screen is running at full 120Hz, dropping to 60Hz, or somewhere in between.
1
See taps
Visualize every swipe, tap, and drag
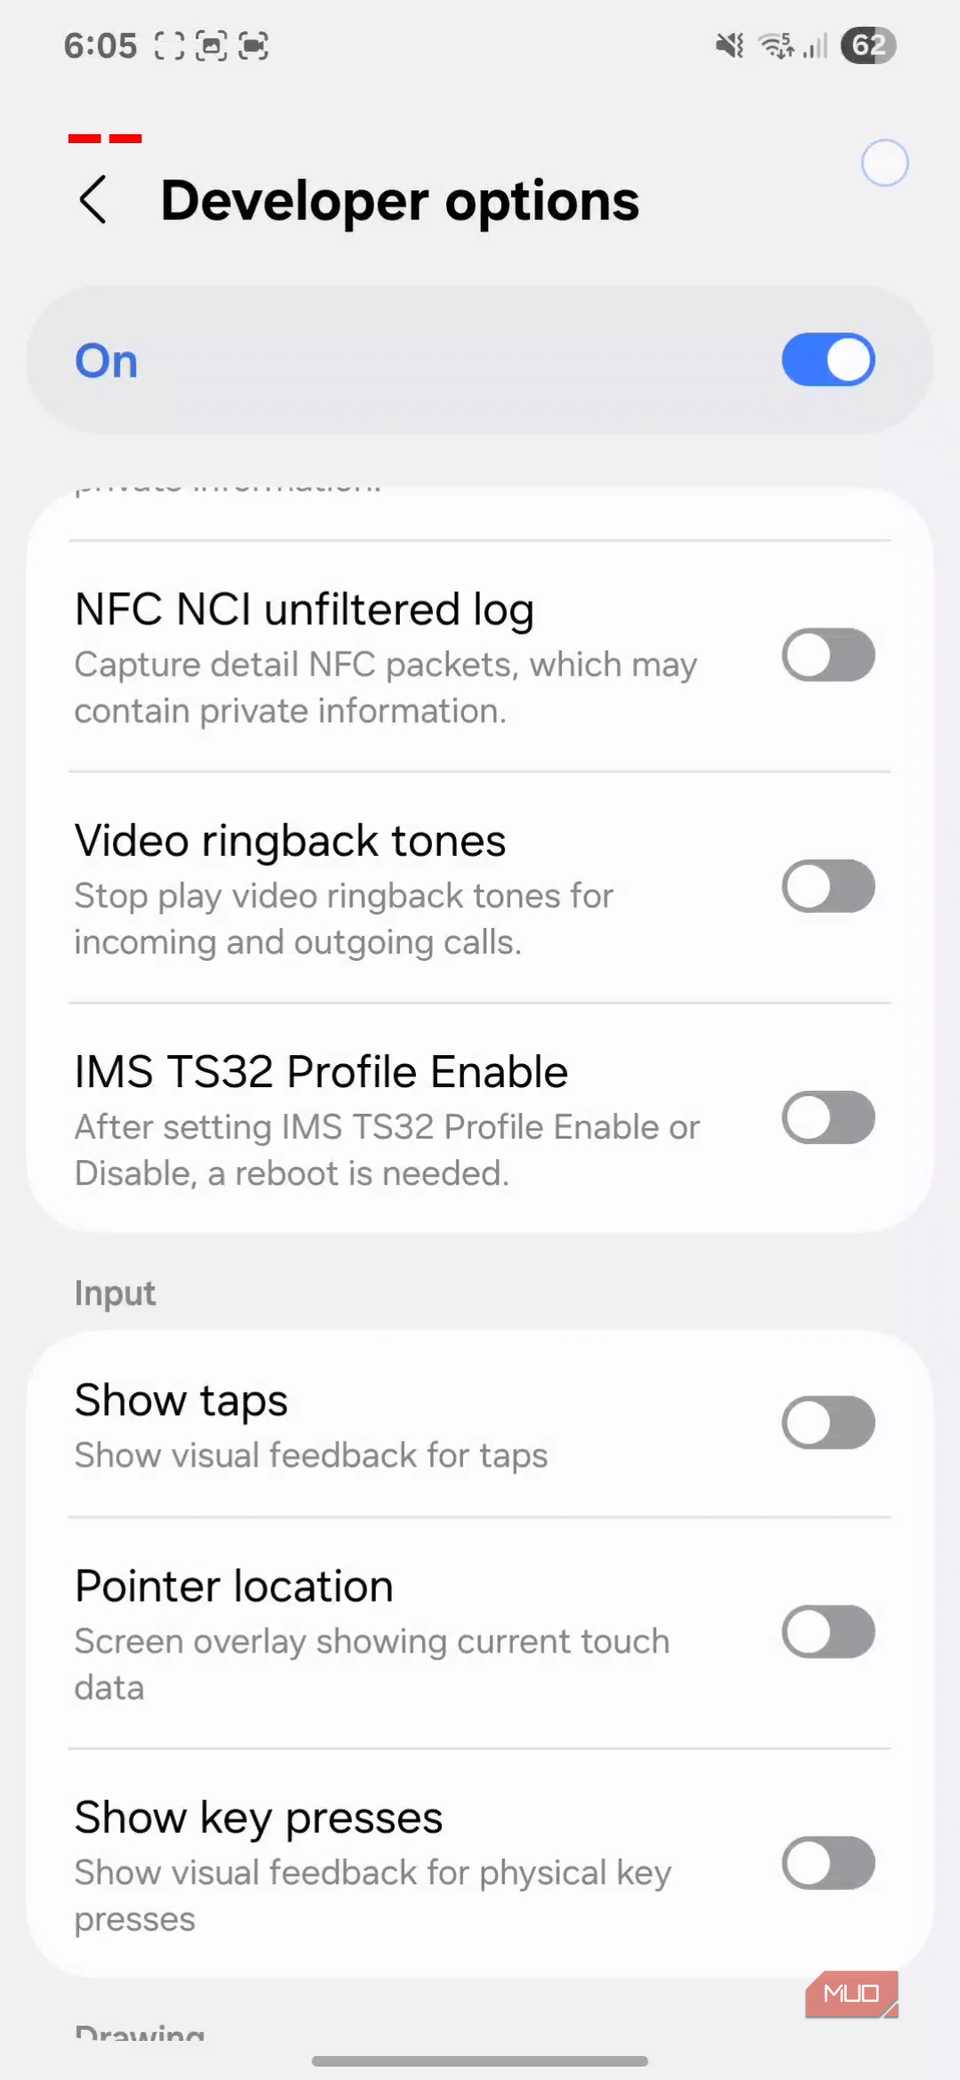
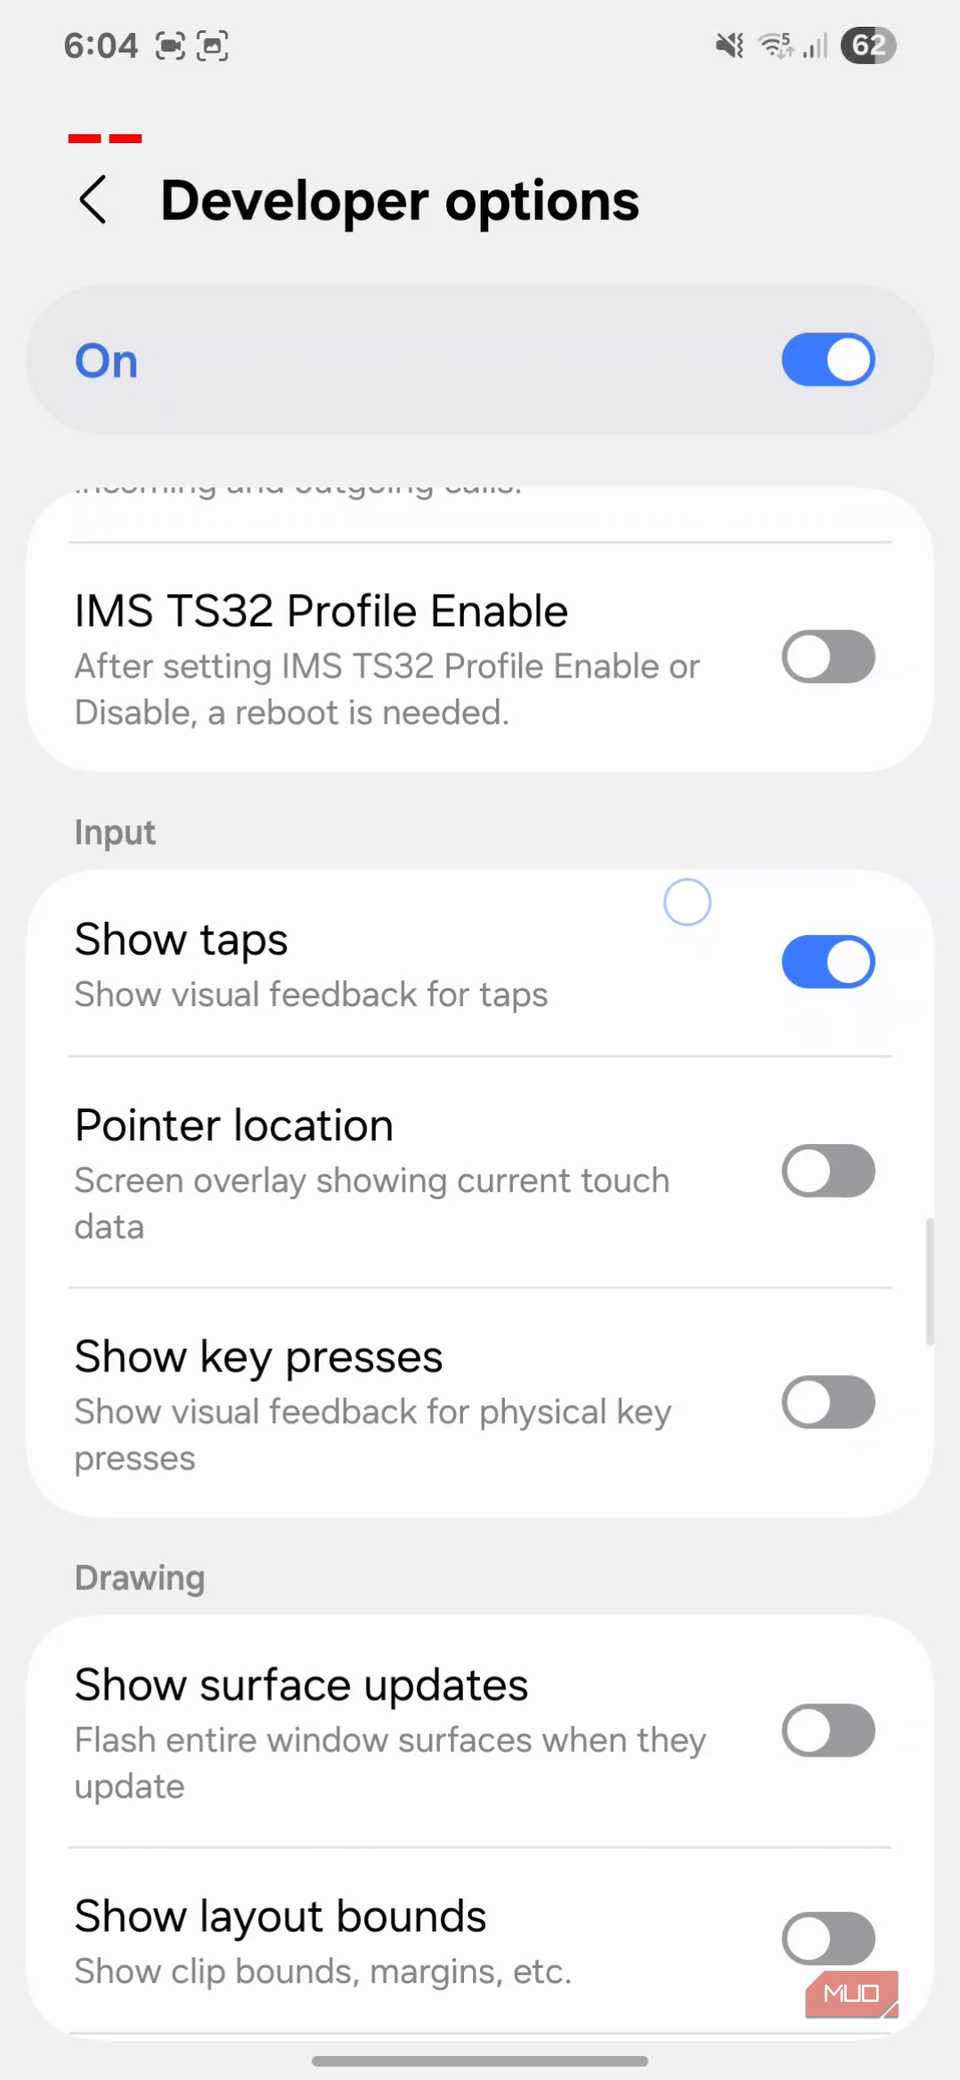
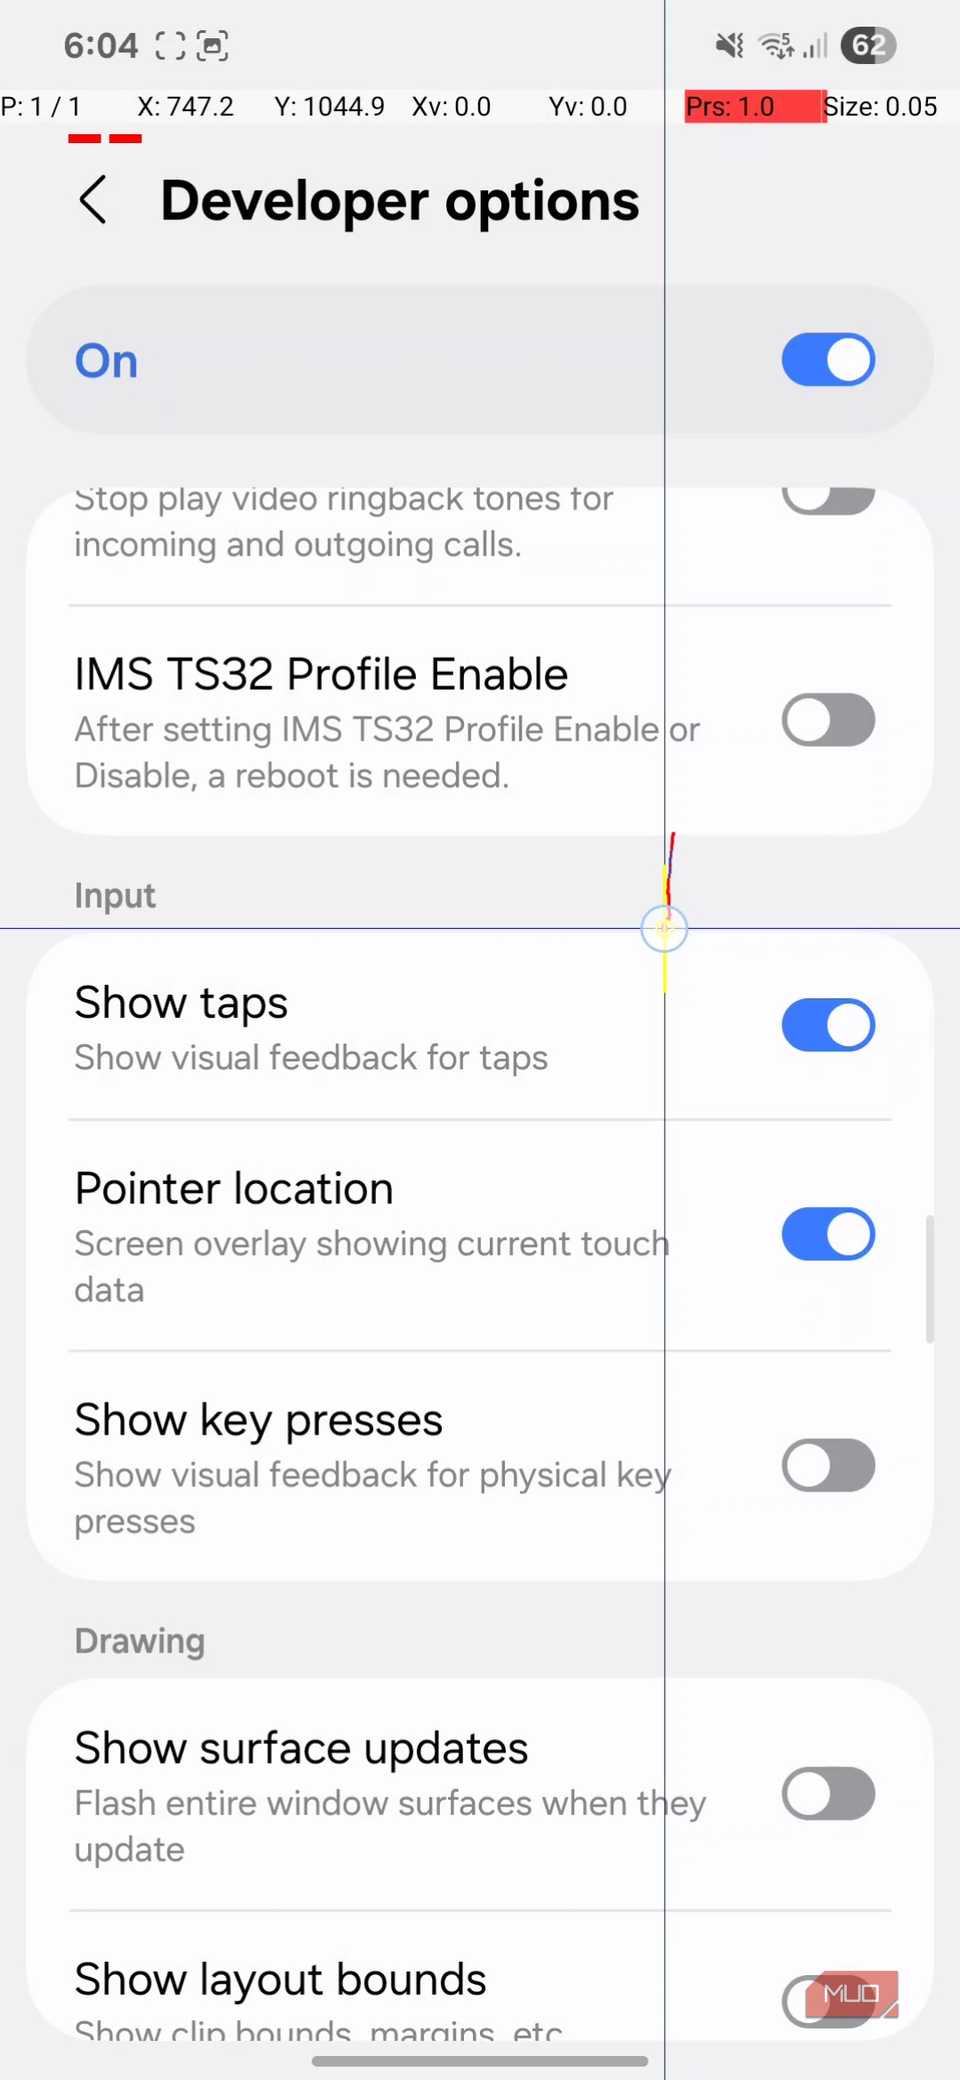
Developer Options lets you visualize every touch with the Show taps feature. Once enabled, every time you tap, swipe, or drag on your screen, a small circle appears to mark the action.
This is especially handy if you’re creating tutorials, recording app demos, or just want to make sure your phone isn’t ignoring your input. It’s also oddly satisfying to see your fingers “paint” the screen with each interaction.
To enable it, simply head to Developer Options and turn on Show taps. If you want to take it a step further, you can also enable Pointer location, which tracks your touch movements with detailed coordinates and paths.
Most Android users never venture into the Developer Options menu, and that’s a shame. While some of these settings in Developer Options aren’t meant to be changed without caution, this menu also hides features that are fun and useful.


