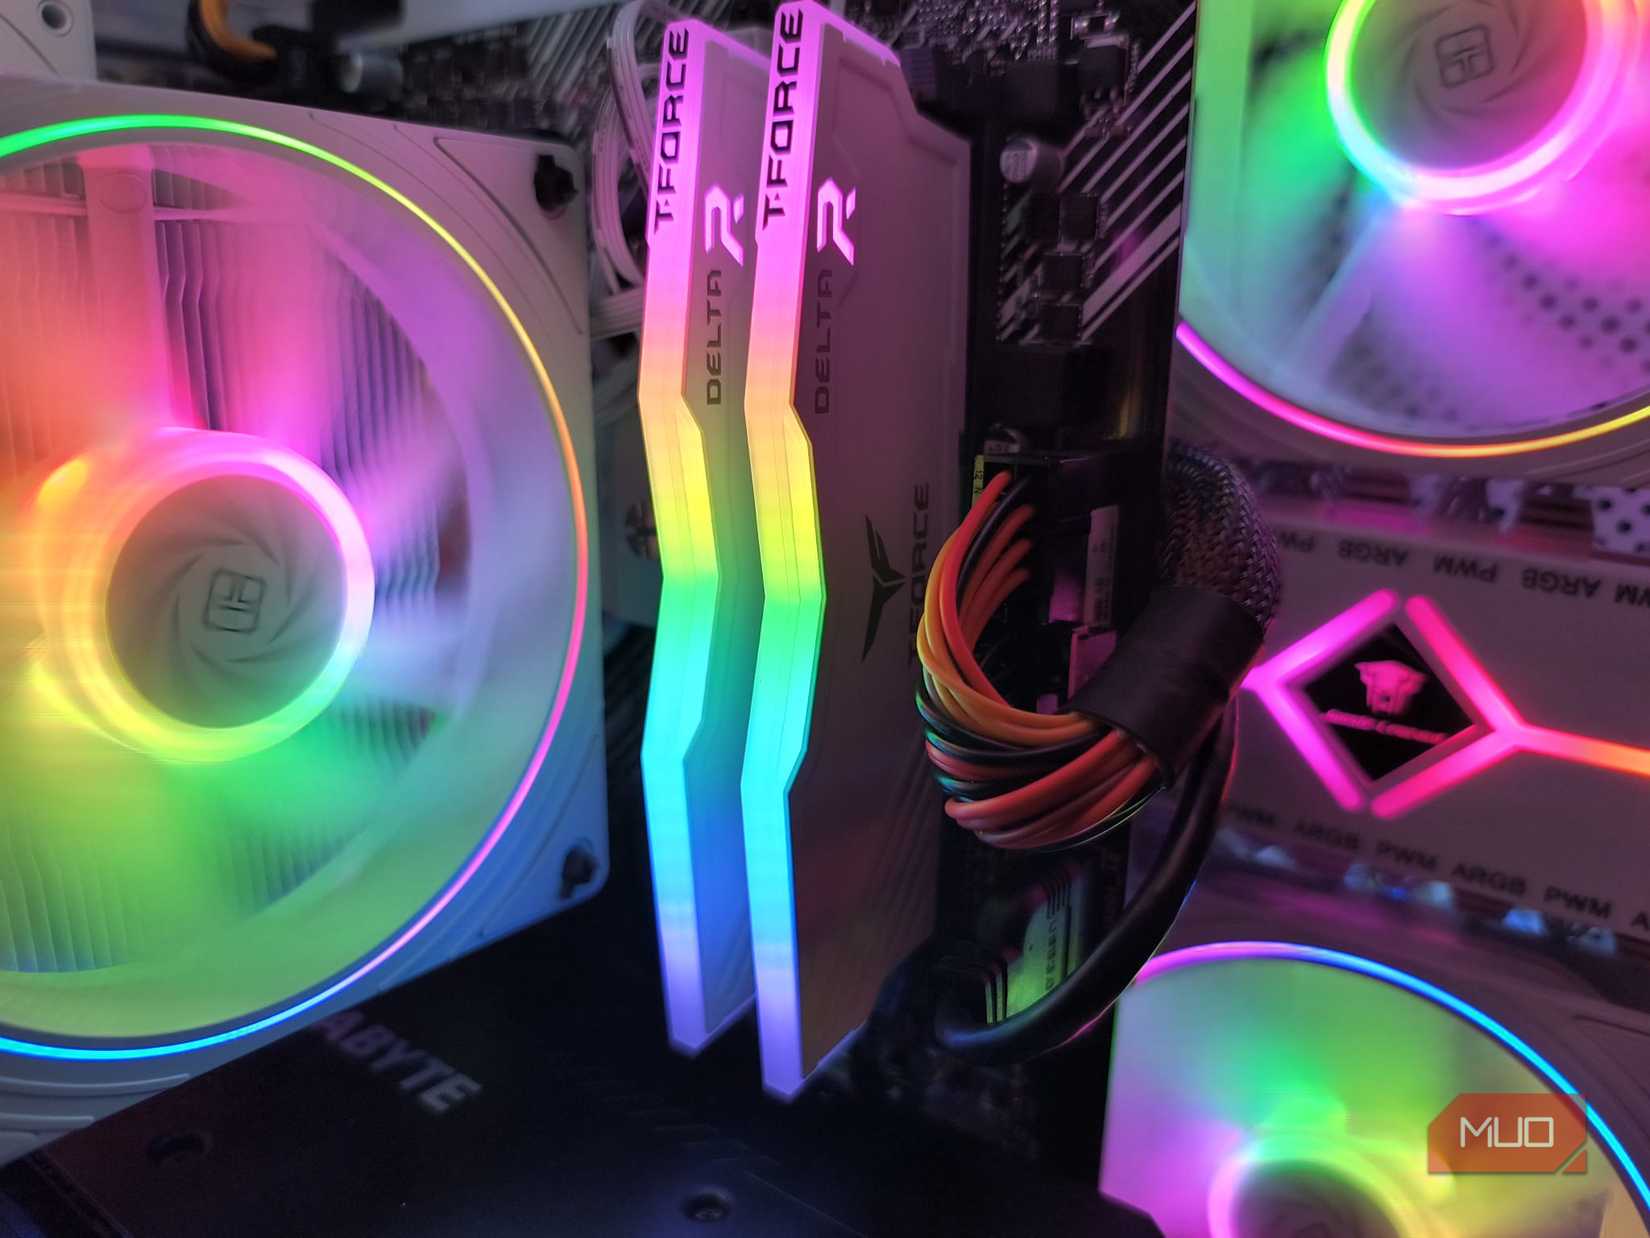
Overclocking your RAM or fiddling with its BIOS settings might seem overkill, especially if you’ve got an aging CPU. There are BIOS settings you can tweak if your CPU is maxing out, but there are also memory optimizations that can make a significant difference.
Depending on the type of memory you’re running, there is significant performance you’re leaving on the table if you’re not optimizing it correctly. There’s a lot more your CPU has to offer as long as it’s processing data instead of waiting for it.
You need to test, tweak, and monitor your memory performance
While most of the memory optimization settings you’ll be dealing with can be found in the BIOS, you need a third-party tool to test system stability after these changes. At the most basic level, you need a stress testing tool to ensure your tweaks don’t crash the system under load, a benchmarking tool to compare performance, and a hardware monitoring tool to monitor temperatures, voltages, and more.
There are tons of free tools available online that you can use based on your personal preference. I use MemTest86 and Prime95 for stability testing, AIDA64 or memory benchmarks, and HWiNFO64 for monitoring temperatures and power levels.
Start by enabling XMP
One switch in the BIOS can unlock your RAM’s full rated speed instantly
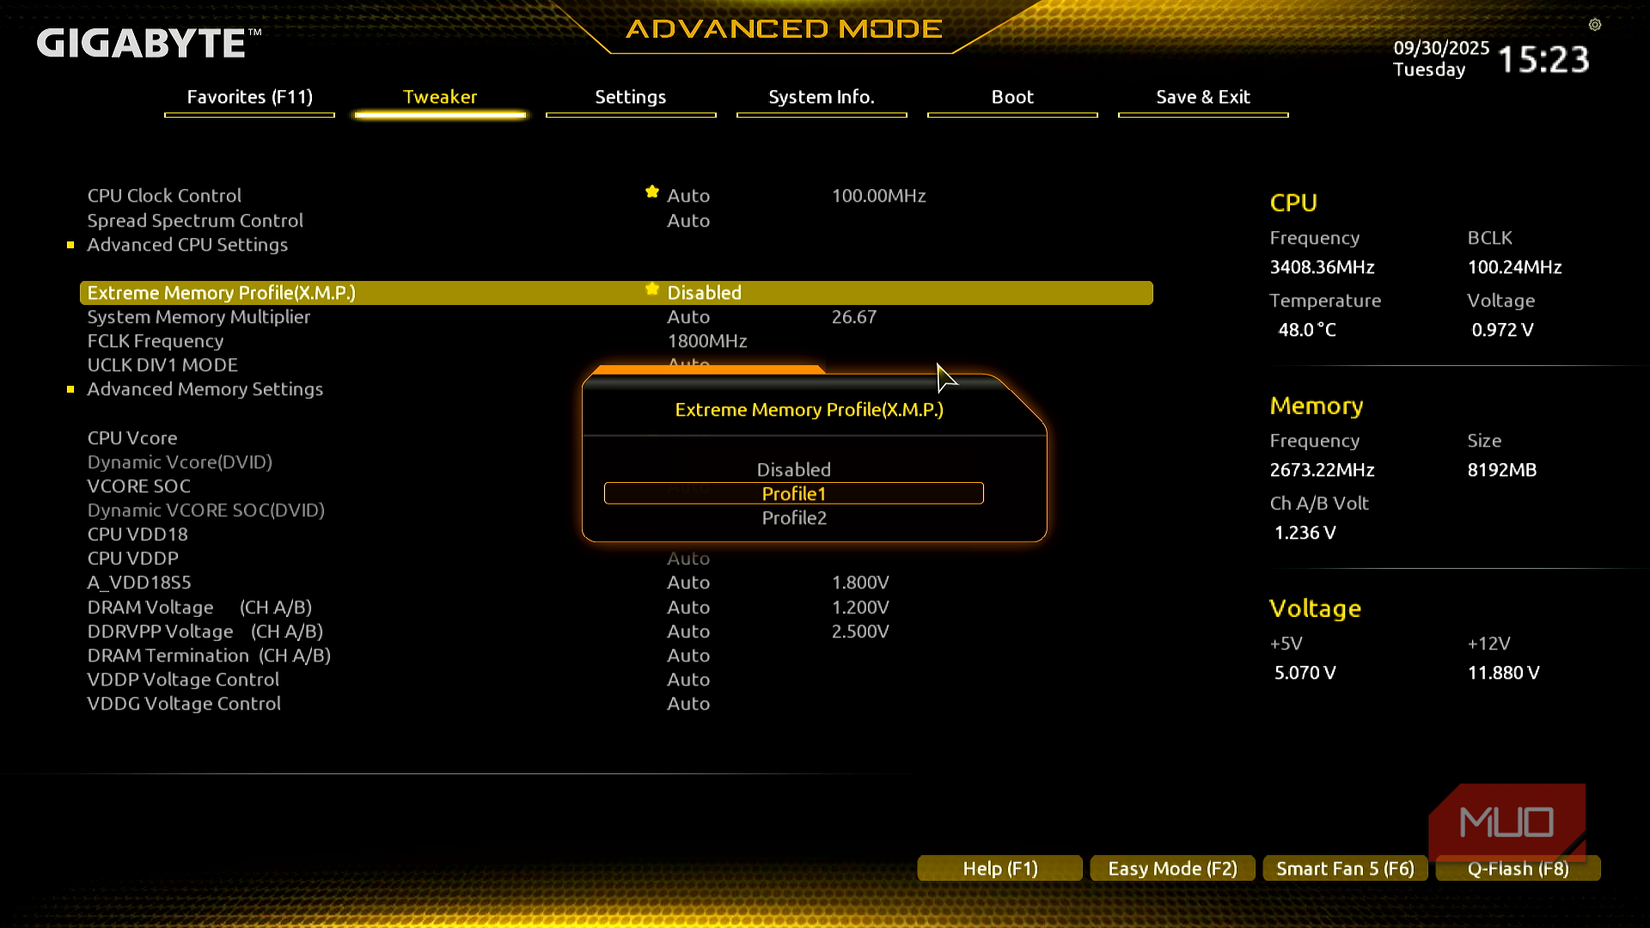
Enabling XMP or Extreme Memory Profile on your memory is the most basic tweak that you should carry out. It’s disabled by default and forces your RAM to run at JEDEC (Joint Electron Device Engineering Council) speeds, which are usually 2133 MHz or 2666 for DDR4.
As you can probably guess, the advertised maximum speed of your memory sticks would usually be higher. In order to enable these faster speeds, you’re going to have to enable XMP. These settings are called XMP for Intel or EXPO for AMD systems.
XMP settings are usually tucked away under your BIOS memory settings, but some motherboards put them in the overclocking section. Once you find it, enable the setting or set XMP to Profile 1 based on the options available, and you’re good to go.
The increase in performance will be immediately visible after you reboot your PC. Since data transfer in and out of memory will speed up significantly, your CPU won’t have to wait for RAM and will run under less stress.
Manual optimizations can get you more performance
Tightening timings and tuning voltages can push your memory even further
If the performance gains you got from XMP aren’t enough, there is more headroom in your memory for more performance. XMP profiles are conservative by design and are supposed to be a simple toggle you can enable to get more performance. It feels like overclocking, but it’s more like switching your memory into performance mode.
There’s a point of diminishing returns when you start manually making memory optimizations. For most people, enabling XMP will provide adequate performance gain. You don’t need to make manual optimizations to your RAM unless you want to extract maximum performance. Most of these settings are also specific to desktop PCs.
RAM performance is more than just frequency. There’s a delicate balance between speed and latency that can help extract the most from your memory. You can optimize your memory’s primary timings, including CAS Latency (CL), tRCD, tRP, and tRAS.
Instead of the default 16-18-18-36, I was able to optimize my memory to 14-16-16-32 at the same 3200 MHz frequency. However, this also required increasing the DRAM voltage from 1.35V to 1.4V for system stability.
For secondary timings, the most impactful setting is tRFC (Refresh Cycle Time). I dropped the default value of 560 in my memory down to 270. Since tRFC controls how long your RAM spends refreshing itself instead of serving data to your CPU, this can significantly improve memory latency if done right.
There’s also tREFI, or the refresh interval. This tells the RAM to wait longer between refresh cycles, giving more time for data operations. Increasing this number can also give you a small performance boost.
Last but not least, you can also optimize RAM usage within Windows for better performance. Identifying and fixing high memory usage with Task Manager isn’t very difficult either.
Once all the tweaks are done, you can expect varying performance gains in different applications. Your in-game frame rates won’t shoot up by a lot, but you will encounter fewer frame drops and stuttering than before. Creative apps like Adobe Premiere Pro can give lower video encoding times, and larger file operations will feel faster. You’ll be able to do all of this without stressing the CPU, as it’s spending more time processing data than waiting for it.
Watch out for system instability
More speed can mean more crashes
One thing you need to watch out for is system instability. RAM overclocking can be extremely finicky. Enabling XMP alone is considered overclocking. However, since it doesn’t push your memory beyond advertised speeds, the process results in stable performance gains. Once you start making manual optimizations to the memory’s frequency, speed, and voltages, you run a higher risk of your PC crashing under load.
Temperature is one of the biggest factors to consider. The hotter your memory and the rest of your PC get, the chances of a system crash also increase. It’s best to ensure proper cooling within your PC case and to make small adjustments instead of simply pushing each setting to the maximum limit.
Another factor is voltage. Contrary to CPUs and GPUs, more voltage doesn’t necessarily mean more performance or stability when it comes to RAM. The exact sweet spot for your configuration will vary based on your memory capacity and overall structure.
Make sure to stress test your settings before moving on to more aggressive ones. Just because a particular overclock seems stable at idle doesn’t mean it’ll hold up under load.
Your CPU works best with faster memory
High-speed RAM can feed your processor faster, improving overall responsiveness
The relationship between RAM and CPU is often misunderstood. Your CPU can only work as fast as it can get data from the memory. When you speed up memory, whether by enabling XMP or making manual adjustments, you’re essentially removing a bottleneck that was holding your CPU back.
If done right, this can make your CPU feel much faster. It won’t suddenly add more processing power to your computer, but it will let you push your CPU to its full potential more often and for longer. This is especially true for modern multi-core processors that constantly share data between cores.
These tweaks aren’t a replacement for a proper hardware upgrade, and you will eventually have to upgrade your old CPU. What these tweaks can do is buy you some more time and performance, without asking for any investment except your time.


