")
Why schedule YouTube videos ahead of time?
Hitting “publish” might feel satisfying in the moment, but growing a YouTube channel takes more than spontaneity. The creators who plan their video releases usually see better results, not because their videos are better, but because their
Here’s why scheduling YouTube videos ahead matters:
1. You build trust through consistency
Viewers like knowing when to expect new content. If you always drop a video at 6 PM every Thursday, your audience starts to anticipate it. Over time, that routine helps turn casual viewers into loyal subscribers.
YouTube itself recognizes this: according to their support documentation, “a consistent, sustainable release schedule is critical when building and fulfilling audience expectations.”
2. The algorithm likes regular activity
YouTube rewards channels that stay active. Regular uploads help your channel look “alive” to the algorithm, which increases the chances your videos will be recommended, appear in search results, and show up on viewers’ watch pages.
In fact, a vidiQ study has shown that channels posting 12+ times/month grow their views nearly 8x faster and subscribers over 3x faster than those posting less than once a month.
3. You gain more control over timing
By scheduling, you decide the date and time your video becomes public, so you can aim for when your audience is most likely online. That means your video doesn’t drop at 2 a.m. when hardly anyone’s awake.
It also lets you work ahead: you can upload your video earlier, fill in video details, set the video title, write your description, and then just let YouTube do the rest.
4. You free up time and reduce last-minute stress
Scheduling in advance gives you breathing room. Instead of scrambling to upload a video on deadline, you can focus on other tasks: promotion, engagement, or planning future content. It’s also a better workflow if you run multiple YouTube channels or have to coordinate across social media platforms.
5. You can test different times and adapt
Scheduling gives you flexibility to experiment. Try posting at different hours or days, see when your engagement spikes, and then fine-tune your schedule. Over weeks or months, you learn what works best for your specific audience.
How to schedule YouTube videos in 2025: 3 ways
Scheduling your YouTube videos gives you full control over when your content goes live; no more rushing to hit publish or missing the best posting time. Whether you prefer using the YouTube Studio dashboard, the YouTube app, or an external tool, there’s an option that fits every workflow.
Below are the three easiest ways to schedule YouTube videos in 2025:
- How to schedule YouTube videos on desktop (YouTube Studio)
- How to schedule YouTube videos on mobile (YouTube App)
- How to schedule YouTube videos with SocialBee
How to schedule YouTube videos natively via desktop
Step 1: Sign in to YouTube Studio
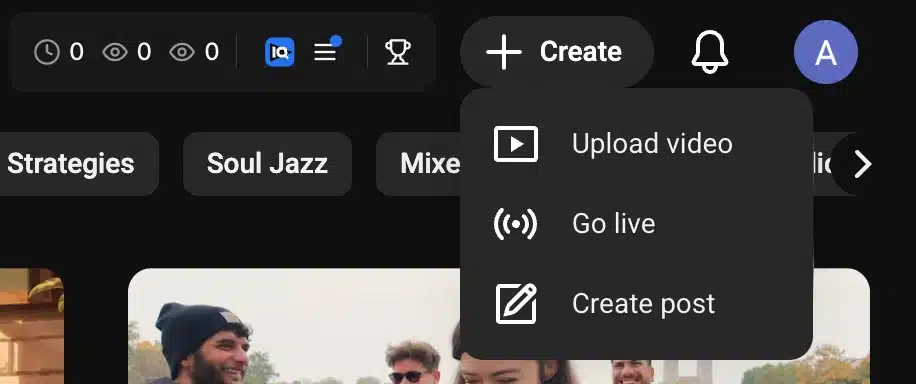
Start by signing into your YouTube Studio account and clicking the Create icon in the top right corner of your dashboard.
Step 2: Upload your video
Click Upload video → Select files, then drag and drop or choose the video file you want to schedule.
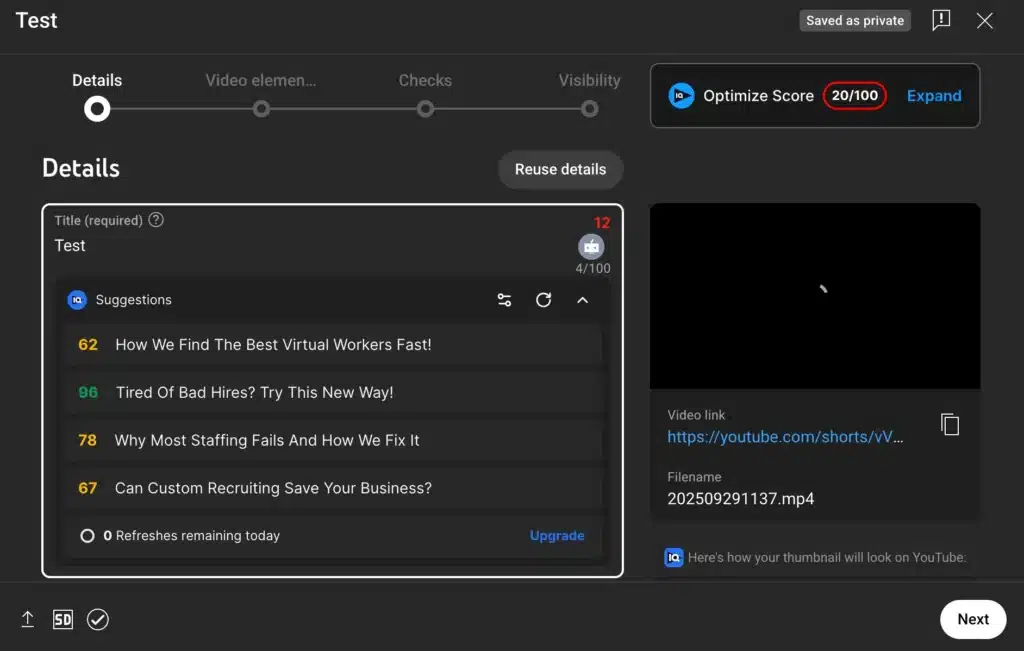
Step 3: Fill out the video details
While your video upload is processing, fill in the title, description, and upload a thumbnail image. You can also add tags, chapters, and other details to make your YouTube content easier to find.
At this stage, you can also:
- Add subtitles to make your content accessible.
- Include end cards to guide viewers to other YouTube videos or playlists.
- Check for copyright claims before publishing to avoid issues later.
Step 4: Select the schedule
Under the Visibility tab, choose “Schedule” on the upload page. Set your specific date, time, and time zone for when you want your video content to go live.
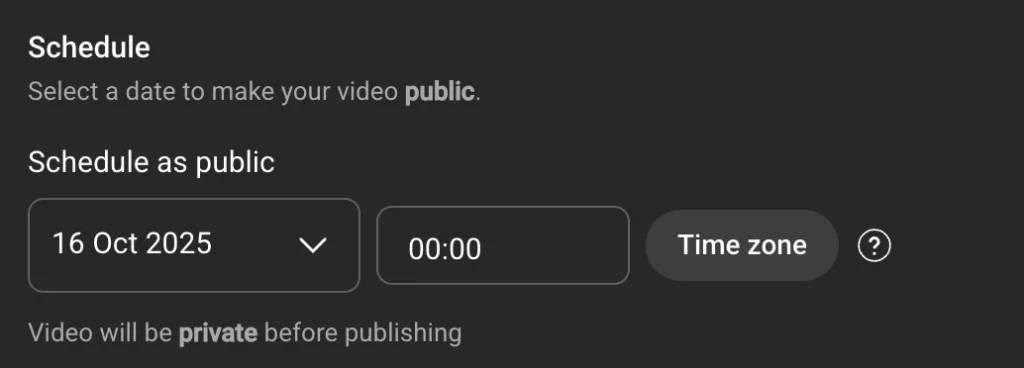
Once everything looks good, click SCHEDULE. Your scheduled video will appear in the left menu under Content, showing the scheduled date and scheduled time.
If you want your upload to feel more like an event, turn on YouTube Premiere. This lets you schedule your video to debut with a shared watch page and live chat.
Note: If your account has a Community Guidelines strike, your scheduled video won’t publish during the penalty period. It will stay private, and you’ll need to reschedule it once the freeze ends.
How to schedule YouTube videos natively via mobile
If you’re on the go, you can upload and schedule YouTube videos or Shorts directly from the YouTube app.
Step 1: Open the YouTube app and tap the Create (+) icon at the bottom of the screen.
Step 2: Select “Upload a video.” Choose your video file from your phone. Keep in mind that any video shorter than 60 seconds will automatically upload as a YouTube Short.
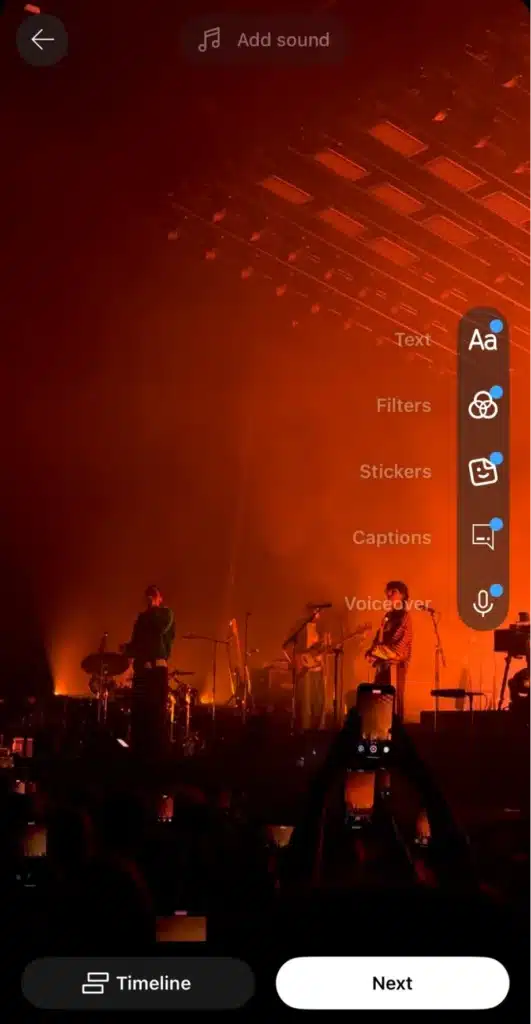
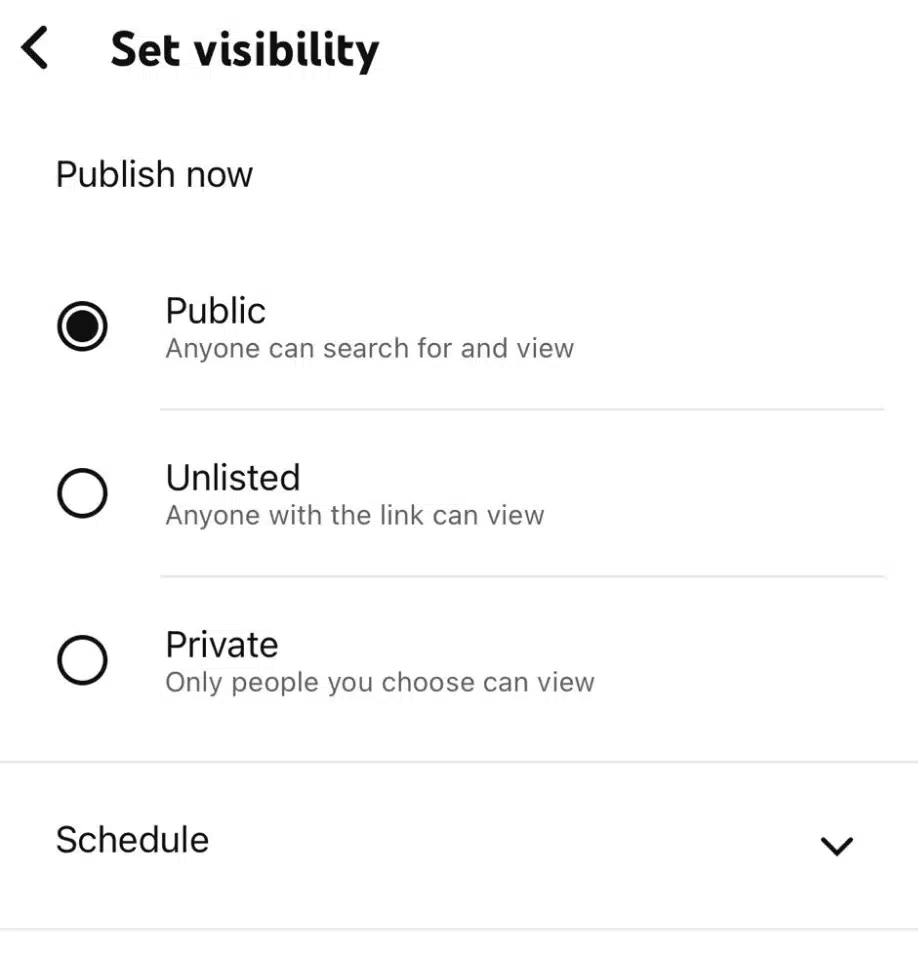
Step 3: Add your video details (title, description, location, and audience), then tap “Visibility.”

Step 4: By default, YouTube sets your video content to publish immediately. Tap “Schedule” to choose your date and time instead.
Step 5: Pick your scheduled date and scheduled time, then tap the back icon at the top.
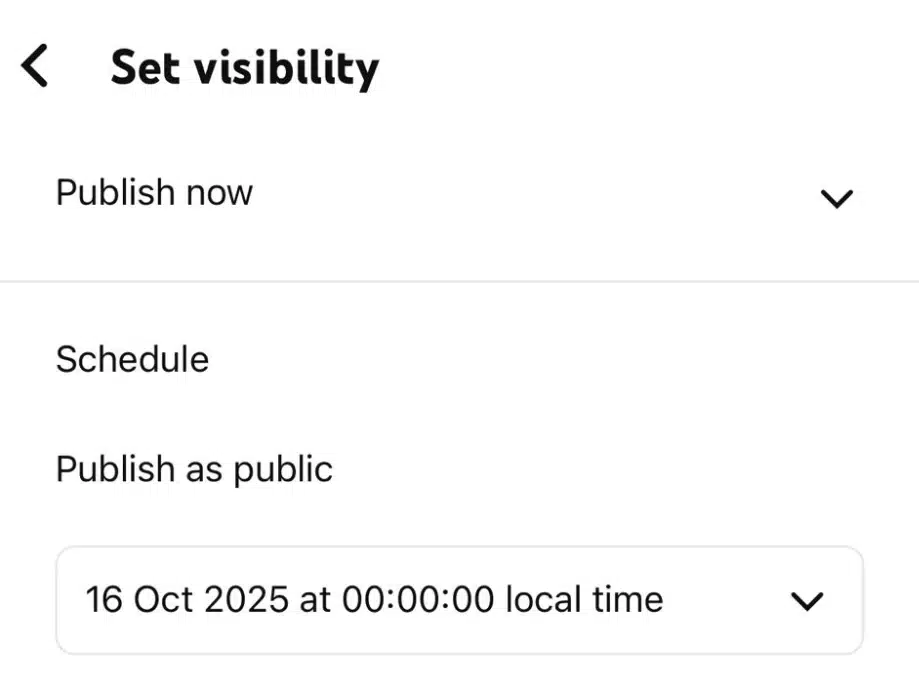
Step 6: Tap “Upload Video” or “Upload Short.” Your video will automatically publish at the selected specific time.
How to schedule YouTube videos with SocialBee
SocialBee is a YouTube scheduling tool that helps you plan, organize, and schedule YouTube videos without ever leaving your dashboard. Whether you’re posting long-form videos or short YouTube Shorts, you can keep your content calendar full and your uploads consistent.
Unlike YouTube’s native scheduling, SocialBee lets you manage all your video content alongside posts for other platforms, so you can plan, schedule, and cross-promote everything from one place. It also offers AI tools to help you write better titles and descriptions, reuse captions, and maintain a clear overview of your publishing calendar.
Here’s how to schedule YouTube videos with SocialBee:
Step 1: Log in to SocialBee. Sign in to your account and connect your YouTube channel.
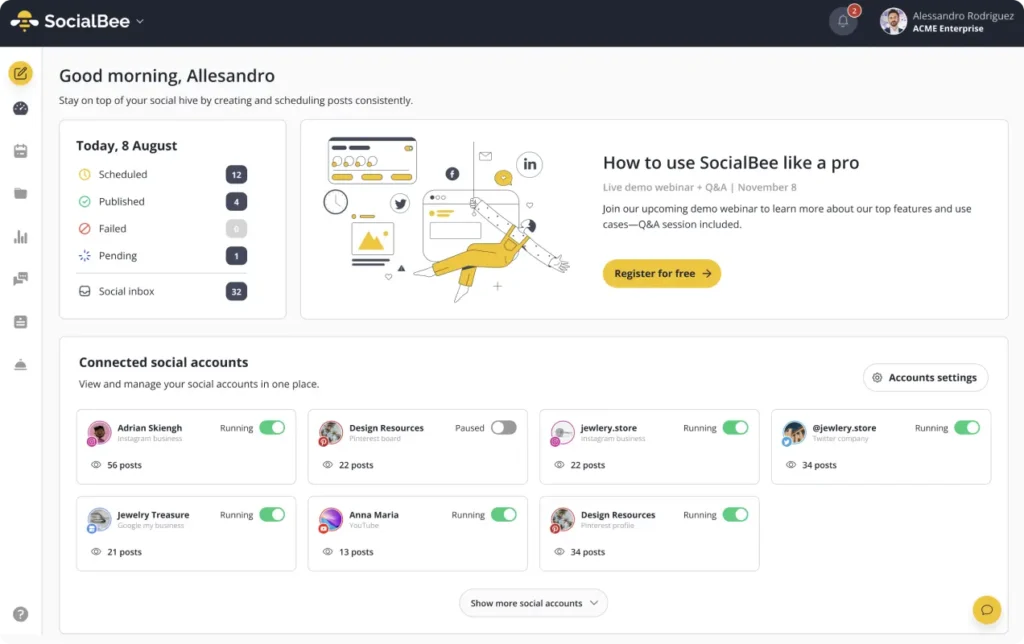
Step 2: From your dashboard, click Create to start a new video post.
Step 3: Click the camera icon to upload your video or YouTube Short (up to 5GB). The same process works for multiple platforms if you want to cross-post your content.
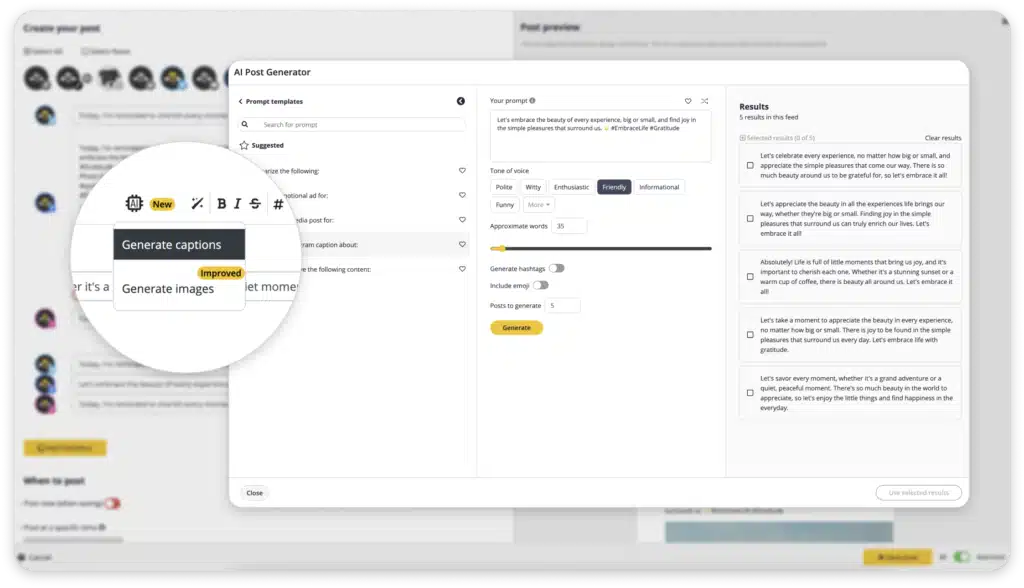
Step 4: Add your video details. Enter your title and description, and add relevant tags. You can also upload a custom thumbnail and mention other YouTube accounts in your post description.
Step 5: If you’re not sure what to write in your video description, try SocialBee’s AI content generation. It helps you create clear, engaging post text that fits your audience and supports your video content.
Step 6: Pick a scheduled date and specific time for your post to go live. You can also schedule YouTube Shorts using the same process.
Step 7: Double-check your post and select Schedule when it’s ready. Your scheduled video will show up in your content calendar, where you can edit, reschedule, or post it later if needed.


