A detailed guide for MLOps and Data teams that want to stop burning time and money on click-ops.
1. Introduction
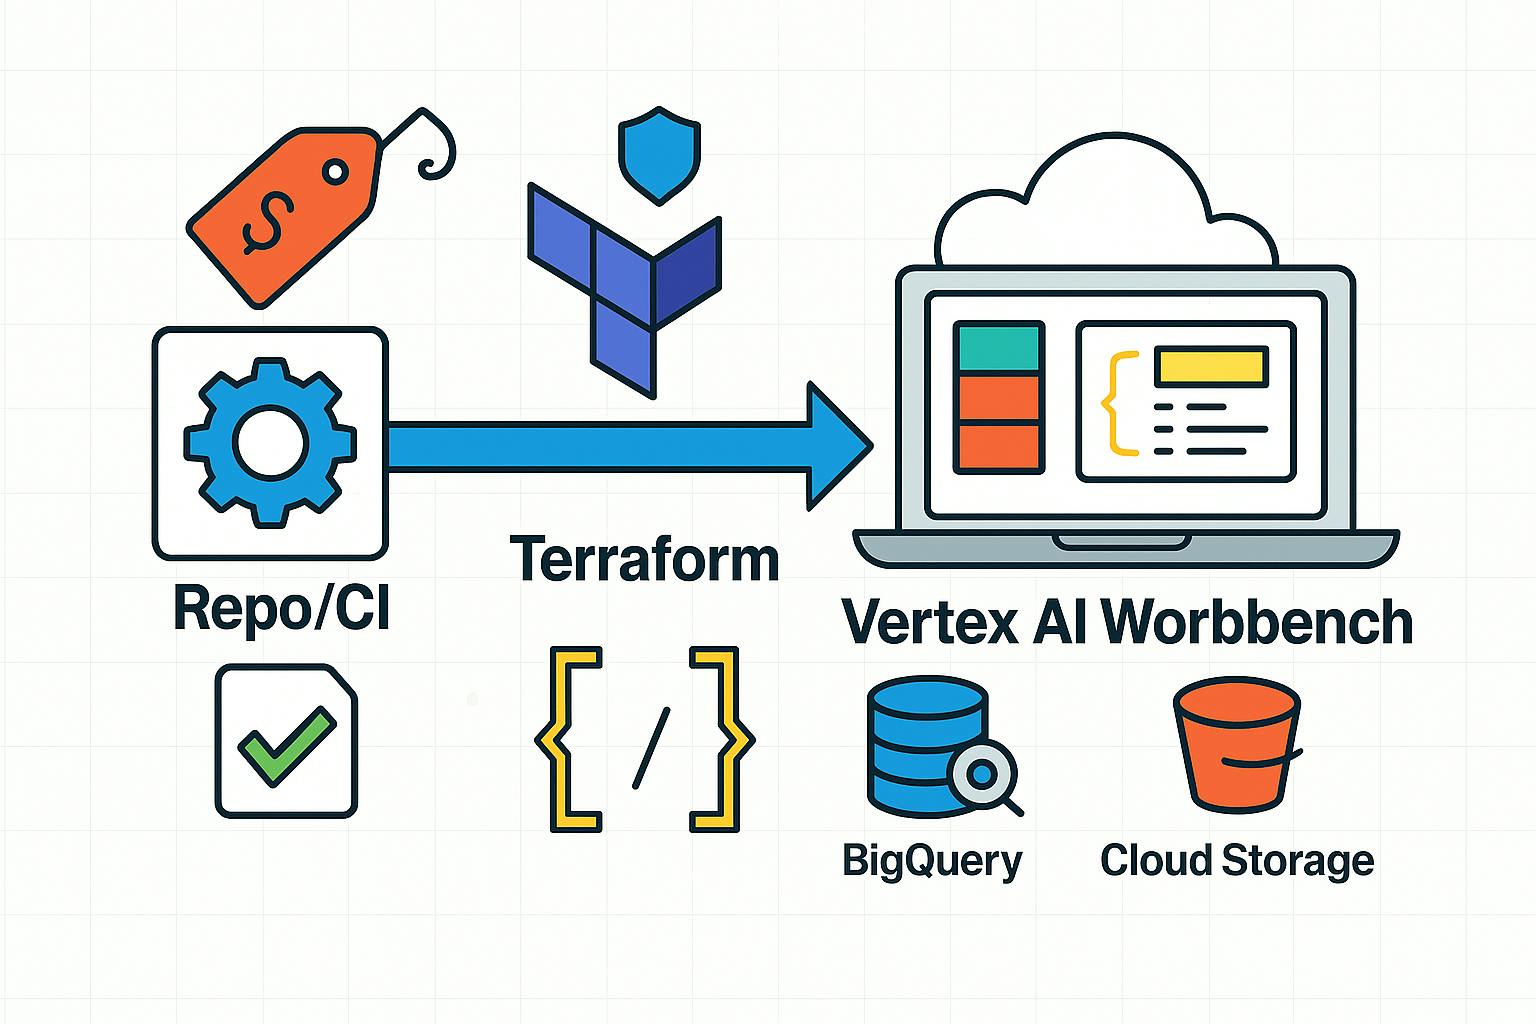
Vertex AI Workbench is a managed Jupyter environment in Google Cloud. It ships with native integration with BigQuery and Cloud Storage, supports GPU/TPU, and leverages GCP’s unified IAM model and networking policies.
Creating Jupyter instances in Vertex AI Workbench via the UI is the simplest way to get started. But as your team grows, this process becomes increasingly labor-intensive, audits get harder, and config mistakes and security issues become more likely.
A few data points: according to Flexera , average “cloud waste” reaches 32% of spend — nearly a third of bills pay for nothing; 84% of organizations name cost control as their top cloud challenge (Flexera) and up to 21% of infra budgets burn on underutilized resources, including idle GPUs (PR Newswire).
When every engineer manually creates their own Workbench instance, errors scale with headcount: random regions, forgotten auto-shutdowns, and service accounts with excessive permissions.
The goal of this article is to show how to minimize manual work, make configurations reproducible, and reduce idle waste using a Terraform module with CI pipeline for Vertex AI Workbench.
2. Why Vertex AI Workbench
If your infrastructure already lives in the Google Cloud ecosystem, Workbench provides practical advantages over Databricks, SageMaker, JupyterHub, and others:
- You stay inside GCP and connect natively to BigQuery, GCS, Vertex AI Pipelines, Artifact Registry, Secret Manager via Google’s standard libraries — no bridges or third-party connectors.
- No extra control planes or admin consoles: access, networks, secrets, audit, and billing remain in your existing GCP guardrails.
- Workbench inherits your org policies: IAM roles, VPC segmentation, Private Service Connect, VPC Service Controls, CMEK, and centralized audit in Cloud Logging — without duplicating policies elsewhere.
- Clear billing and cost control: a single provider and consistent labels let you reuse Budget Alerts and cost-center reporting without splitting bills across platforms.
Bottom line: if your infra and data are already in GCP, Vertex AI Workbench minimizes integration and operational overhead, enforces consistent security policies, and gives you a fast path to automation with Terraform.
3. UI Drawbacks In Practice
Let’s look at typical issues you hit when creating Workbench instances through the UI:
- Inconsistent names and labels. Users set arbitrary names/tags, making ownership, project/cost attribution, and chargebacks unreliable.
- Region/zone drift. Instances appear in different regions/zones without a standard, increasing latency and complicating networking.
- Idle burn. Auto-shutdown is often forgotten; manual shutdowns are inconsistent. Idle machines — especially with GPUs — are direct waste.
- Excessive SA permissions. Relying on default service accounts violates least privilege and increases security/compliance risk.
- No change history or reproducibility. Screenshots and manual steps can’t be code-reviewed or diffed; proving compliance or restoring config during incidents is hard.
Terraform addresses these problems: configs are code-reviewed and CI-checked; terraform plan gives a clear diff; a module encodes standards (naming, labels, regions, auto-shutdown, SA roles) and applies them uniformly to every instance.
4. A Notebook Management Maturity Model
Level 0 — Manual UI
Instances and their parameters are set by hand. The (only) advantage is fast initial setup. Downsides: no standards, config drift, messy cost attribution, and heavy audits. Works tolerably with <5 users.
Level 1 — Terraform (local apply)
Configs live as code; terraform plan/apply is run locally. Easy to scale and reproduce environments, do code reviews, and standardize creation. But apply is still manual, leaving room for human error. Suits 5–20 users with infrequent onboarding.
Level 2 — Terraform + CI/CD
plan/apply runs in a pipeline (GitLab CI/CD or similar) with automated policy/security/cost checks. Requires basic DevOps practice (remote state, OIDC/WIF, env isolation). With >20 users and regular onboarding, this approach becomes essential to avoid manual toil and audit/compliance debt.
5. Terraform approach
You’ll need:
- Terraform (≥ 1.3)
- GCP auth (e.g.,
gcloud auth application-default loginor a service account) project,region/zone, and thegoogleprovider (≥ 4.0)
We could create instances directly with google_workbench_instance, but that quickly leads to duplication (VPC/network, service account, labels, auto-shutdown policy, region/zone, etc.). Any change becomes a mass update of similar blocks, which complicates review and audit.
Instead, we’ll use a module to encapsulate common parameters and expose only the minimal inputs engineers actually need.
For convenience, here’s a link to the repository with an example project structure: https://github.com/timonovid/vertexai-workbench-terraform-with-ci.
Module implementation
vertexai-workbench-module/main.tf:
resource "google_workbench_instance" "instance" {
  for_each = var.notebook_instances

  project         = var.project_id
  location        = coalesce(each.value.zone, var.default_zone)
  name            = each.key
  instance_owners = each.value.instance_owners
  labels          = var.labels

  gce_setup {
    machine_type = coalesce(each.value.machine_type, var.default_machine_type)
    dynamic "accelerator_configs" {
      for_each = each.value.accelerator_configs != null ? [each.value.accelerator_configs] : []

      content {
        type       = accelerator_configs.value.type
        core_count = accelerator_configs.value.core_count
      }
    }

    disable_public_ip = true

    shielded_instance_config {
      enable_secure_boot          = true
      enable_vtpm                 = true
      enable_integrity_monitoring = true
    }

    service_accounts {
      email = var.service_account_email
    }

    boot_disk {
      disk_size_gb = var.default_boot_disk_size_gb
      disk_type    = "PD_SSD"
    }

    data_disks {
      disk_size_gb = coalesce(each.value.data_disk_size_gb, var.default_data_disk_size_gb)
      disk_type    = "PD_SSD"
    }

    metadata = {
      terraform             = "true",
      idle-timeout-seconds  = var.idle_timeout_seconds,
      post-startup-script   = var.post_startup_script,
      report-event-health   = "true",
      report-dns-resolution = "true"
    }

    network_interfaces {
      network = var.network_name
      subnet  = var.subnet_name
    }
  }
}
Now declare the required variables in vertexai-workbench-module/variables.tf:
variable "notebook_instances" {
  description = "Configuration for each notebook instance"
  type = map(object({
    zone          = optional(string)
    machine_type      = optional(string)
    instance_owners   = list(string)
    data_disk_size_gb = optional(number)
        accelerator_configs = optional(object({
      type       = string
      core_count = number
    }))
  }))
}

variable "labels" {
  description = "instance labels"
  type        = map(string)
}

variable "default_zone" {
  type        = string
  description = "Zone like us-central1-a"
  validation {
    condition     = can(regex("^[a-z0-9-]+-[a-z0-9]+[0-9]-[a-z]$", var.default_zone))
    error_message = "Use a zone format, e.g., us-central1-a."
  }
}

variable "service_account_email" {
  description = "Email of the service account"
  type        = string
}

variable "default_boot_disk_size_gb" {
  description = "Default size in GB for boot disks if not specified."
  type        = number
  default     = 150
}

variable "default_data_disk_size_gb" {
  description = "Default size in GB for data disks if not specified."
  type        = number
  default     = 150
}

variable "default_machine_type" {
  description = "Default machine type if not specified."
  type        = string
  default     = "e2-standard-2"
}

variable "project_id" {
  description = "The project ID"
  type        = string
}

variable "network_name" {
  description = "The name of the network"
  type        = string
}

variable "subnet_name" {
  description = "The name of the subnet"
  type        = string
}

variable "idle_timeout_seconds" {
  type        = number
  description = "Idle timeout in seconds"
  validation {
    condition     = var.idle_timeout_seconds >= 0
    error_message = "idle_timeout_seconds must be >= 0."
  }
}

variable "post_startup_script" {
  description = "The post startup script"
  type        = string
}
Usage example
Create several instances:
module "vertex_instances" {
  source = "./vertexai-workbench-module"

  project_id            = var.project_id
  network_name          = google_compute_network.my_network.name
  subnet_name           = google_compute_subnetwork.my_subnetwork.name
  service_account_email = google_service_account.vertexai-workbench-sa.email
  post_startup_script   = "" # Optional path in gcs to script to run on instance startup. Example gs://your-bucket/init.sh
  idle_timeout_seconds  = 7200
  labels = {
    instance_type = "vertexai_workbench"
  }

  notebook_instances = {
    "workbench-instance-analytics-team-user1" = {
      instance_owners = ["[email protected]"]
    },

    "workbench-instance-analytics-team-user2" = {
      instance_owners = ["[email protected]"]
      machine_type    = "n1-standard-8"
    },

    "workbench-instance-ml-team1-user3" = {
      zone              = "us-central1-a"
      machine_type      = "n1-highmem-8"
      instance_owners   = ["[email protected]"]
      data_disk_size_gb = 500
      accelerator_configs = {
        type       = "NVIDIA_TESLA_T4"
        core_count = 1
      }
    },
  }
}
Module parameter tips
- Parameters for all instances of the module:
project_id,network_name,subnet_name,service_account_email,post_startup_script(useful to initialize the environment),idle_timeout_seconds,labels. - Required per instance: the map key (becomes instance name) and
instance_owners. - Optional parameters with defaults defined in
variables.tf:zone,machine_type,data_disk_size_gb,accelerator_configs.
Thus you get several advantages over UI-based creation
- Unified defaults and standards: networking, a least-privilege SA, auto-shutdown, labels, Shielded VM.
- Simple scalability: bulk creation of 10–15 notebooks or rolling out a policy change in a single MR.
- Predictable changes:
terraform planprovides a transparent diff, easy to review and roll back. - Audit readiness: all configuration is in code; labels and IAM are unified.
- Cost control: required labels and a unified idle policy reduce idle spend; budget alerts are easy to plug in.
- Complexity encapsulation: module users work only with necessary parameters (name, size, GPU), everything else is hidden.
6. Creating Notebooks via Terraform + CI/CD
The next improvement is a pipeline that makes every notebook MR go through plan → review → apply without manual deployment. Below is a GitLab example you can stand up in a sprint and then harden with policies and checks.
Prerequisites: a remote Terraform state and GCP access. The fastest starting point is a JSON key for a service account stored as a GitLab File variable SA_KEY, with roles such as Notebooks Admin for Workbench and Storage Object User on the specific GCS bucket holding the state.
Runner image
Build a lightweight image with gcloud and Terraform, push it to your registry, and reference it in image::
FROM google/cloud-sdk:slim

RUN apt-get update && apt-get install -y --no-install-recommends
    wget
    && rm -rf /var/lib/apt/lists/*

RUN wget -O- https://apt.releases.hashicorp.com/gpg |  gpg --dearmor -o /usr/share/keyrings/hashicorp-archive-keyring.gpg
    && echo "deb [signed-by=/usr/share/keyrings/hashicorp-archive-keyring.gpg] https://apt.releases.hashicorp.com $(lsb_release -cs) main" |  tee /etc/apt/sources.list.d/hashicorp.list
    && apt update &&  apt install terraform
Minimal GitLab CI/CD config
Two stages: plan writes a plan artifact; apply applies that exact plan after merging to the default branch. plan also runs for MRs to validate config and syntax.
default:
  image: "your-image:latest" # your image with installed gcloud cli and terraform
  before_script:
  - gcloud auth activate-service-account --key-file="$SA_KEY"
  - export GOOGLE_APPLICATION_CREDENTIALS="$SA_KEY"

variables:
  TF_INPUT: "false"

stages:
  - plan
  - apply

plan-job:
  stage: plan
  script:
    - terraform init -input=false
    - terraform plan -out $CI_PROJECT_DIR/planfile --target=module.vertex_instances -compact-warnings | grep -v -e "Acquiring state lock" -e "Refreshing state"
  artifacts:
    paths:
      - planfile
    expire_in: 1 week
  rules:
    - if: $CI_PIPELINE_SOURCE == 'merge_request_event' || $CI_COMMIT_REF_NAME == "$CI_DEFAULT_BRANCH"
      changes:
        - "vertexai-workbench-instances.tf"

apply-job:
  stage: apply
  script:
    - terraform init -input=false
    - terraform validate
    - terraform apply -auto-approve -input=false $CI_PROJECT_DIR/planfile
  rules:
    - if: $CI_COMMIT_REF_NAME == "$CI_DEFAULT_BRANCH"
      changes:
        - "vertexai-workbench-instances.tf"
  dependencies:
    - plan-job
What you get
- Plan as an artifact (
planfilekept for a week) and in MR logs — easy to review. - Deterministic apply — uses the same planfile, reducing drift risk.
- rules/changes — jobs trigger only when notebook config changes.
--target=module.vertex_instancesis handy in a monorepo; remove it if you want full convergence.
How it looks for an engineer
- In a feature branch, add a module block (e.g.
name,machine_type,disk_size_gb) invertexai-workbench-instances.tf. - Opening an MR triggers the plan job which runs syntax check and plan.
- After approval and merge CI runs apply and the instance appears in GCP with the right labels, network, and auto-shutdown.
Next as your team matures consider moving to OIDC or Workload Identity Federation instead of SA_KEY. Add policy checks and cost gates, split projects/states/workspaces for dev/stage/prod and implement Code Owners.
7. Conclusion
Moving from manual UI to a Terraform module and CI/CD solves three core problems for Vertex AI Workbench: reproducible configs, transparent cost control, and audit readiness. The module hides network/IAM/idle complexity and exposes only the parameters engineers need. The pipeline standardizes changes and captures history.
The result: fewer manual steps, less config drift, more predictable costs, and an operating model that scales with your team.


