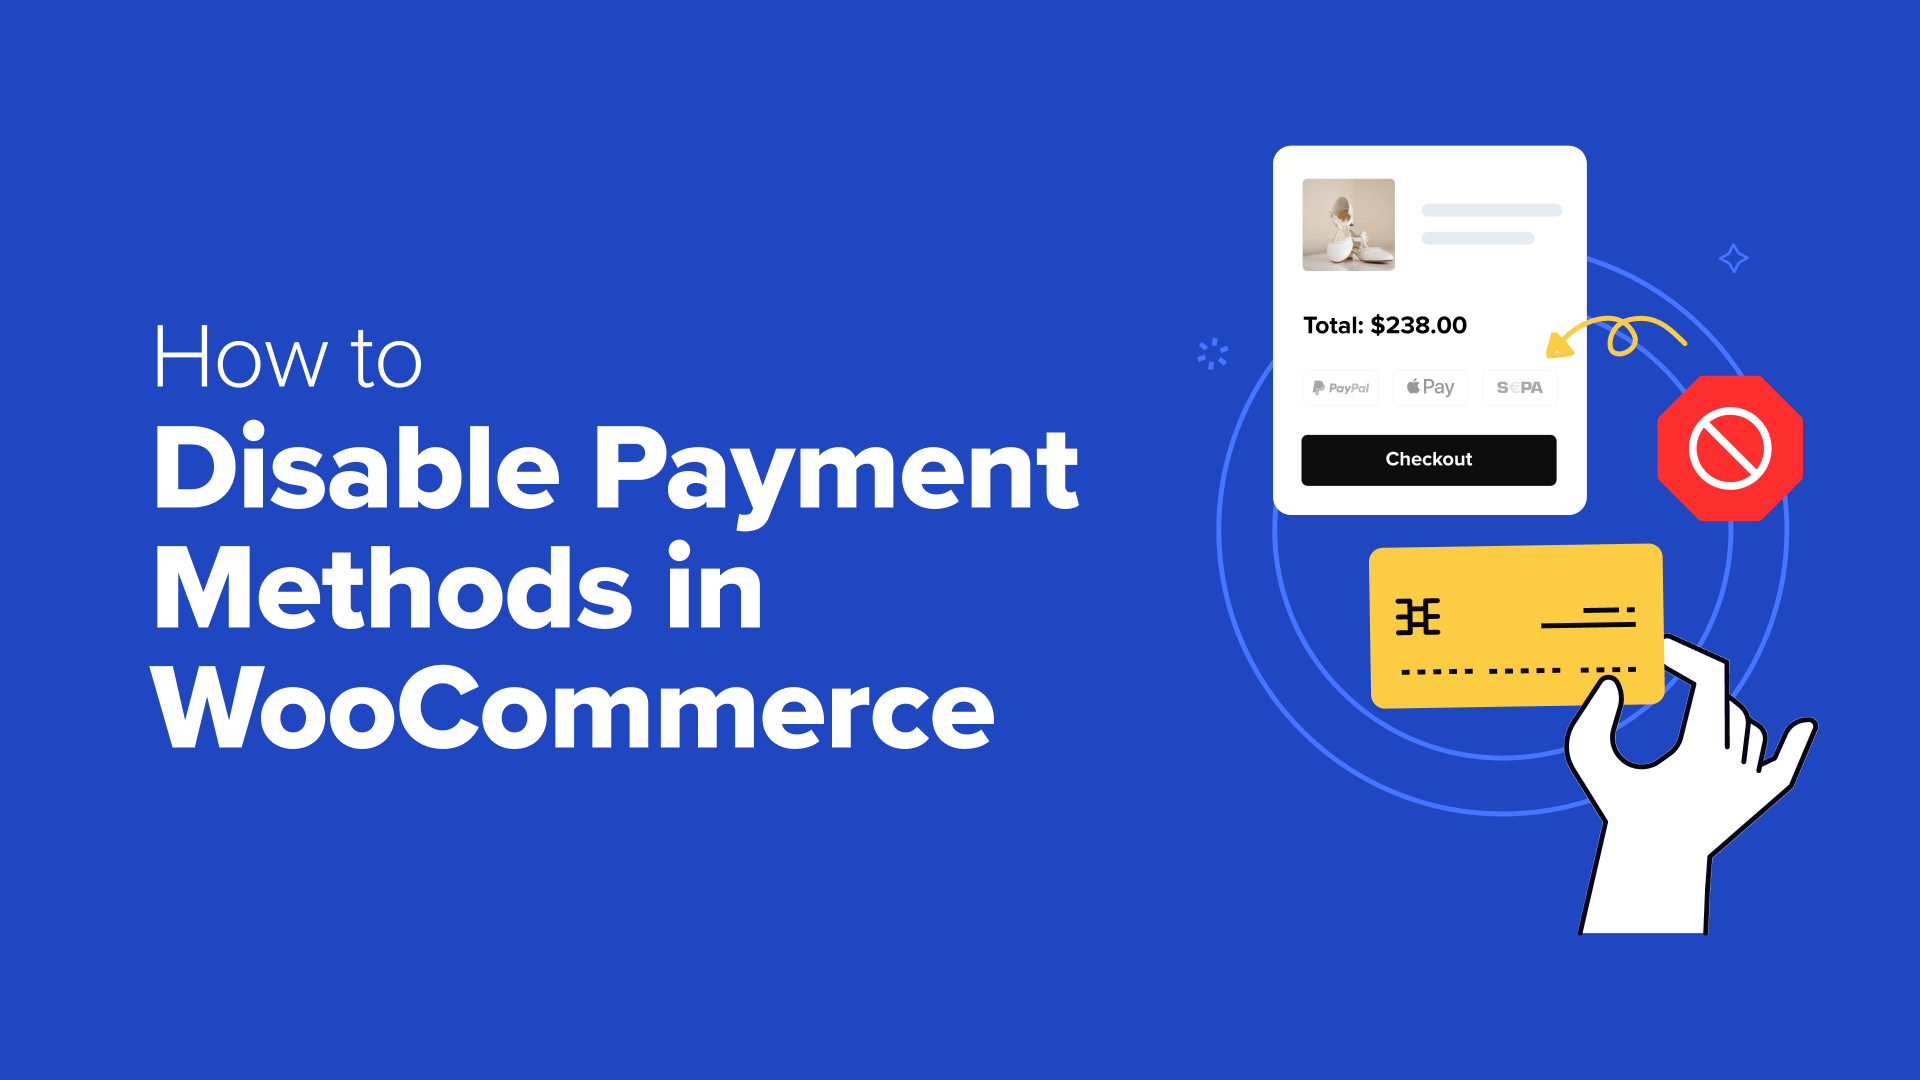
Many WooCommerce store owners make the mistake of enabling every available payment method. But we’ve learned that having too many payment options can actually confuse your customers and even lead to abandoned carts.
While running WooCommerce stores, we’ve found that strategically limiting payment options can improve conversion rates and streamline your checkout process. For example, you might want to disable certain payment methods based on shipping locations, product types, or even order totals.
The good news is that you can use the WooCommerce default settings or a plugin to control which payment methods your customers can use. You just need to know where to look and which settings to adjust.
In this guide, we’ll show you several proven ways to disable payment methods in WooCommerce. We’ll cover many different scenarios, whether you want to remove payment options completely or conditionally hide them based on specific rules.

When to Disable WooCommerce Payment Methods 💳
Managing payment gateways in WooCommerce isn’t just about offering as many payment options as possible. Sometimes, you need to restrict payment methods to improve your business operations and avoid high transaction fees.
Limiting available payment methods can even improve the customer journey because offering too many choices at checkout can be confusing.
In our experience, keeping it simple with just Stripe for credit cards and PayPal works best for most international stores.
However, if you’re serving specific markets with local payment preferences, then you might need more control over when and how to display different payment options.
Here are common scenarios when you might want to have a WooCommerce payment disabled:
- Cart Total – For instance, you may require specific payment methods for larger orders. This can help reduce transaction costs for payment gateways that charge percentage-based fees. Or, you might disable cash on delivery for high-value orders.
- Customer Location – Some payment gateways only work in specific regions. In that case, you may need to hide them from customers who live outside of those areas. Similarly, some charge more in specific regions, so you might not want to offer them in certain regions.
- User Role – You can set up payment gateways based on user roles, such as offering wholesale customers different payment options than regular buyers. Again, this can be useful to reduce transaction fees or risk for orders with higher price tags.
- Special Periods – You might need to change payment options during holiday sales events, especially if those payment methods could slow down order processing.
All that said, let’s look at five different ways you can disable payment gateways in your WooCommerce store.
You can use the quick links below to skip to your preferred method:
Option 1: Disable Payment Methods Using WooCommerce Settings (For All Customers)
WooCommerce actually has built-in settings to disable payment methods, so you won’t need to install a WooCommerce plugin for this approach. That said, the steps here will depend a little on what you want to do.
We’ll show you how to disable your main payment methods, PayPal-specific options, and Stripe methods. That way, all your bases are covered.
Please note that we recommend only following one of the methods in this section if you want to completely disable a payment option for all customers.
That’s because these methods don’t allow you to hide payment options based on specific criteria like user roles or product categories.
How to Disable Your Main Payment Methods
You can disable one of your main payment methods (such as an entire payment gateway or direct bank transfers) directly in your WooCommerce settings.
Simply go to WooCommerce » Settings. Then, navigate to the ‘Payments’ tab. Once there, you’ll see all available payment gateways in WooCommerce.

We have enabled the following payment methods: Stripe for credit and debit cards, direct bank transfer, check payments, cash on delivery, and PayPal.
Here’s what the checkout looks like to customers when all of those options are active:

To disable a WooCommerce payment, simply click the toggle switch under the ‘Enabled’ column for any active payment method.
Now, the payment option will no longer appear on your checkout page.

If you decide you want to enable some of those payment methods again later, you can always return to this page to reactivate them.
When you visit your checkout page, you should no longer see the disabled payment methods:

How to Disable PayPal’s Alternative Payment Methods
If you have multiple payment methods enabled via PayPal, then you can easily restrict them, too. For instance, your business might not be able to accept Venmo payments, so you may want to turn off this option.

First, you can use the same method we discussed above.
Go to WooCommerce » Settings » Payments. Then, you can click the toggle switch for any payment method labeled ‘(via PayPal).’

Alternatively, you can click the ‘Manage’ button next to the PayPal option.
This will take you to the PayPal settings page.

On the PayPal settings page, scroll down until you find the ‘Alternative Payment Methods’ section.
In the ‘Disable Alternative Payment Methods’ field, type in the specific WordPress payment methods you want to hide from your checkout page.

Once you’ve made your choices, scroll down and click ‘Save Changes.’
Now, your chosen payment methods will be disabled.

At this stage, you can go to your checkout page to see if your alternative payment methods have disappeared.
Here’s what happens if we disable the credit or debit cards option as a PayPal alternative payment method:

👋 Note: PayPal automatically shows location-specific alternative payment methods to your customers. For example, customers in the Netherlands will see iDEAL as a payment option, while customers in other regions will only see payment methods relevant to their location.
How to Disable Payment Methods Enabled by Stripe
When using Stripe as your payment gateway in WooCommerce, it automatically enables multiple payment options. These include credit cards, debit cards, and even some local payment options based on your region, like Alipay and WeChat.

To improve the customer experience, you might want to restrict payment methods to only those your customers actually use.
This way, people don’t get confused or accidentally run into issues after choosing a method that won’t work for them.
To do this, go to WooCommerce » Settings » Payments. Then, click the ‘Manage’ button next to the Stripe option.

On the next page, scroll down to the ‘Payments accepted on checkout’ section.
Here, you can disable payment methods by unchecking the ones you don’t want to offer.

Stripe offers numerous payment gateways in WooCommerce, including Apple Pay, Google Pay, Alipay, Klarna, Affirm, and AfterPay.
Be sure to only enable the specific payment options that make sense for your business and your customers.
Once you’ve selected your preferred payment methods, scroll down and click ‘Save Changes.’

👋 Note: Stripe displays payment methods based on your store’s currency settings. For example, SEPA Direct Debit will only appear as a payment option when your store is set to use EUR (Euro) as its currency.
Here’s what our checkout page looks like after ACH Direct Debit and Alipay are disabled:

Option 2: Set Up Conditional Payment Gateways With a Free Plugin (Easy + Customizable)
Have you ever wanted to show different payment options to different customers? That’s exactly what conditional payment gateways do – they show or hide payment methods based on specific “if/then” rules.
For example, you might want to:
- Disable cash on delivery for international customers (because this isn’t operationally possible).
- Disable bank transfers for digital products (since these items are delivered instantly, this can help prevent fraud).
- Disable certain payment options for larger orders (to reduce transaction fees).
This is perfect for businesses like international retailers that need different payment methods by country, luxury brands that want secure payment options for high-value purchases, and wholesale stores that offer special payment terms for bulk buyers.
The free Disable Payment Method for WooCommerce plugin makes setting up conditional payment options easy and free. You can create rules based on shipping zones, cart totals, user roles, time of day, and more, without touching any code.
First, you need to install and activate the plugin. If you’re new to this process, check out our step-by-step guide on how to install a WordPress plugin for beginners.
After you activate the plugin, go to ‘Payment Method’ in your WordPress admin area. Then, click the ‘+ Add disable payment method rule’ button to start customizing your WooCommerce payment methods.

Now, let’s explore the basic settings. At the top, you’ll find the ‘Status’ switch. This activates or deactivates each rule to disable payment methods.
Under ‘Rule type,’ you can choose between two options: disable specific payment methods or charge extra fees for payment processing. For this tutorial, we’ll pick the first option.
That being said, the second option is great if you want to pass processing fees for certain payment methods – for example, adding a small fee for credit card payments.
If you want to learn more about this, check out our guide on how to pass payment processing fees to customers in WordPress.

Next, let’s give the rule a descriptive name. Using clear, descriptive names for your payment rules makes it easier to manage multiple conditional payment settings later.
For example, if you’re disabling Buy Now Pay options, you might name it ‘Disable BNPL methods.’
Now, in the ‘Disable this payment methods*’ box, select which options you’d like to disable.

In the box below that, you can also optionally disable payment methods for specific currencies, which is great if you run a multi-currency WooCommerce store. This option is particularly useful for international stores where certain payment gateways only work with specific currencies.
In our example, we’ll disable payment gateways like Klarna, Affirm, and Afterpay, as these are all Buy Now Pay services.
Moving down, you’ll find the section for setting up conditional payment rules. In ‘Below conditions determine when to disable payment methods,’ you have two options.
‘All the below rules should match’ means that every condition you set must be true for the payment method to be disabled. For example, if you set conditions for both cart total and user role, then customers must meet both conditions before the payment method disappears.
‘Any one of the below rule should match’ means the payment method will be disabled when just one condition is met. So, if you set rules for either cart total or user role, meeting just one of these conditions will hide the payment option.
For this example, we will use the first option.

Now, click on the ‘Select condition’ dropdown menu. Here, you’ll find several categories to create conditional payment rules, including location, product, delivery method, cart total, date and time, and user role.
As an example, let’s set up a payment gateway for specific cart values. We’ll choose ‘Cart Subtotal (Before Discount)’ from the ‘Cart Related’ category to disable payment methods like Buy Now Pay options when orders exceed a certain amount.
This helps reduce fake orders and fraud for higher-value purchases in your WooCommerce store.

Next, you can choose whether to disable payment methods when the condition is:
- Equal to (=)
- Less or Equal to (<=)
- Less than (<)
- Greater or equal to (>=)
- Greater than (>)
- Not equal to (!=)
In our example, we’ll use ‘Greater or equal to’ since we want to disable certain payment gateways in WooCommerce when orders reach or exceed our threshold amount.

Finally, enter your target value in the last field.
In our case, we’ll type in ‘250.’ This means that when a customer’s cart reaches $250 or more, WooCommerce will disable the Buy Now Pay payment methods we selected earlier.

One thing we love about this plugin is that you can create complex conditional payment rules by combining multiple conditions.
For example, you could restrict payment options based on cart totals and specific dates. This would work perfectly for managing payment methods during holiday sales periods.
To add another condition to your WooCommerce payment rules, simply click the green ‘Add Condition’ button. After that, follow the same steps.
Each new condition helps you fine-tune exactly when and how payment methods appear on your checkout page.

Once you’re happy with your conditional payment rules, click ‘Save Rule.’
The payment methods you’ve selected will automatically be hidden in your WooCommerce checkout when customers meet your specified conditions.

Now, let’s look at a few examples of how to set up payment gateway rules for other business needs:
How to Disable Cash on Delivery for International Customers
Do you sell products internationally and offer cash on delivery?
If so, you should disable this payment method for international customers. This will avoid payment collection issues and reduce shipping risks.
To do this, you can create a new rule and name it something like ‘Disable COD for Non-[Country Name] Customers.’ Then, select ‘Cash on delivery’ in the payment methods section.

For the condition, choose ‘Country’ from the location options and select ‘Not Equal to (!=).’
After that, enter your store’s country.

Now, the cash-on-delivery payment method will only appear for local customers. At the same time, it will be automatically hidden for anyone ordering from other countries.
Here’s how our checkout page appears when viewed as a customer from Japan:

How to Disable Bank Transfers for Digital Products
Digital products need special care because they’re delivered right away, and bank transfers can be risky due to slow processing times. For this reason, we recommend disabling this payment option for your digital goods.
First, make sure all your digital products are in the same category (like ‘Digital products’). If you haven’t sorted your products yet, check out our guide on how to add product tags, attributes, and categories in WooCommerce.
Then, create a new rule and name it ‘Disable Bank Transfer for Digital Products.’ Pick ‘Direct bank transfer’ as the payment method you want to disable.

For the condition, you can choose ‘Cart has product of category’ from the product options.
Then, select your digital products category.

And you’re done!
Now, when someone buys an item from the digital product category, they won’t see the bank transfer option at checkout.

How to Disable Specific Payment Methods for Large Orders
If you have ever processed large orders in your WooCommerce store, then you know that percentage-based payment gateway fees can take a huge chunk out of your profits.
For example, PayPal charges 2.99% + a fixed fee. On a $1,000 order, that’s around $30 in fees!
So, here’s how to set up conditional payment gateways to offer more cost-effective payment options for high-value purchases.
For this example, we’ll focus on PayPal since its percentage-based fees can become particularly expensive for small business owners handling large transactions.
First, create a new rule and name it ‘Disable PayPal for High-Value Orders.’ Select ‘PayPal’ from your WooCommerce payment methods.

In ‘Below conditions determine when to disable payment methods,’ choose ‘Any one of the below rule should match.’
For the first condition, you need to pick ‘Cart Subtotal (Before discount),’ select ‘Greater or equal to,’ and enter ‘1000’ (adjust this amount based on your payment gateway fees).
For the second condition, choose ‘Cart quantity,’ select ‘Greater than or equal to,’ and enter ’10’ (or whatever number makes sense for your business).

Now, when a customer’s order meets either condition – spending $1000 or more, OR ordering 10 or more items – PayPal won’t appear as a payment option at checkout.
You can place a test order and go to your checkout page to see if the rules work:

Option 3: Use Wholesale Suite to Restrict Payment Methods (For Wholesale Customers)
If you offer wholesale pricing, then you’ll likely want to set different payment gateways based on user role. You may want to offer regular customers all the standard payment methods but limit them for wholesale customers.
This way, you can maximize your profits and minimize any payment security risks.
For instance, wholesale customers often make very large purchases, and certain payment options (like PayPal) have higher fees. To avoid these steep fees cutting into profits, you could disable PayPal for wholesale users.
Similarly, you might turn off Buy Now Pay options so you don’t have to wait for an extended period for large sums of money (or risk never receiving them).
While you can set up conditional payment gateways using the plugin from Option 2, wholesale plugins typically already include this feature.
The Wholesale Suite plugin bundle, for example, has built-in plugins to manage payment methods based on wholesale user roles. This can improve the customer experience for your B2B buyers.
To get started, go ahead and install these WordPress plugins from the Wholesale Suite in your online store:
While the Pro version comes with a price tag, it unlocks essential wholesale features, including payment method control and tiered pricing.
You can read our detailed Wholesale Suite review for more information.
Once both plugins are active, make sure you have your wholesale store basics in place. Here are some helpful tutorials you can follow:
To restrict specific payment methods to wholesale customers, you can go to Wholesale » Settings. Then, select ‘Payment Gateway.’

Next to ‘Wholesale Role,’ select the ‘Wholesale Customer’ role that the plugin has set up. Then, type in the payment gateways you want to enable.
Once done, just click ‘Add Mapping.’

You should now see all of the enabled payment gateways in the table below.
Like so:

Now, if the user logs in as a Wholesale Customer, they will only see this specific payment method on their checkout page.
Here’s an example:

Option 4: Use Advanced Coupons to Restrict Payment Methods (For Specific Coupons)
Want to offer rewards for using certain payment methods?
You can do this by creating coupons tied to specific payment options, which encourages customers to use those preferred payment methods.
While the plugin from Option 2 in this guide can handle this task, coupon plugins like Advanced Coupons include this feature by default. We love this plugin because it lets you create detailed rules and customizations for your payment-specific discounts.
First, you need to install these WordPress plugins in your WordPress admin area:
The premium version is paid, but you’ll need it to restrict payment methods and create advanced coupon rules. For more information, check out our complete Advanced Coupons review.
Next, set up your coupons by going to Coupons » Add New.

Then, you can configure your coupon settings however you like. For detailed instructions, read our step-by-step guide on how to create smart coupons in WooCommerce.
For this tutorial, we’ll focus on creating payment-specific discounts. We’ll create a coupon code called PAYPAL20 that gives customers a 20% discount when they choose PayPal as their payment method.

To restrict the payment method for the coupon, scroll down and find the ‘Payment Methods Restriction’ tab. Check the box that says ‘When checked, will enable payment methods restriction check when coupon is applied.’
For the ‘Type,’ you have to select ‘Allowed.’

Then, in ‘Payment Methods,’ enter PayPal.
After that, feel free to continue setting up your coupon. For example, you can create an auto-apply coupon URL and share it with your potential customers.

Once you’re finished configuring these settings, click ‘Update’ or ‘Publish’ to save your coupon.
It’s as simple as that!

When customers use this coupon, they’ll see PayPal as the only payment method.
The discount will also be applied to their order summary.

Option 5: Add Custom Code to Disable Payment Methods (Advanced + No Plugin)
If you don’t want to use a dedicated payment plugin, then you can also get the same results with several lines of custom code. We’ll show you how to disable payment methods based on two common scenarios: customer location (country) and cart total.
Keep in mind that this approach is more technical than the previous options. It requires adding code to your functions.php file, which controls how your WordPress website behaves.
However, we don’t recommend editing your functions.php file directly, as making even a small mistake can break your entire website. Instead, we suggest using WPCode, which is a code snippet manager that helps you add custom code safely.
While it is a plugin, it’s a lightweight tool for many customizations beyond payment methods, such as adding tracking codes, custom functions, or analytics.
You can read our complete WPCode review and our guide on the most useful WordPress code snippets for beginners to see what you can do with WPCode.
Before we start, we need to know the ID of the payment gateway that we want to disable. To do this, just go to WooCommerce » Settings and switch to the ‘Payments’ tab.
Then, hover your cursor over one of the payment methods.
As you do this, pay attention to the URL preview that appears at the bottom of your browser. It should look something like this: https://example.com/wp-admin/admin.php?page=wc-settings&tab=checkout§ion=payment-gateway-id
The part at the end that follows §ion= is your payment gateway ID. So, for example, if you hover over the PayPal option, then the ID is ppcp-gateway.

Make sure to take note of this information, as you will need it in the next steps.
Now, install WPCode on your WordPress site. You can read our step-by-step guide on how to install a WordPress plugin for detailed instructions.
Next, go to Code Snippets » + Add Snippet. Then, choose ‘Add Your Custom Code (New Snippet)’ and click on the ‘+ Add Custom Snippet’ button.

After that, you’ll need to choose a code type.
For this tutorial, select ‘PHP Snippet.’

Now, let’s look at two code snippets you can add to disable specific payment methods in WooCommerce.
How to Disable Payment Methods Based on Country
To do this, you need to give your code snippet a name like ‘Disable [Payment Method Name] for [Country Name].’
After that, you can paste the code snippet below into the ‘Code Preview’ box:
// Hook our custom function into the WooCommerce available payment gateways filter.
add_filter( 'woocommerce_available_payment_gateways', 'customize_payment_gateway_based_on_country', 9999 );

function customize_payment_gateway_based_on_country( $available_gateways ) {

    // Check if we're in the admin area or if the WooCommerce customer object is not available.
    // If either is true, return the unmodified gateways.
    if ( is_admin() || ! WC()->customer ) {
        return $available_gateways;
    }

    // -----------------------------------------------------------------------
    // CUSTOMIZATION 1: Payment Gateway ID
    //
    // Replace 'your_gateway_id' with the ID of the payment gateway you want to target.
    // For example:
    //   - To target Stripe, replace with 'stripe'
    //   - To target PayPal, replace with 'paypal'
    //
    $gateway_id_placeholder="your_gateway_id";
    // -----------------------------------------------------------------------

    // -----------------------------------------------------------------------
    // CUSTOMIZATION 2: Country Code
    //
    // Replace 'XX' with the desired country code where you want to disable the gateway.
    // Country codes are based on ISO 3166-1 alpha-2.
    // For example:
    //   - To target the United States, use 'US'
    //   - To target the United Kingdom, use 'GB'
    //
    $target_country_code="XX";
    // -----------------------------------------------------------------------

    // Check if the specified payment gateway exists within the available gateways.
    if ( isset( $available_gateways[ $gateway_id_placeholder ] ) ) {
        // Retrieve the billing country of the current customer.
        $customer_country = WC()->customer->get_billing_country();

        // Compare the customer's billing country with the target country code.
        if ( $customer_country === $target_country_code ) {
            // If the customer's country matches the target, remove the payment gateway.
            unset( $available_gateways[ $gateway_id_placeholder ] );
        }
    }

    // Return the (possibly modified) list of available gateways.
    return $available_gateways;
}
Now, you’ll need to customize two parts of this code.
First, find the $gateway_id_placeholder variable and replace ‘your_gateway_id’ with the ID of your payment gateway.
Find the $target_country_code variable and replace ‘XX’ with your target country’s two-letter code. For example:
- US – United States
- GB – United Kingdom
- CA – Canada
- AU – Australia
So, let’s say you want to disable direct bank transfers for customers in the United States. If so, then your code should look like this:
// Hook our custom function into the WooCommerce available payment gateways filter.
add_filter( 'woocommerce_available_payment_gateways', 'customize_payment_gateway_based_on_country', 9999 );

function customize_payment_gateway_based_on_country( $available_gateways ) {

    // Check if we're in the admin area or if the WooCommerce customer object is not available.
    // If either is true, return the unmodified gateways.
    if ( is_admin() || ! WC()->customer ) {
        return $available_gateways;
    }

    // -----------------------------------------------------------------------
    // CUSTOMIZATION 1: Payment Gateway ID
    //
    // Replace 'your_gateway_id' with the ID of the payment gateway you want to target.
    // For example:
    //   - To target Stripe, replace with 'stripe'
    //   - To target PayPal, replace with 'ppcp-gateway'
    //
    $gateway_id_placeholder="bacs";
    // -----------------------------------------------------------------------

    // -----------------------------------------------------------------------
    // CUSTOMIZATION 2: Country Code
    //
    // Replace 'XX' with the desired country code where you want to disable the gateway.
    // Country codes are based on ISO 3166-1 alpha-2.
    // For example:
    //   - To target the United States, use 'US'
    //   - To target the United Kingdom, use 'GB'
    //
    $target_country_code="US";
    // -----------------------------------------------------------------------

    // Check if the specified payment gateway exists within the available gateways.
    if ( isset( $available_gateways[ $gateway_id_placeholder ] ) ) {
        // Retrieve the billing country of the current customer.
        $customer_country = WC()->customer->get_billing_country();

        // Compare the customer's billing country with the target country code.
        if ( $customer_country === $target_country_code ) {
            // If the customer's country matches the target, remove the payment gateway.
            unset( $available_gateways[ $gateway_id_placeholder ] );
        }
    }

    // Return the (possibly modified) list of available gateways.
    return $available_gateways;
}
This code will hide the direct bank transfer option when customers from the United States visit your checkout page.
Once you’ve customized these parts, switch the toggle from ‘Inactive’ to ‘Active,’ then click ‘Save Snippet.’

Now, you can go ahead and place a test order to see if the code works.
Here’s what our checkout page looks like when we use the sample code snippet for disabling PayPal for US-based customers:

How to Disable Payment Methods Based on Cart Total
First, create a new code snippet and give it a descriptive name, like ‘Disable [Payment Method] for High-Value Orders.’
After that, paste the following code snippet into the ‘Code Preview’ box:
// Hook our custom function into the WooCommerce available payment gateways filter.
add_filter( 'woocommerce_available_payment_gateways', 'disable_payment_gateway_for_high_cart_subtotal' );

function disable_payment_gateway_for_high_cart_subtotal( $available_gateways ) {
    // Check if we're in the admin area. If so, return the unmodified gateways to avoid issues in the backend.
    if ( is_admin() ) {
        return $available_gateways;
    }

    // Get the cart subtotal.
    $cart_total = WC()->cart->get_subtotal();

    // -----------------------------------------------------------------------
    // CUSTOMIZATION 1: Minimum Cart Subtotal
    // Replace 123 with the desired minimum cart subtotal above which you want to disable the gateway.
    // -----------------------------------------------------------------------

    // -----------------------------------------------------------------------
    // CUSTOMIZATION 2: Payment Gateway ID
    // Replace 'your_gateway_id' with the ID of the payment gateway you want to target.
    // For example:
    //   - To target Stripe, replace with 'stripe'
    //   - To target PayPal, replace with 'ppcp-gateway'
    // -----------------------------------------------------------------------


    // Check if the cart total meets the minimum and if the specified payment gateway is available.
    if ( $cart_total >= 123 && isset( $available_gateways['your_gateway_id'] ) ) {
        // Remove the payment gateway.
        unset( $available_gateways['your_gateway_id'] );
    }

    // Return the (possibly modified) list of available gateways.
    return $available_gateways;
}
You’ll need to customize two parts of this code. First, find the cart subtotal value in this line:if ( $cart_total >= 123 && isset( $available_gateways['your_gateway_id'] ) ) {
Simply replace ‘123’ with your desired minimum amount (don’t include currency symbols).
Next, find ‘your_gateway_id’ and replace it with your payment gateway ID like before.
So, if you want to disable PayPal for orders over $100, you would set the value to ‘100’ and use ‘ppcp-gateway’ as the gateway ID.
Here’s what the full code snippet would look like:
// Hook our custom function into the WooCommerce available payment gateways filter.
add_filter( 'woocommerce_available_payment_gateways', 'disable_payment_gateway_for_high_cart_subtotal' );

function disable_payment_gateway_for_high_cart_subtotal( $available_gateways ) {
    // Check if we're in the admin area. If so, return the unmodified gateways to avoid issues in the backend.
    if ( is_admin() ) {
        return $available_gateways;
    }

    // Get the cart subtotal.
    $cart_total = WC()->cart->get_subtotal();

    // -----------------------------------------------------------------------
    // CUSTOMIZATION 1: Minimum Cart Subtotal
    // Replace 123 with the desired minimum cart subtotal above which you want to disable the gateway.
    // -----------------------------------------------------------------------

    // -----------------------------------------------------------------------
    // CUSTOMIZATION 2: Payment Gateway ID
    // Replace 'your_gateway_id' with the ID of the payment gateway you want to target.
    // For example:
    //   - To target Stripe, replace with 'stripe'
    //   - To target PayPal, replace with 'ppcp-gateway'
    // -----------------------------------------------------------------------


    // Check if the cart total meets the minimum and if the specified payment gateway is available.
    if ( $cart_total >= 100 && isset( $available_gateways['ppcp-gateway'] ) ) {
        // Remove the payment gateway.
        unset( $available_gateways['ppcp-gateway'] );
    }

    // Return the (possibly modified) list of available gateways.
    return $available_gateways;
}
Once you’ve customized these parts, switch the toggle from ‘Inactive’ to ‘Active.’
Then, click ‘Save Snippet.’

Finally, try creating a test order to see if the code works.
Here’s what you should see on your checkout page if you disable PayPal for orders above $100:

More Ways to Improve Your WooCommerce Store
Now that you know how to manage payment methods in WooCommerce, here are other things you can do to build a better online store:
🚨 Ready to take your online store to the next level? Let our WPBeginner Pro Services team help you build a professional WooCommerce store. We’ll set up your payment gateways, optimize your checkout process, and ensure your store runs smoothly. Plus, you’ll get a dedicated project manager to oversee every detail of your store setup.
Book a Free Consultation Call With Our Team Today!
We hope this article has helped you learn how to disable payment methods in WooCommerce. You may also want to check out our guide on how to add a free shipping bar in WooCommerce and our expert picks of the best Authorize.net plugins for WordPress.
If you liked this article, then please subscribe to our YouTube Channel for WordPress video tutorials. You can also find us on Twitter and Facebook.


