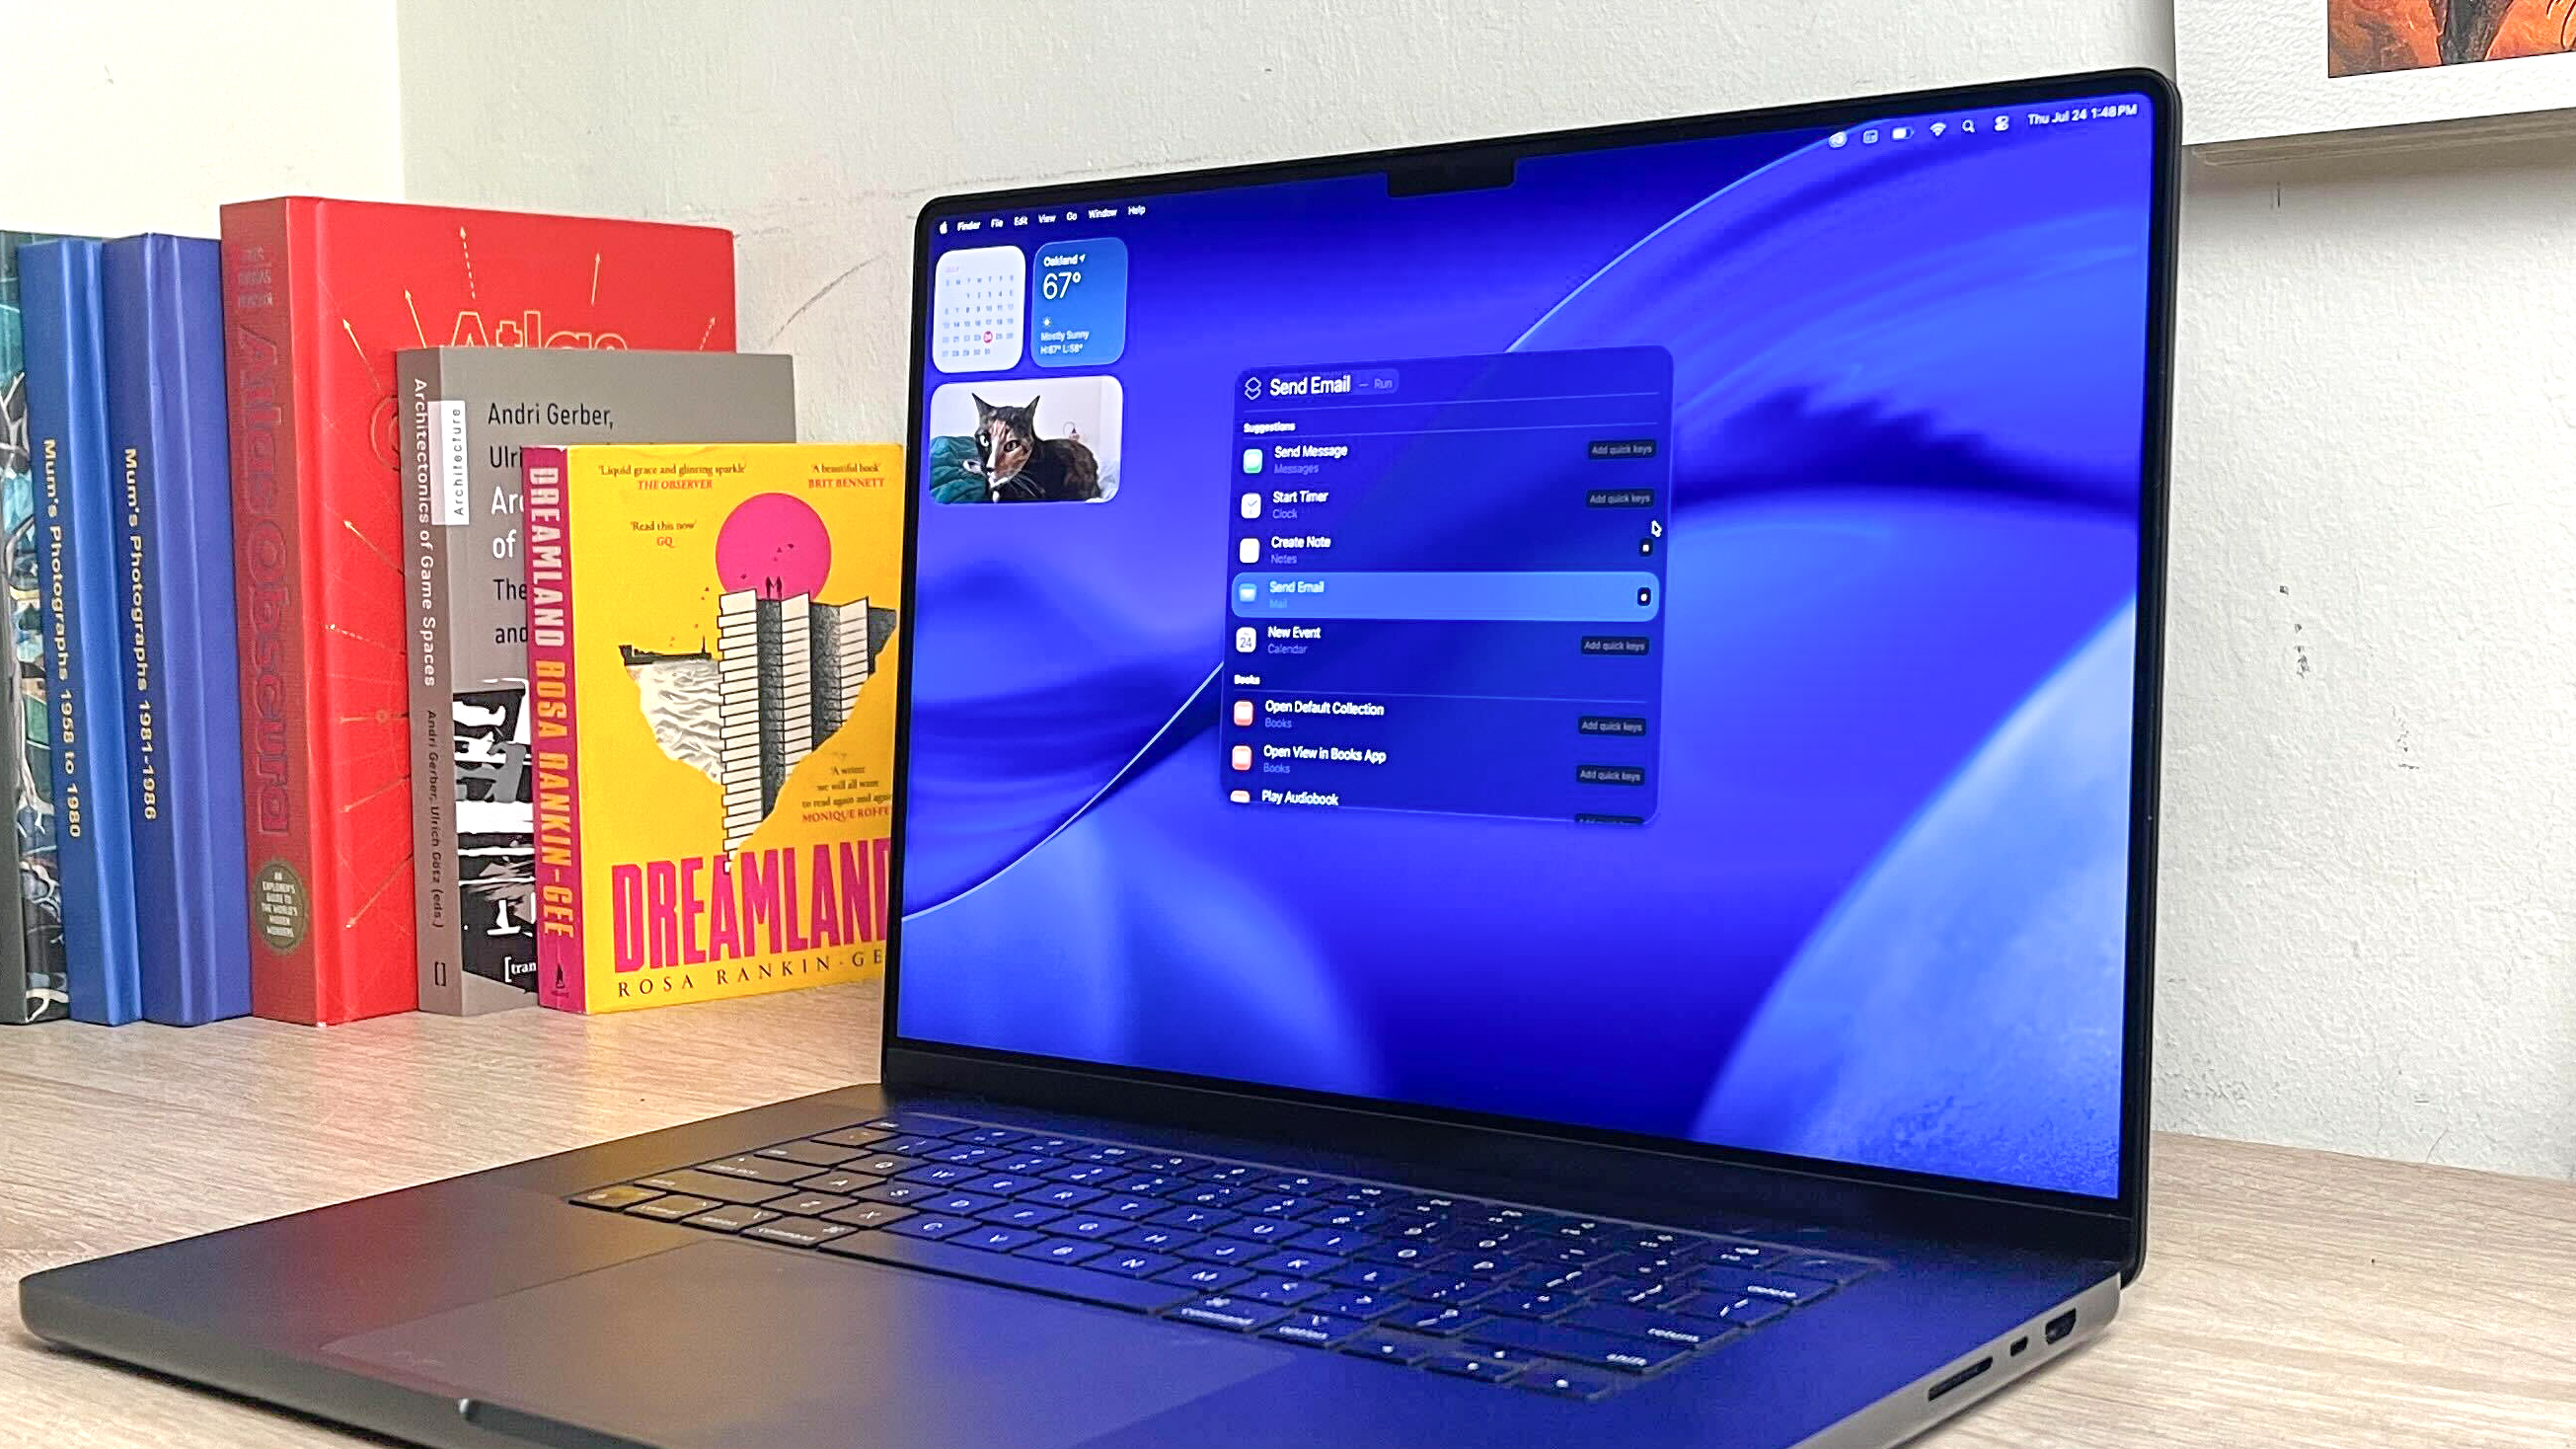
This is the big week that Apple releases all its new operating systems for 2025, and that means the full version of macOS Tahoe is now available for download. I think most Mac owners should upgrade if possible because I’ve been testing pre-release versions of macOS Tahoe for months now, and I love the ways it makes your Mac better.
From the supercharged Spotlight Search to the new Liquid Glass design and the expanded customization options, macOS Tahoe is a welcome improvement. Plus, new Continuity features make it easier than ever to stay on top of your iPhone while working without having to pull it out.
If you like to play around with Genmoji or the Image Playground, there are some fun new features to play with. And while I haven’t found the new-to-Mac Journal and Games app to be game-changers, you might feel differently when you upgrade.
To help you get through the process as effortlessly as possible, I put together this quick and easy guide to how to download macOS Tahoe, replete with photos to walk you through the process step by step.
Supported Macs
Like most versions of macOS, Tahoe is a free upgrade for all supported Macs. However, some Macs that currently run macOS Sequoia just fine won’t be able to make the jump to Tahoe.
To help you figure out if your Mac can run the 2025 macOS update, here’s a list of all the Macs that will officially support macOS Tahoe:
- MacBook Air: 2020 and later
- MacBook Pro: 2020 and later (exception: 2019 16-inch MacBook Pro)
- Mac mini: 2020 and later
- iMac: 2020 and later
- iMac Pro: 2017
- Mac Pro: 2019 and later
- Mac Studio: 2022 and later
If your Mac is on the list, you’re good to go!
One important thing to do before upgrading: back up your Mac! You could use Apple’s built-in Time Machine feature or a reputable third-party service like Backblaze — our guide to the best cloud storage solutions offers even more recommendations for you.
How to download macOS Tahoe
These days Apple makes downloading even the earliest developer beta of macOS a fairly straightforward process.
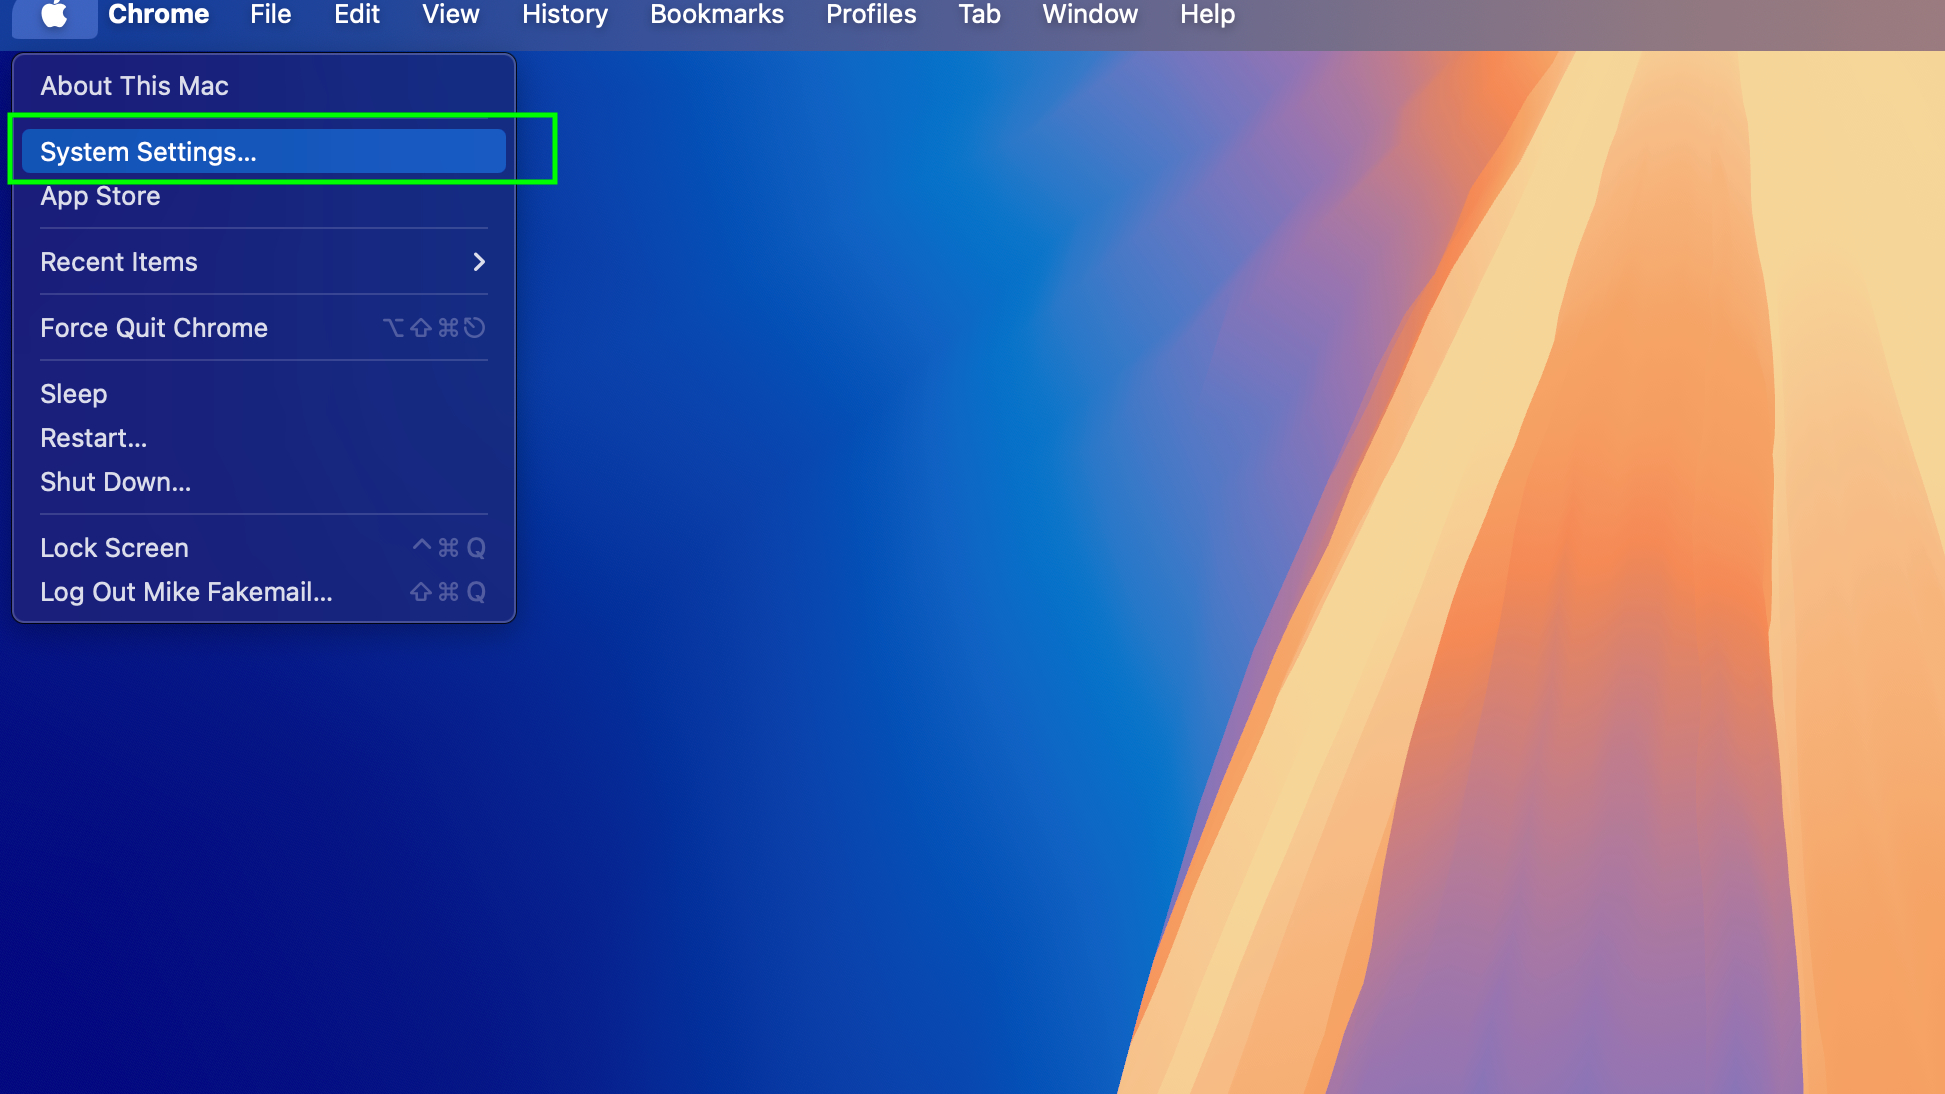
1. Open System Settings
(Image: © Future)
First, open the System Settings menu on your Mac by clicking on the Apple icon in the top-left corner and selecting “System Settings” from the drop-down menu.
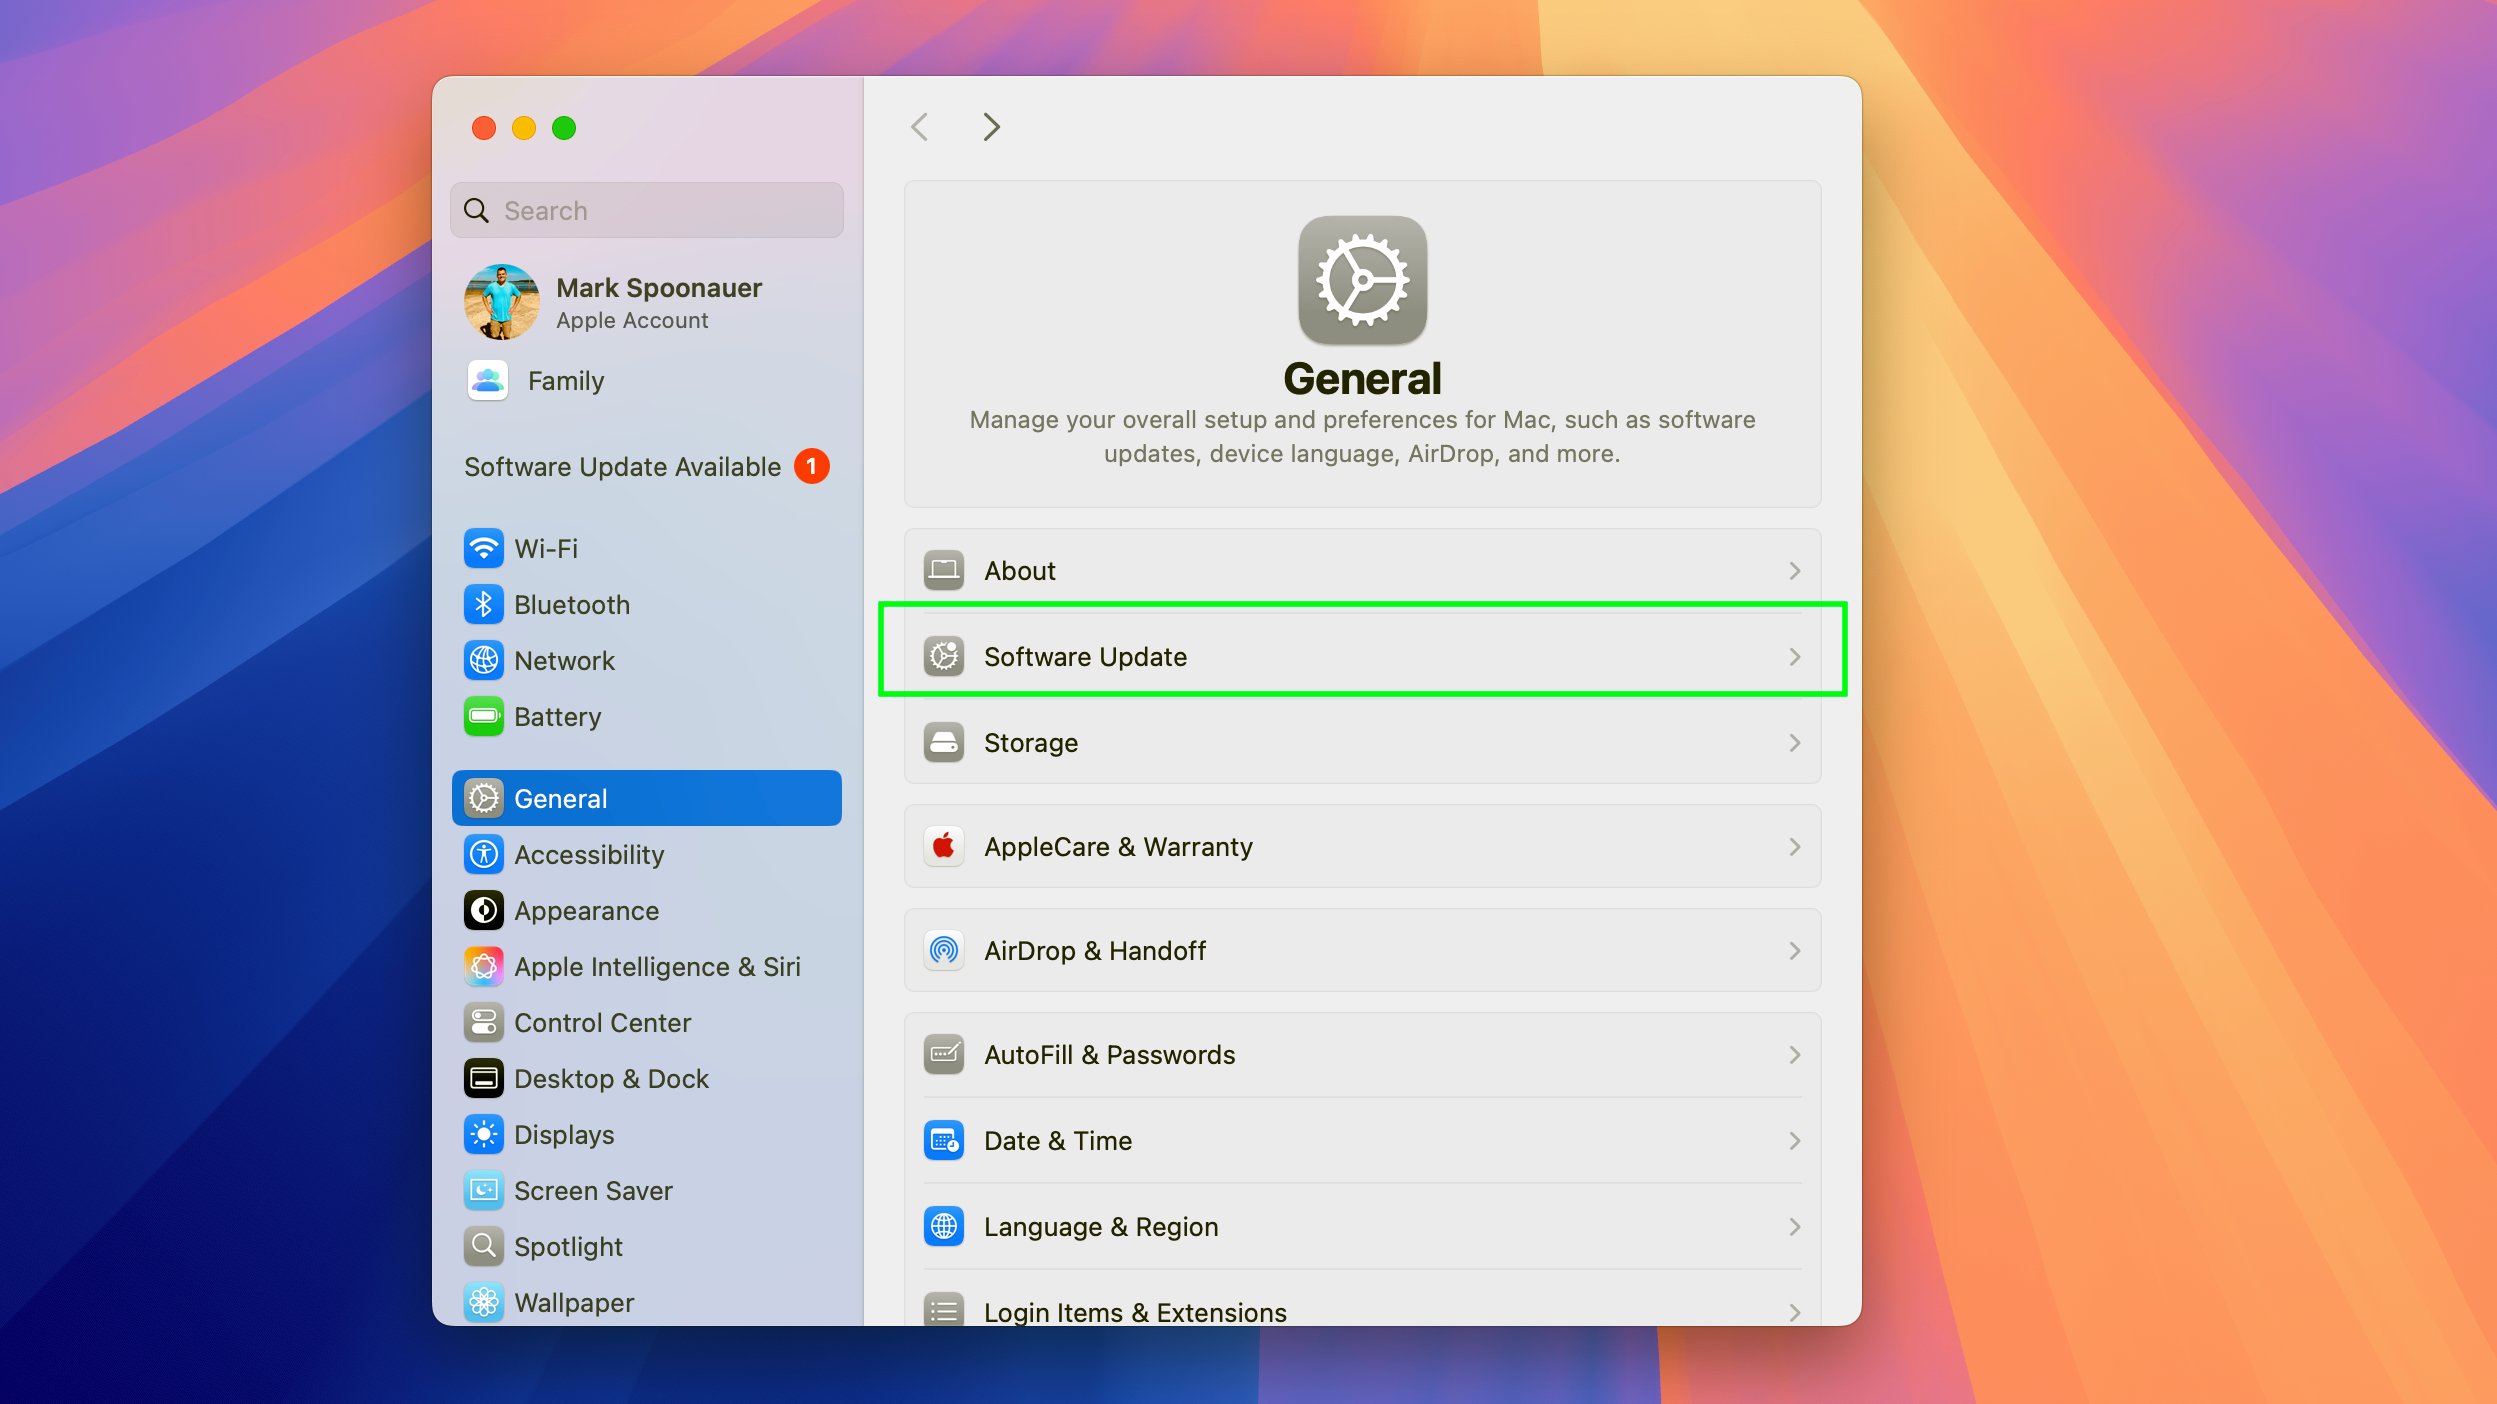
2. Navigate to General > Software Update
(Image: © Future)
Next, navigate to the Software Update section of your General settings menu. To get there, click General in the left-hand menu of the System Settings menu, then click Software Update.
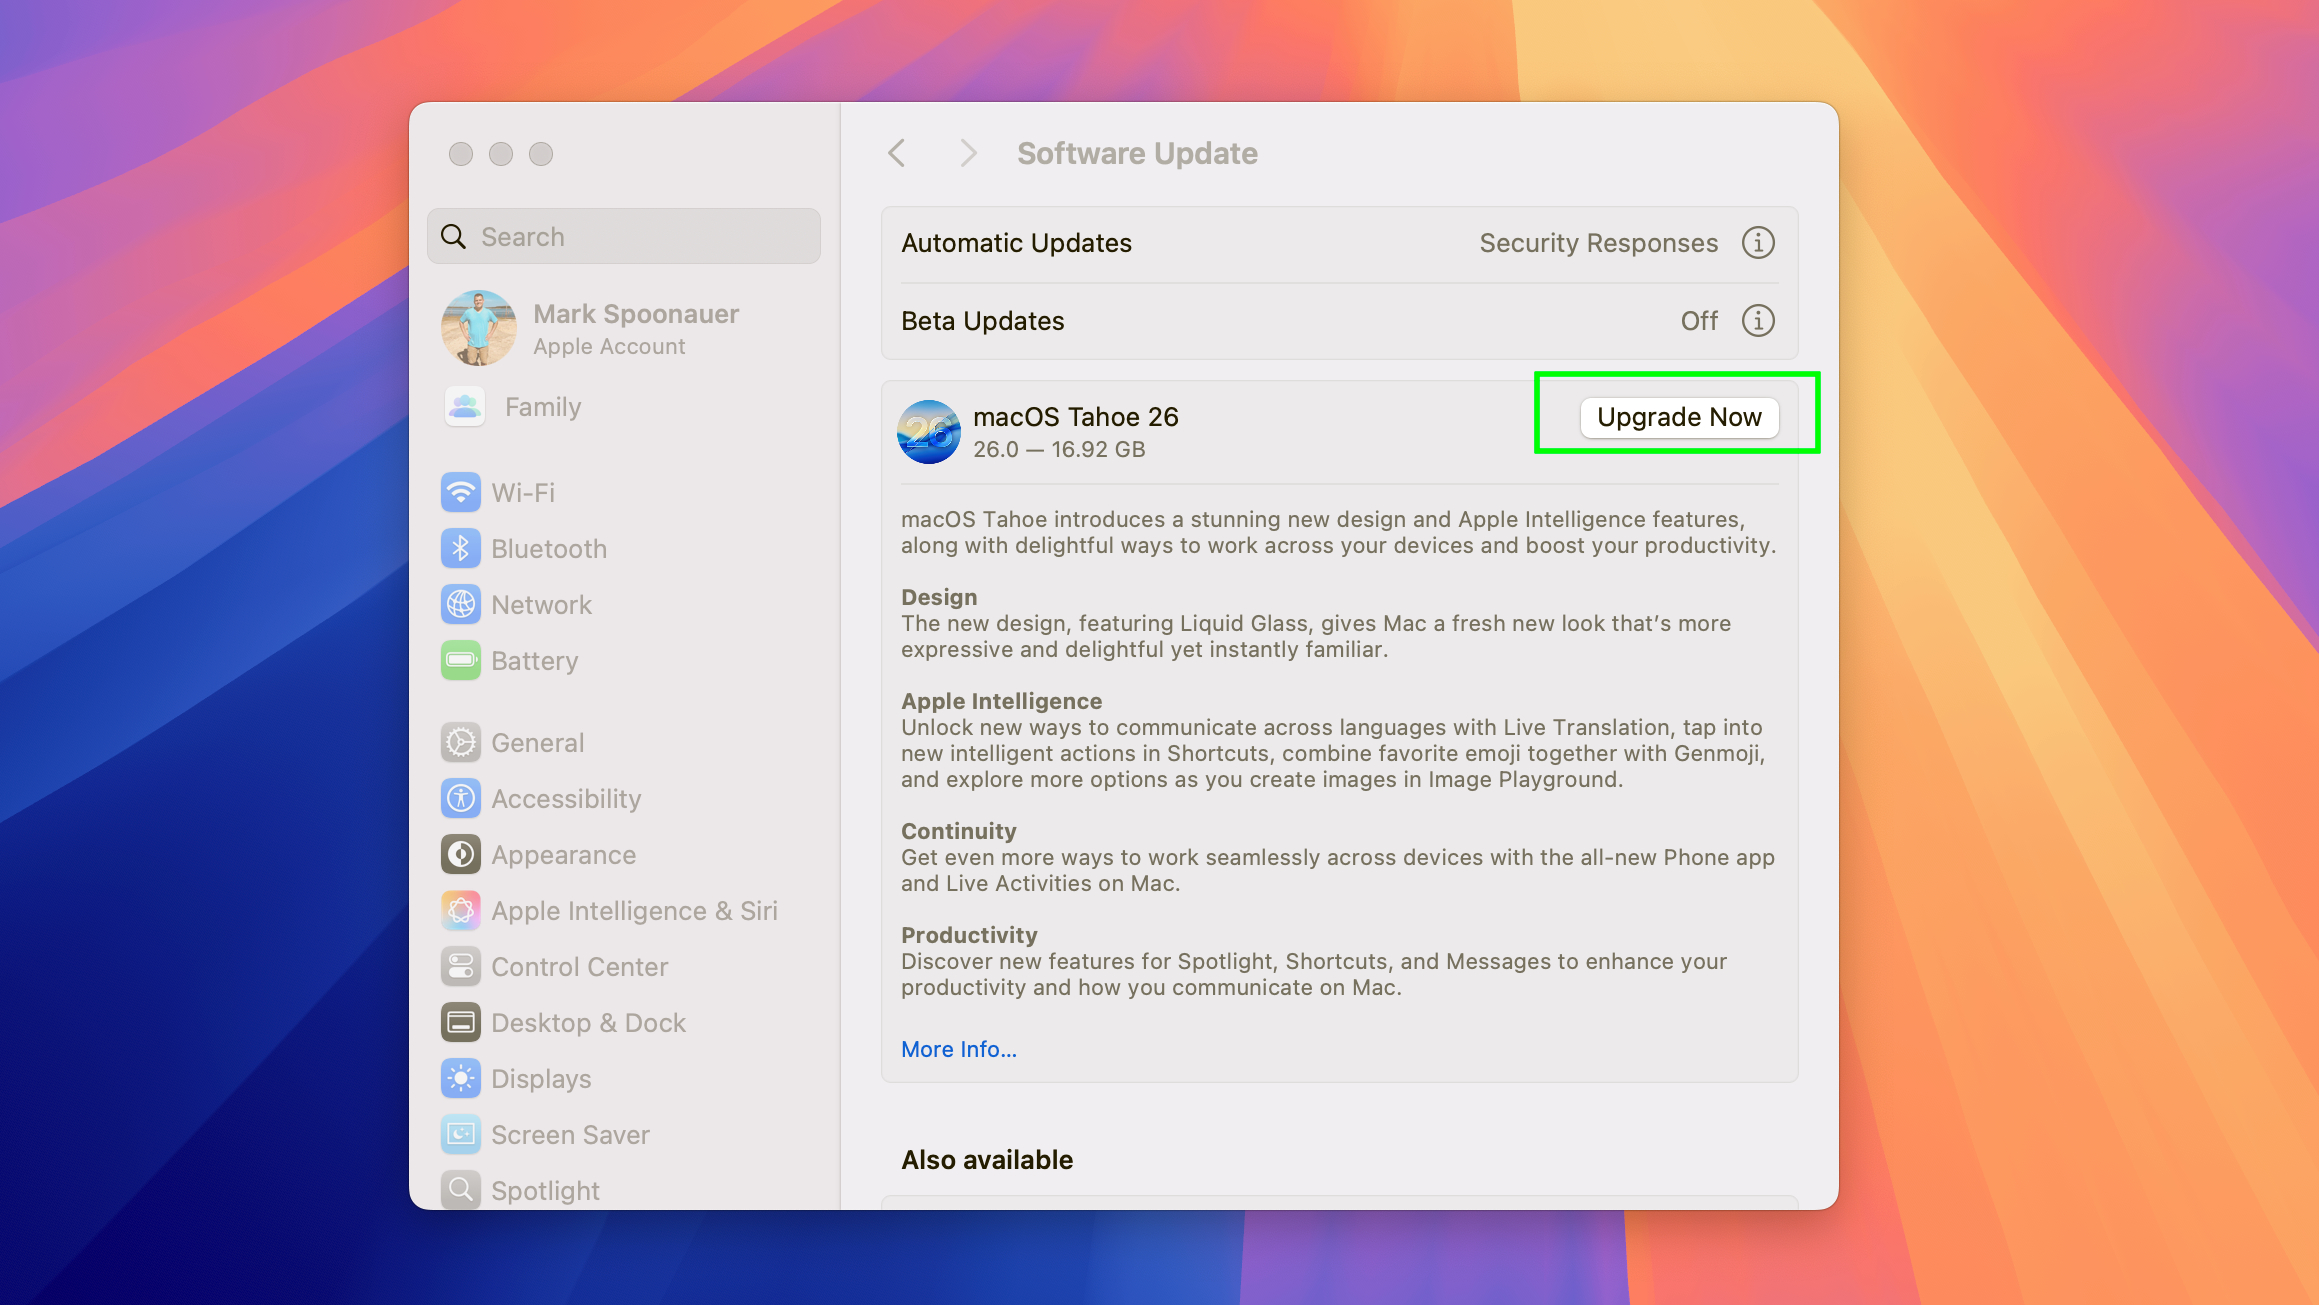
3. Click Upgrade Now
(Image: © Future)
Next, select macOS Tahoe 26 and click the Upgrade Now button to initiate the update process.
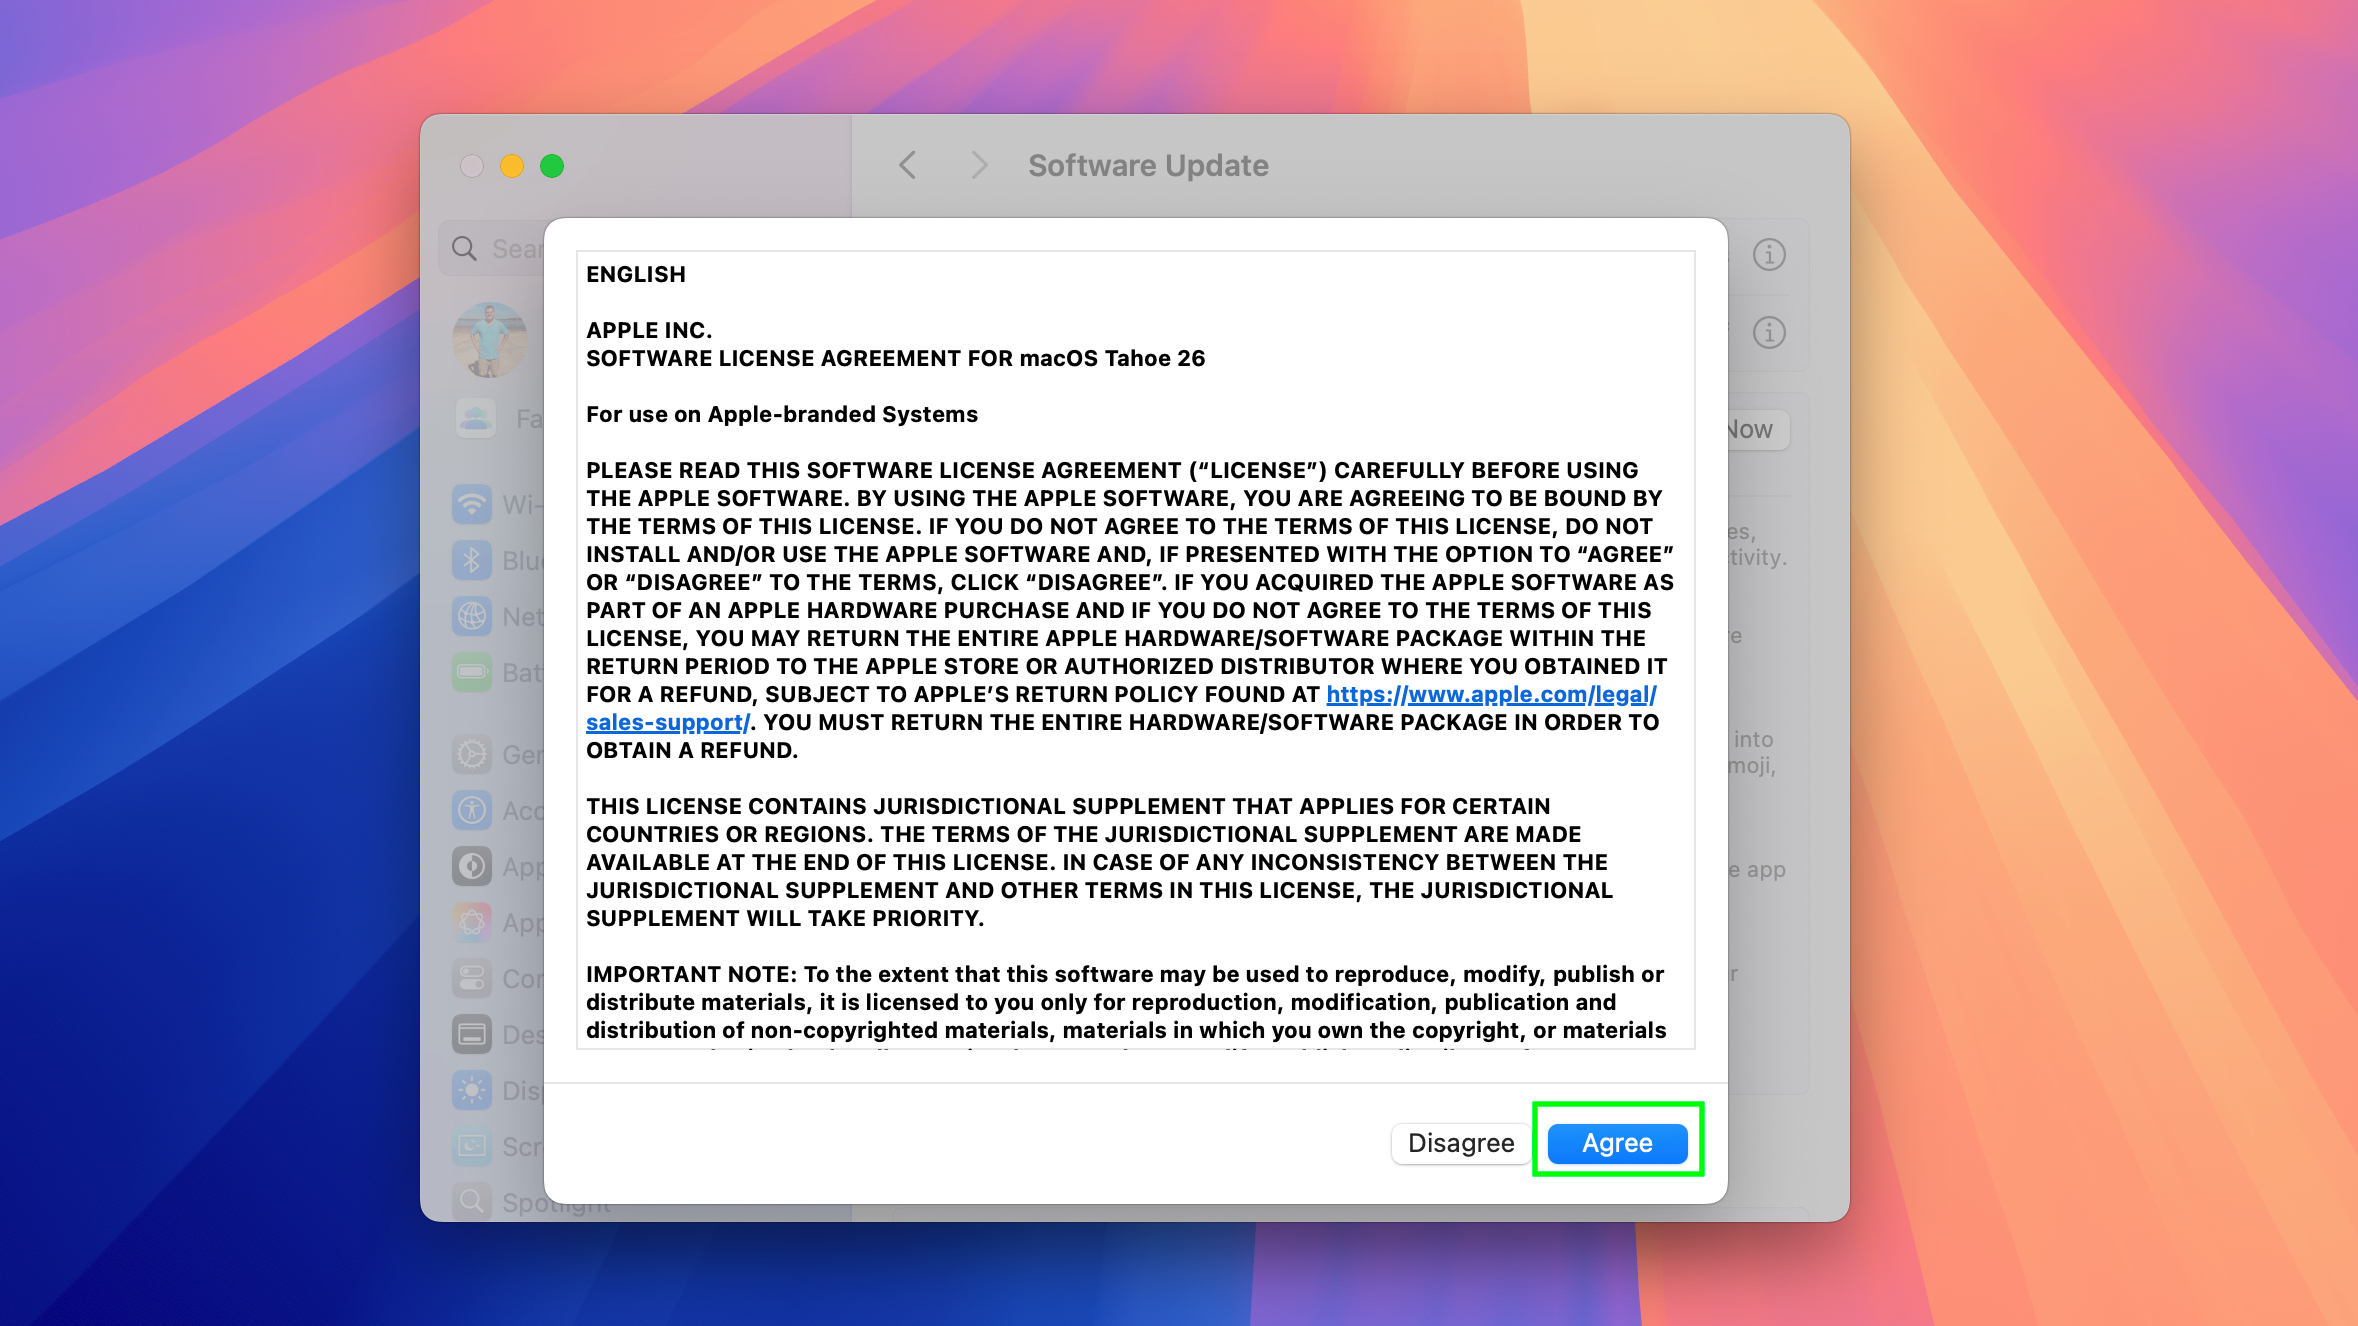
4. Accept license agreement
(Image: © Future)
Before you can get into it you’ll need to read through Apple’s licensing agreement and agree to all terms and conditions in order to finish instalilng macOS Tahoe.
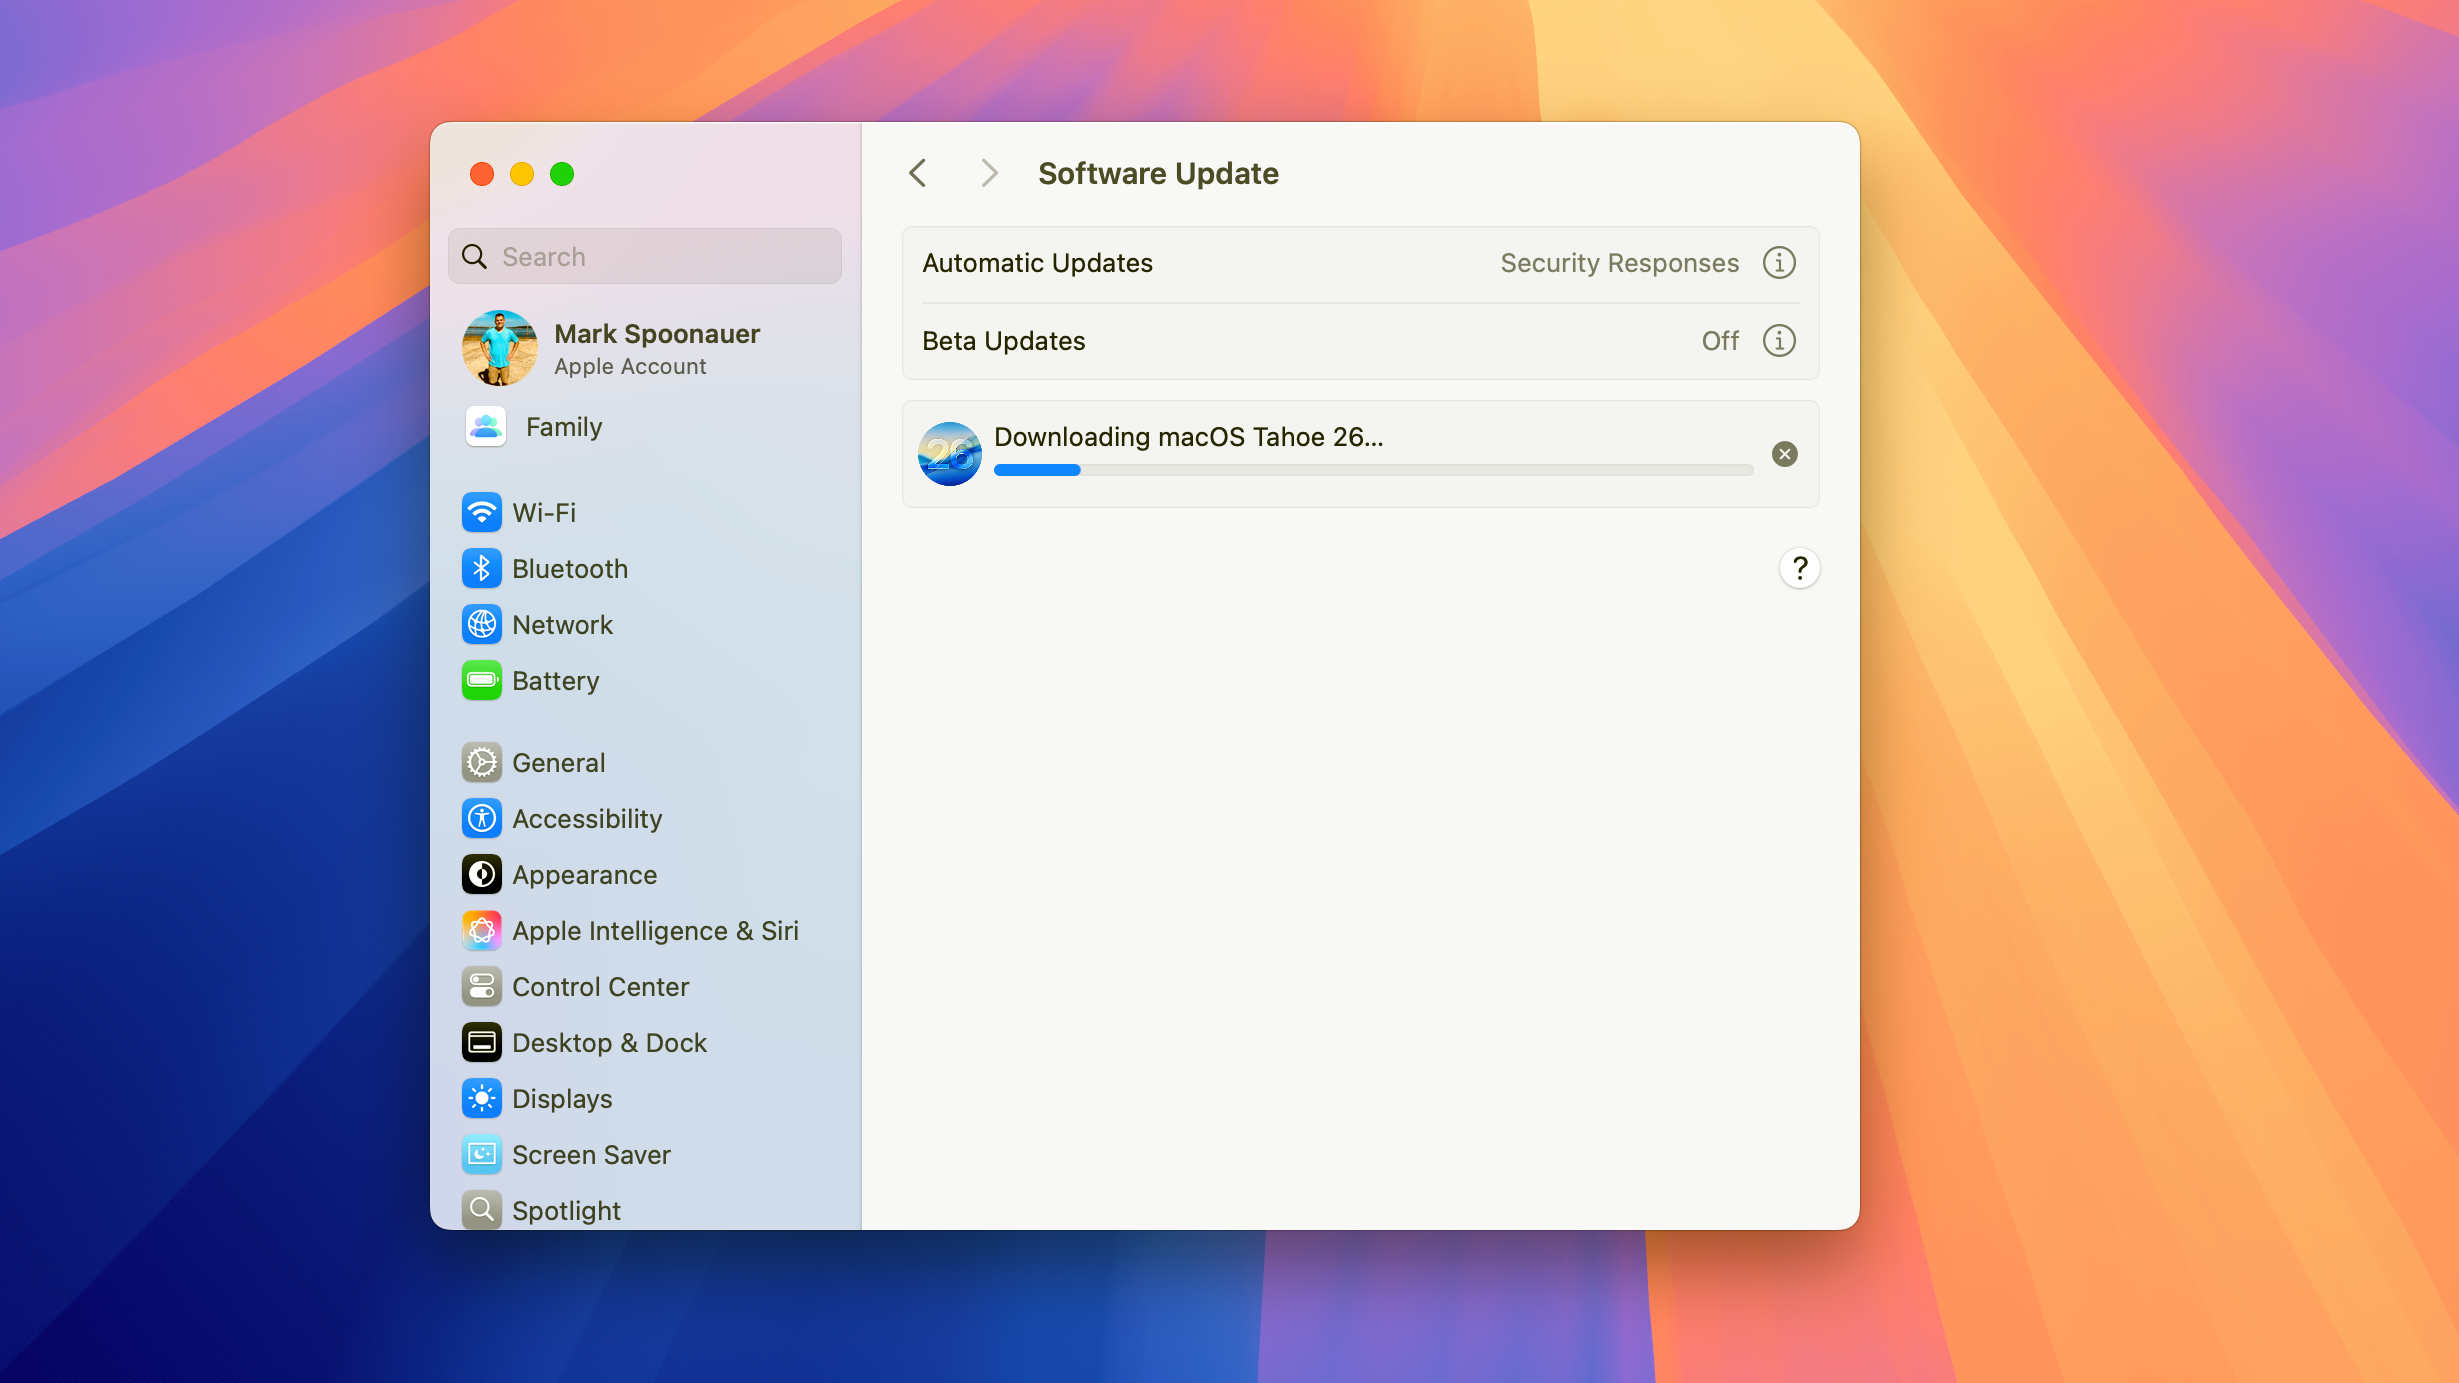
5. Download macOS Tahoe
(Image: © Future)
From there, macOS Tahoe will start downloading. The software will install after that, and your upgrade is complete.
That’s all there is to it! Updating macOS is a lot easier than it used to be, so hopefully before you know it you’ll be welcomed into macOS Tahoe.

