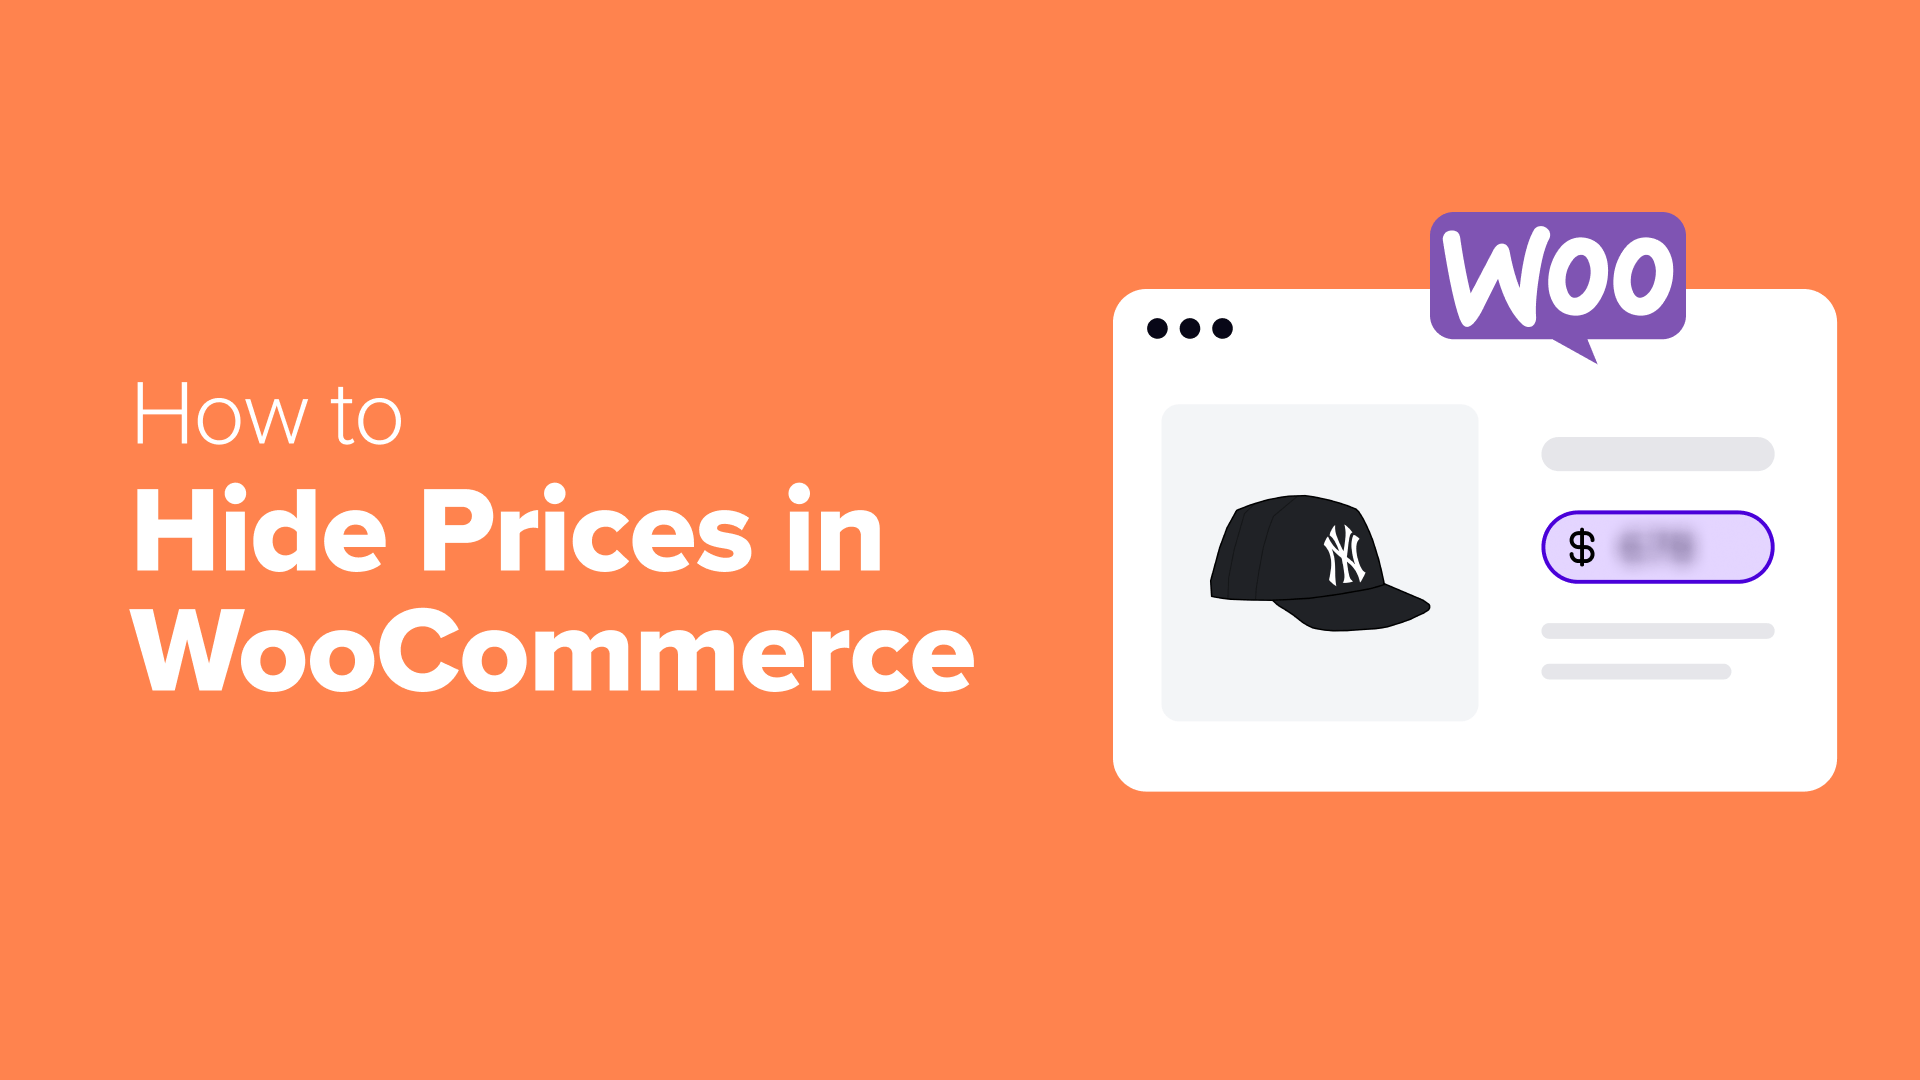
By default, WooCommerce shows your product prices to everyone who visits your store. While this works for most online retailers, some businesses need more control over who sees their pricing.
While helping online store owners, we’ve come across a few different cases where hiding prices in WooCommerce is essential.
For example, wholesale suppliers need to show special pricing only to verified business customers. On the other hand, B2B companies may prefer to discuss client needs beforehand to make sure they can offer the right solution for the right price.
After testing various solutions, we’ve found 3 reliable methods to hide prices in WooCommerce. These methods will work for any type of business, from wholesale suppliers to luxury companies.

What to Consider Before Hiding Product Prices
We’ve seen a few different situations where selling on WooCommerce without prices makes sense.
For example, many wholesale suppliers hide prices to prevent retail customers from seeing bulk discounts. Additionally, custom furniture makers often remove prices because each piece has unique costs based on materials and design.
We also know that some luxury brands prefer to create exclusive, members-only shopping experiences by showing prices only to serious buyers.
Unfortunately, WooCommerce doesn’t come with a built-in option to hide prices. But after testing various solutions, we’ve found 3 reliable methods that work well.
You can use the quick links below to skip to your preferred method of hiding prices on WooCommerce:
Are you ready? Let’s dive in!
Method 1: Hide All/Specific Product Prices and Cart Buttons With Code
In this method, we will show you how to hide the product prices and cart buttons for either all the products in your store or just specific items. This approach is helpful if you want customers to contact you directly for prices or log in to their accounts to see those prices.
While testing out different options, we found that many plugins for hiding prices are either quite expensive or too complex to use. That’s why we’ve come up with a simple code solution that gets the job done quickly.
We know that ‘code solution’ might sound intimidating, but don’t worry. This is a beginner-friendly approach.
We’ll use WPCode, which is a plugin that makes adding code to your site as easy as copying and pasting. We’ve used this plugin on many sites and have found it safe and reliable.
The free version works perfectly for hiding prices. However, if you want extra features like the AI code generator to create custom solutions, you might want to look at the Pro version.
We’ve tested both versions extensively in our WPCode review.
First, you’ll need to install and activate the free WPCode plugin. If you need help, check out our guide on how to install a WordPress plugin.
Next, you can follow one of the tutorials below.
Option 1: Hide Price & Cart Buttons for Specific Products (Logged-Out Users)
The easiest way to hide prices is using WPCode’s ready-made snippet. This code will hide prices and cart buttons from specific products when users aren’t logged in.
If you’re already familiar with WPCode, you can simply find it in WPCode’s snippet library.
Otherwise, if this is your first time using the plugin, just click the link below:
Hide Price & Add to Cart for Non Logged in Users for Specific Products
Then, click the ‘Add to Site’ button to get started.

At this point, you’ll need to either create a free WPCode account or log in if you already have one.
During registration, you will be asked to connect your WordPress website with the WPCode library.

After logging in, you’ll choose which website you want to add the snippet to.
Then, click ‘Deploy.’

The system will take you back to your WordPress admin area to finish the setup.
Here, just click ‘Confirm & Install Snippet.’

This brings you to the code snippet editor, where you’ll make two simple changes to customize the code for your needs.
First, you’ll need to change the product IDs. Look for this line of code:
$not_purchasable_products = array( 23, 22 );
Replace those numbers with your own product IDs.
If you’re not sure what they are, then you can read our article on how to find product IDs in WooCommerce.
For example, if you want to hide prices for products 63, 64, and 65, you’d write:
$not_purchasable_products = array( 63, 64, 65 );
Next, you can customize the message shown instead of the price.
Here is the code you need to find:
function wws_hide_price_not_logged_in( $price_html, $product ) {
    if ( is_non_purchasable_products_for_visitors( $product ) ) {
        $price_html="<div><a href="" . get_permalink( wc_get_page_id( 'myaccount' ) ) . '">' . __( 'Login with wholesale account to see prices', 'wws' ) . '</a></div>';
    }
    return $price_html;
You can change this text: ‘Login with wholesale account to see prices’ to whatever you’d like, such as ‘Login to see prices’ or ‘Contact us for pricing.’
Here’s an example:
function wws_hide_price_not_logged_in( $price_html, $product ) {
    if ( is_non_purchasable_products_for_visitors( $product ) ) {
        $price_html="<div><a href="" . get_permalink( wc_get_page_id( 'myaccount' ) ) . '">' . __( 'Login to see prices', 'wws' ) . '</a></div>';
    }
    return $price_html;
When users click this link, it will bring them to the WooCommerce login page to sign in.
Finally, switch the toggle from ‘Inactive’ to ‘Active.’ Then, click ‘Update.’

Now, just visit your product pages to see the changes.
You’ll notice the prices and cart buttons are hidden and replaced by your custom message.

It’s that simple!
Option 2: Hide Price & Cart Buttons for All Users
If you want to hide prices and cart buttons for everyone who visits your WooCommerce store, you’ll need to add a different code snippet. This method works whether users are logged in or not.
Start by going to Code Snippets » + Add Snippet in your WordPress dashboard. Click on ‘Add Your Custom Code (New Snippet)’ and then the ‘+ Add Custom Snippet’ button.

After that, you will see some code types to choose from.
Here, just choose ‘PHP Snippet.’

Next, you need to give your code snippet a title. It can be something simple like ‘Hide All WooCommerce Prices.’
Then, in the ‘Code Preview’ section, copy the code below and paste it there:
/**
 * Hide Price & Add to Cart for All Users for All Products
 */

/**
 * Function to check if products should be non-purchasable.
 * This will always return true to apply to all products.
 */
function is_non_purchasable_products( $product ) {
    // Always return true to make all products non-purchasable for all users
    return true;
}

/**
 * Set product as not purchasable
 */
function wws_set_not_purchasable( $is_purchasable, $product ) {
    if ( is_non_purchasable_products( $product ) ) {
        // Set product as not purchasable
        $is_purchasable = false;
    }
    return $is_purchasable;
}

/**
 * Replace price with 'Contact us for pricing' message linking to the contact page
 */
function wws_hide_price( $price_html, $product ) {
    if ( is_non_purchasable_products( $product ) ) {
        // Get the URL for the contact page by slug
        $contact_page = get_page_by_path( 'contact' );
        if ( $contact_page ) {
            $contact_url = get_permalink( $contact_page );
        } else {
            // Default to '/contact' if the page is not found
            $contact_url = site_url( '/contact' );
        }

        // Set the price HTML to the contact message
        $price_html="<div><a href="" . esc_url( $contact_url ) . '">' . __( 'Contact us for pricing', 'wws' ) . '</a></div>';
    }
    return $price_html;
}

/**
 * Hide the 'Add to Cart' button
 */
function wws_hide_addcart( $add_to_cart, $product, $args ) {
    if ( is_non_purchasable_products( $product ) ) {
        // Remove the 'Add to Cart' button
        $add_to_cart="";
    }
    return $add_to_cart;
}

// Add filters to apply the above functions
add_filter( 'woocommerce_is_purchasable', 'wws_set_not_purchasable', 10, 2 );
add_filter( 'woocommerce_get_price_html', 'wws_hide_price', 10, 2 );
add_filter( 'woocommerce_loop_add_to_cart_link', 'wws_hide_addcart', 10, 3 );
This code will remove all prices and cart buttons from your store and replace them with a ‘Contact us for pricing’ link that takes visitors to your contact page.
After pasting the code, switch the toggle from ‘Inactive’ to ‘Active’ and click ‘Save Snippet.’

And that’s it!
You can now visit your store to see that all prices and cart buttons have been replaced with a link to your contact page.

For additional details, see our beginner’s guide on how to easily add custom code in WordPress.
Method 2: Hide Product Prices from Non-Wholesale Customers
This method is perfect for businesses that want to hide prices from regular visitors while showing special wholesale pricing to approved customers.
This approach works especially well for manufacturers, distributors, and B2B companies that want to maintain exclusive pricing for their wholesale buyers.
It’s also great if you’re not a fan of the code solution from earlier, as we’ll be using plugins from the user-friendly Wholesale Suite.
Before we dive in, we recommend reading our detailed Wholesale Suite review to understand all the features this plugin suite offers.
Step 1: Install the Necessary Wholesale Suite Plugins
For this method to work effectively, you’ll need to install the free Wholesale Suite plugin. It handles the basic wholesale store features, including setting up wholesale pricing structures for your products.
You will also need to get the premium Wholesale Suite extension, particularly Wholesale Prices and Wholesale Lead Capture.
The first extension is essential for hiding prices from regular customers while showing them to your wholesale buyers. There’s no way around this one, as it’s the core plugin that makes price hiding possible.
The second creates a professional registration system where potential wholesale customers can apply for an account. If you prefer, you can also use WPForms to create your registration forms.
After installing these WordPress plugins, go to Wholesale » License in your dashboard.

Here, enter the license keys and email address associated with your premium plugin purchases. You’ll find these details in the confirmation email you received when buying the plugins.
If you’ve purchased multiple Wholesale Suite plugins, then you can use the tabs at the top to access the license key settings for each one.
Once you’ve entered the license information for each tool, make sure to hit ‘Save Changes.’ When you’re done, you can continue to the next step.

Step 2: Set Up a Test Wholesale Customer Account
Wholesale Suite creates a special ‘Wholesale Customer’ user role that lets you manage pricing for all your wholesale clients in one place. When these customers log in, they’ll automatically see their special wholesale prices.
To make sure your price hiding works correctly, you’ll need a test Wholesale Customer account. This helps you check how your WooCommerce store looks from both a wholesale customer’s view and a regular visitor’s perspective.
Creating a wholesale account is simple. First, just go to Users » Add New in your WordPress dashboard.

Now, fill in the basic information like email address and username, then select ‘Wholesale Customer’ from the ‘Role’ dropdown menu.
Finally, click ‘Add New User’ to create the account.

You might also want to prevent wholesale customers from making regular-priced purchases when they don’t meet wholesale conditions. By default, the plugin shows a warning, but customers can still buy at retail prices.
To change this, head to Wholesale » Roles and find the ‘Wholesale Customer’ role. Click on the ‘Edit’ button below the role to customize it.

Then, check the box for ‘Prevent purchase if wholesale condition is not met.’
After that, just click ‘Edit Wholesale Role’ to save your changes.

Step 3: Hide Prices and Cart Buttons
Next, you’ll need to hide the prices and cart page buttons from regular online store visitors.
To do this, you can go to Wholesale » Settings. Make sure you’re in the ‘Wholesale Prices’ section, and navigate to the ‘Price’ tab.

Then, scroll down to the ‘Hide Price and Add to Cart button’ setting and check the box right next to it.
Below that, you can add some custom text to replace the price and cart buttons. If you leave this empty, the default ‘Login to see prices’ message will appear instead.

Now, scroll down and make sure the ‘Show Wholesale Price to non-wholesale users’ setting is disabled.
Finally, click on the ‘Save Changes’ button.

Step 4: Add and Hide Wholesale Prices to WooCommerce Products
You’re now ready to start adding wholesale prices to individual products. You can go ahead and open a new or existing product for editing.
If this is your first time adding a product, then you may want to read our WooCommerce made simple guide for more information.
At some point, when you’re creating a new product or editing an existing one, you’ll need to go to the ‘Product Data’ section.
Here, set your ‘Regular Price.’ This is what regular customers see. Then, find the ‘Wholesale Prices’ section and choose your discount type from the dropdown menu. You can offer either a percentage discount or a fixed price.

For percentage discounts, simply select the ‘Percentage’ discount type and enter your discount amount.
Wholesale Suite will automatically calculate the final price.

If you choose ‘Fixed’ for the discount type, then you can just enter the exact wholesale price you want to charge.
Want to run limited-time wholesale offers? This is great for running seasonal promotions and converting more WooCommerce visitors into customers.
To do this, you can click on the ‘Schedule’ link.

After that, you can enter the start date and end date of your wholesale sale pricing promotion.
This way, you won’t have to manually enable and disable the discount. It basically works similarly to scheduling WooCommerce coupon codes.

Of course, this setting is optional. If you’re not ready to use it now, it may be good to keep in mind for the future.
Next, set your minimum order requirements in the ‘Wholesale Minimum Order Quantity’ section.
This defines how many items a wholesale customer must buy to access special pricing.

Next, scroll down to the ‘Wholesale Order Quantity Step’ section.
Enter ‘1’ into the appropriate field.

This will make it so that the minimum order quantity you set above is applied to each item.
That way people can’t try to misuse wholesale privileges. For more information on this setting, see the Wholesale Suite documentation on minimum order requirements.
Finally, you can make your product visible only to wholesale customers by using the ‘Restrict To Wholesale Roles’ setting at the top of the page. Type and select ‘Wholesale Customer’ in this field.
At this stage, you can continue finalizing your product settings. For instance, you can add a product image gallery, embed a product video, or insert product tags.
When you’re ready, just click ‘Update’ or ‘Publish’ to save your changes. You can then repeat the same steps for all of your wholesale products.

Step 5: Configure Your Wholesale Registration Forms
The Wholesale Suite extension automatically creates registration and login pages for your wholesale customers. Before you start accepting applications, though, let’s customize the registration form to match your needs.
Head to Wholesale » Settings, then click the ‘Wholesale Lead Capture’ tab and open the ‘Registration Form’ menu.

Here, you can scroll down to find a table showing all the available form fields.
While basic fields like First Name, Last Name, Email, and Username are included by default, some might need to be activated. To enable a field, click the pencil ‘Edit’ icon in the ‘Action’ column.

All you need to do now is check the ‘Enabled’ box to make it visible and mark the field as ‘Required’ if you want to make it mandatory.
Remember to click ‘Save Custom Field’ once you’re done.

Now, switch to the ‘General’ tab to find your new Wholesale Log In and Registration pages.
Go ahead and click ‘View Page’ to preview them.

Once you have opened them, you can add the links to these pages to your navigation menu. This way, users can easily find them when they’re browsing on your online store.
You can learn how to do this in our guide on how to add a navigation menu in WordPress.

One important decision is how you’ll handle new applications.
Under ‘Auto Approve New Leads,’ choose between ‘Manual Approval Required’ or ‘Auto Approval.’
We strongly recommend manual approval to protect your wholesale pricing and verify legitimate businesses.

Once you’re happy with the registration form settings, you can scroll back up.
Finally, click on the ‘Save Changes’ button.

Step 6: Create a Wholesale Order Form
The final step is to create a wholesale order form, which streamlines the ordering process for your wholesale customers. This form lets them easily place bulk orders without navigating through multiple product pages, saving time for both you and your customers.
When setting up wholesale order forms, we’ve found that businesses get the best results by including essential fields like product SKUs and preferred delivery dates.
This way, wholesale customers can quickly place bulk orders while providing all the information you need to process their requests efficiently.
For detailed instructions on creating an optimized wholesale order form, check out our comprehensive guide on how to create a wholesale order form in WordPress.
And that’s it! Let’s look at how this works in practice. Here’s how our store appears to regular visitors:

We also tried logging in as a wholesale customer to see if the price was visible this time.
Check out the result below.

You can also read our guide on how to switch between user accounts in WordPress if you need help signing in and out of your accounts.
Method 3: Create a Professional Online Catalog Without Prices
This method transforms your WooCommerce store into a professional product catalog. It’s perfect for businesses that prefer handling pricing discussions via email, a contact form, or offline.
The YITH WooCommerce Catalog Mode plugin offers a straightforward way to create a price-free catalog. We’ve tested and shared how to use this plugin before in our tutorial on how to add a product catalog in WooCommerce.
Unlike the wholesale method, this approach lets you remove prices completely while replacing them with custom contact buttons. You can hide pricing for your entire store, specific product categories, or individual items.
This flexibility makes it ideal for custom manufacturers, luxury retailers, or service providers who need to quote prices based on client requirements.
For this guide, we’ll focus on the essential settings to enable catalog mode and hide prices using YITH’s plugin. Based on our testing, we found that these basic features are enough to get most stores started with hidden prices.
That said, keep in mind that we’re only scratching the surface of what this plugin can do. We’ve explored many more advanced features in our detailed YITH WooCommerce Catalog Mode review.
Also, you’ll need to purchase the premium version of the plugin. The free version works well, but the price-hiding feature is only available in the paid version.
Step 1: Install and Activate YITH WooCommerce Catalog Mode
After you purchase the plugin, go to the YITH website and log into your YITH account. Then, head over to the ‘Licenses & Downloads’ tab.

Next, click on the ‘Download Plugin’ button to download the plugin file from your YITH account. Make sure to keep your browser tab open, as you’ll need the license key in a moment.
Now, just install the plugin on your WordPress site.
When the setup wizard appears, you’ll need to enter your YITH email address and license key.

After entering your details, click ‘Activate license’ to complete the setup process.
Once that’s done, click ‘Go to plugin dashboard’ to begin customizing your catalog mode settings.

Let’s now continue to the next step.
Step 2: Configure Basic Catalog Mode Settings
Catalog mode transforms your store from a shopping site into a product showcase. This is perfect for businesses that want to display products without immediate purchasing options.
To begin, go to YITH » Catalog Mode and navigate to the ‘Settings’ tab. This is where you’ll configure the options to run WooCommerce without prices.
First, you can pick whether to enable catalog mode for all users or just guest users.

You can also enable catalog mode for users with the Administrator user role to test how the mode looks.
As you scroll down, you can activate the ‘Disable shop’ function if you want to remove the cart page, checkout page, and all add-to-cart buttons from your store.

If you disable the shop function, you’ll get additional options to set specific time ranges or days.
This is particularly helpful if you only want to hide prices on days or holiday seasons when your online store doesn’t accept orders.

For more targeted control, you can just skip the ‘Disable shop’ menu and focus on the settings under ‘”Add to Cart” settings in the Catalog Mode’ section.
Here, you can use dropdown menus to choose exactly where to hide or show add-to-cart buttons. For example, you can hide or show them for items in your exclusion list, which is a feature that lets you group specific products, categories, or tags together.
This makes it easy to hide buttons for just those selected items instead of your entire store. We’ll talk more about creating exclusion lists in a later section.

Moving down, you can choose to hide the ‘Add to cart’ button in product variations. This keeps your catalog mode consistent across all product types, including those with multiple options like size or color.
You can also decide what appears in place of the ‘Add to cart’ buttons on the WooCommerce pages.
We recommend selecting ‘Nothing’ for these options to keep the space clean. We’ll add custom buttons in a different section later.

Further down, you’ll find ‘Price settings in Catalog Mode.’
You can choose between hiding prices for all products or just those in your exclusion list.
When you hide prices, you can replace them with custom buttons. The plugin includes several pre-designed button styles, like ‘Sample Button 1,’ which we’ll customize in the next step.
Remember to click ‘Save Options’ when you’re done making your selections.

Step 3: Create a New Button to Replace the Cart Button
Now, it’s time to customize the button that will replace your cart buttons and prices. Head over to the ‘Buttons & Labels’ tab to get started.
Select one of the pre-designed buttons provided by YITH, then click the pencil ‘Edit’ icon to customize it.

First, give your button a straightforward name so you can easily find it later.
In the ‘Content’ tab, you can change the button text to something that fits your needs. Popular choices include “Request a Quote,” “Contact Us for Pricing,” or “Get Custom Price.”

Adding an icon can make your button more engaging. To do that, you can select ‘Choose from default icons’ in the Icon section.
You can browse through the available options to find one that matches your message.
You can also fine-tune your icon by adjusting its size, alignment, and colors.
Just watch your changes appear in the live preview on the right side of the page.
Now, switch to the ‘Style’ tab to customize your button’s appearance.
This is where you can modify the background colors, width, borders, padding, and margins to match your website’s design.

Finally, in the ‘Options’ tab, set up the link for your button. We recommend using the ‘Custom URL’ option to direct visitors to your contact or login page.
You can also add a hover animation to make your button more interactive and eye-catching.
Once done, just click the ‘Update’ button.

It’s that simple!
Step 4: Create a Product Inquiry Form (Optional)
Adding an inquiry form directly to your product pages can make it easier for customers to ask about prices. This way, they won’t need to leave the product page to contact you.
To set this up, navigate to the ‘Inquiry Form’ tab. Select ‘Visible in all products’ under ‘Set inquiry form as.’ This ensures the form appears on every product page.
For the ‘Form to show’ option, you can use the ‘Default’ form that comes with the plugin.
If you already use WPForms or another form plugin, you can select your existing forms instead.

When using the ‘Default’ form, you can customize which fields appear.
We recommend keeping it simple with essential fields like first name, email, and message. From our experience, shorter forms typically get more submissions.

You have two choices for where the form appears: in a WooCommerce tab below the product image or in the short description area.
If you choose the tab option, you can customize the tab’s title to something like “Request Price” or “Product Inquiry.”

Don’t forget to enable the ‘Include product Permalink’ setting.
This adds the product’s URL to inquiry emails, making it much easier to track which products customers are asking about.

Need help deciding whether to choose between a WooCommerce tab or a short product description?
Here is what the first option looks like:

Meanwhile, if you choose the product description option, the inquiry form will appear right below the button you just created.
Like so:

Bonus: How to Create an Exclusion List (Hide Prices for Specific WooCommerce Products)
Now, let’s look at hiding prices for specific products instead of your entire store. This assumes you’ve already set up your catalog mode to work with an exclusion list in Step 2.
To get started, go to the ‘Exclusion List’ tab and click ‘+ Add exclusion list.’ A new window will open where you can choose what types of items to hide prices for.

The ‘Item type’ dropdown gives you three options: individual products, entire product categories, or product tags. This flexibility lets you hide prices in ways that make sense for your small business.
Next, start typing product names, categories, or tags in the ‘Select products’ field. The plugin will suggest matches as you type. You can also choose whether to show an inquiry form for these specific items.

You’ll notice settings to ‘Use custom options for “Add to Cart”‘ and ‘Use custom options for price.’ We recommend leaving these unchecked if you want to keep the settings you created in Step 2.
Once you’re done, simply click ‘Add exclusion list’ to save your changes. And that’s pretty much it!
Here is an example of what your product page may look like when you enable the plugin:

Learn More WooCommerce Tips and Tricks
Now that you’ve learned how to sell products on WooCommerce without prices, you may want to learn more ways to optimize your online store. Check out these beginner’s guides for more tips and tricks:
We hope this article has helped you learn how to hide prices in WooCommerce. You may also want to check out our list of the best WordPress themes for WooCommerce websites and our guide on how to upsell products in WooCommerce.
If you liked this article, then please subscribe to our YouTube Channel for WordPress video tutorials. You can also find us on Twitter and Facebook.


