Step
1
Clean the robot vacuum cleaner’s body and its sensors
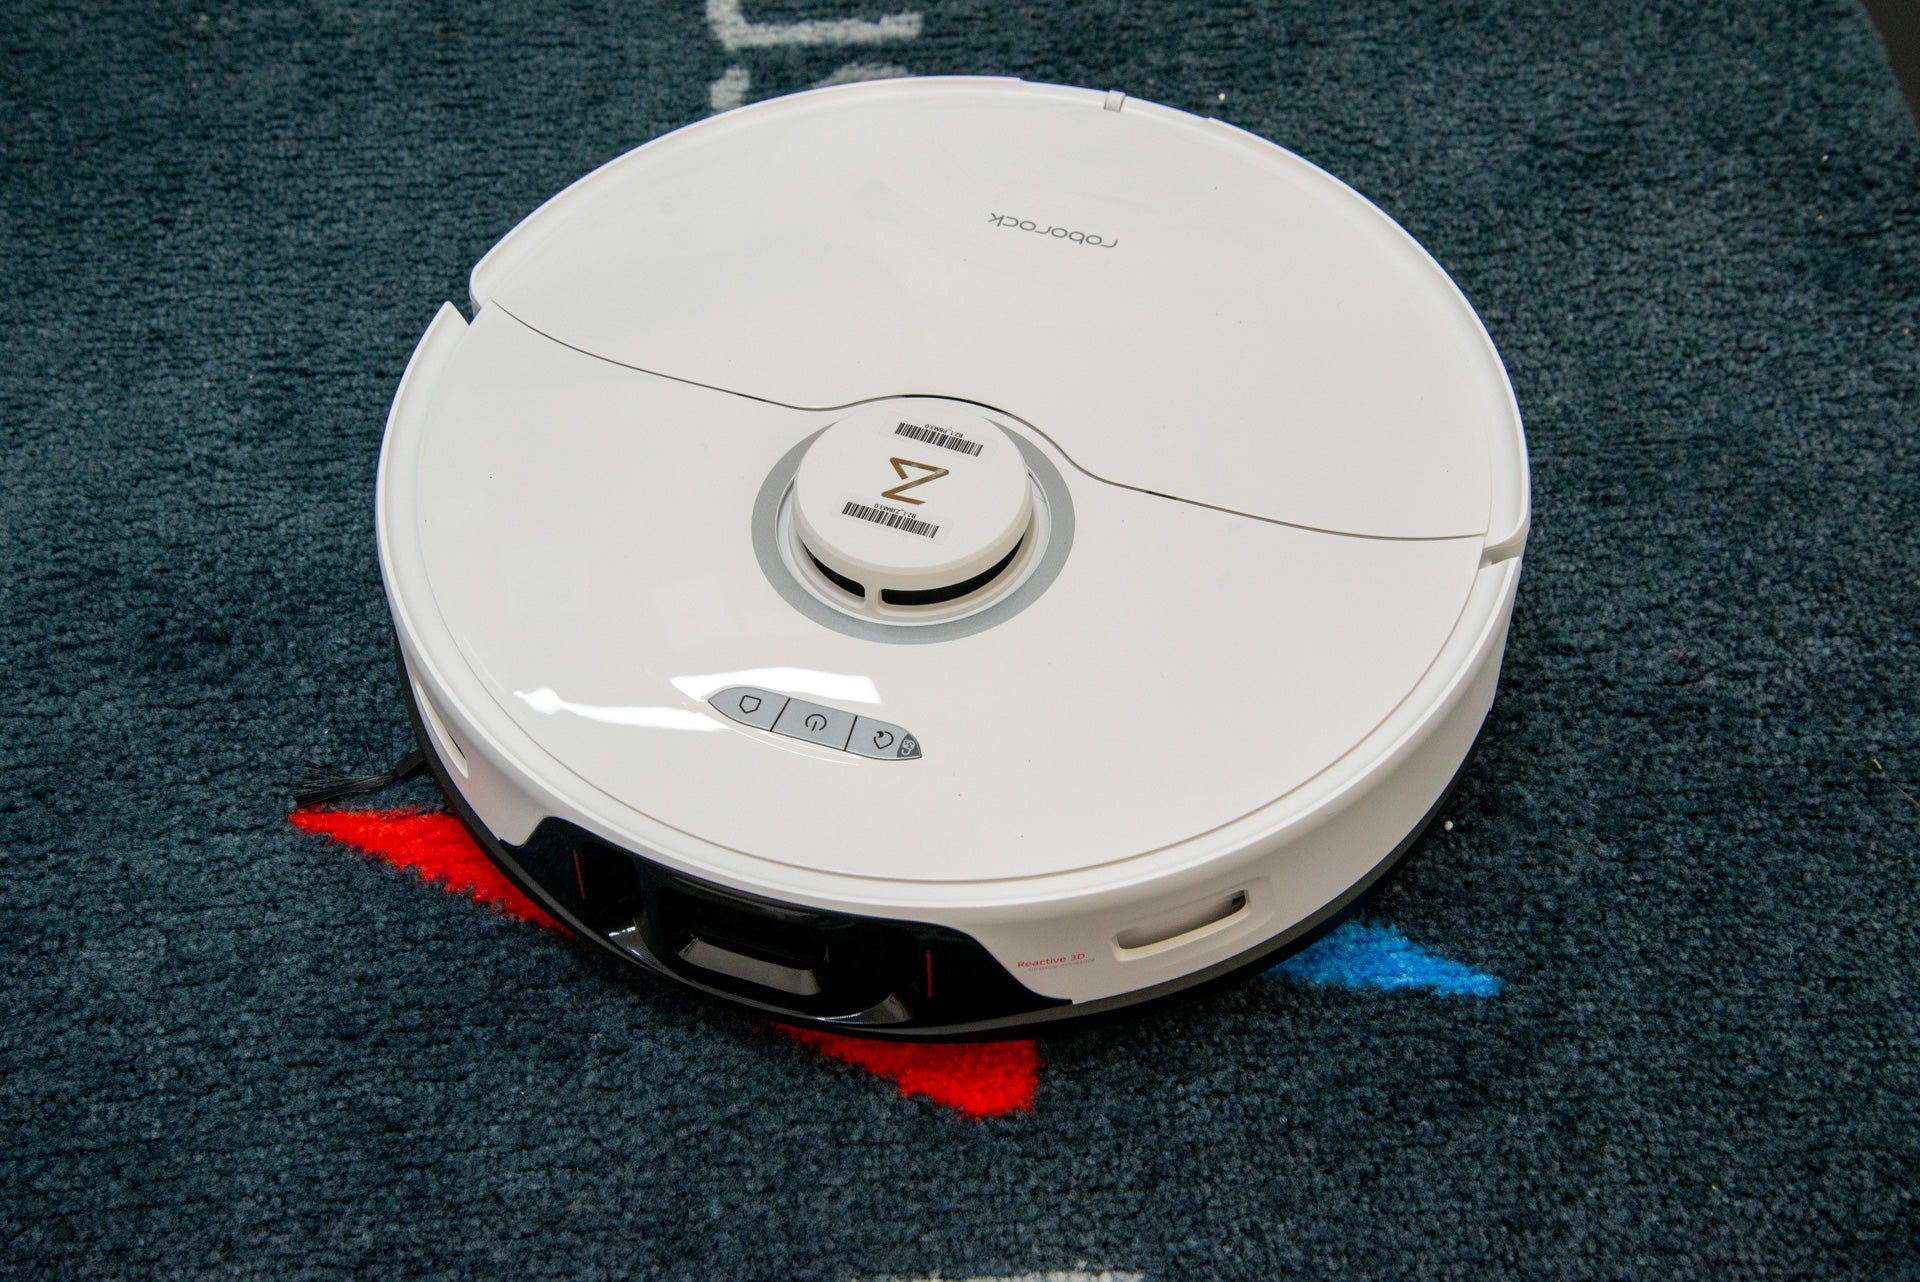
A robot vacuum cleaner can get clogged with dirt. If this happens to any of the sensors, then your robot may struggle to navigate properly. To prevent this from happening, you need to wipe your robot down monthly.
Use a microfibre cloth to gently wipe the robot’s surface. Make sure that you pay attention to the sensors (usually at the front, recessed), and the LiDAR dome on top. If dirt is hard to dislodge, you can use an air duster can to flow out the mess.
Also wipe the underside of the robot, focussing on any sensors and the charging connectors.
Step
2
Clean the robot’s bin and filter

Even if you have a self-empty station, the robot’s bin needs regular maintenance beyond simply emptying it. Around once a month, you should remove the bin, and tap out any debris into a larger waste container.
Take the filter out and wash it under cold water, until it runs clean. You can then wash out the bin with a little dishwasher detergent. Air dry all of the components (around 24-hours) before refitting them.
Step
3
Clean the brushes

Brushes can easily get tangled with hair. Side brushes can be unclipped, and hair removed. Once the brushes have reached a stage where they look straggly, replace them with new ones.
The main brush can also get dirty and tangled. These can be unclipped from the underside of the robot. Use the provided tool or a pair of scissors to cut away any tangled hair, and then use a brush to remove any dirt. When the roller looks straggly, it’s time to replace it.
Most robot vacuum cleaners will send you a notification when it’s time to change brushes, and they sell packs of replacement brushes, and filters.
While the main brush has been removed, use a micofibre cloth to clean the cavity underneath it. If the dirt is quite firm, then a toothbrush or small cleaning brush can help.
Step
4
Wash the mopping pads

Mopping pads (or rollers on some models) accumulate dirt. To keep the robot mopping optimally, the mop pads should be removed and, depending on the manufacturer’s instructions, hand washed or put in the washing machine. If you can wash the pads in a washing machine, do not use fabric softener.
Washing is advisable even if you have a self-cleaning docking station, as some dirt can get engrained and needs a deeper clean.
Step
5
Clean a self-empty station

If your robot has a self-empty station, make sure that you wipe this down with a microfibre cloth. If the station takes bags, check the bag monthly to see how full it is and then replace it with a fresh one.
If your station doesn’t take bags, you’ll need to remove and empty the bin and then wash it with soap and water, allowing it to dry. Bagless docks also have additional filters, which should be removed and washed under a tap, and then allowed to air dry (24 hours) before being replaced.
Step
6
Clean a self-clean station

There’s more maintenance if your robot’s docking station also has water tanks for cleaning and filling/refilling the robot. When prompted, the dirty tank should be removed, emptied and washed out with some dish detergent and water, before being replaced. The clean water tank should be refilled.
At the bottom of these docks is a tray that can normally be removed. This tray needs to be wiped free of solids and cleaned. Pay special attention to the water inlet, which a filter will cover, as this needs to be clean and free of debris for the robot to work properly.


