Like me, you’ve probably heard the unofficial rule of Docker: it’s for lightweight, headless servers and command-line applications, not for graphical interfaces. Most of us follow this rule for good reason—CLI is what Docker was built for. But what happens when you break the rules?
I decided to do something out of the ordinary. My goal was to run a full-fledged Linux desktop inside a container. I don’t want just a shell; I want a fully functional GUI that exists where it’s not supposed to. This is what happened when I tried.
Why Am I Doing This Anyway?
So why would anyone go to all this trouble to run Linux? After all, we could simply use VirtualBox or even dual-boot Linux alongside Windows. My answer is simple: curiosity and the desire for a challenge.
I’ve been interested in Docker for some time, and while I have had experience with full-stack web development, not much in the world of Docker and containerization. I wanted to experiment with things and learn by doing them, so this project was the answer.
From the start, I knew this wouldn’t be easy. I expected that a day, maybe two days at most, would be enough to get a graphical Linux system up and running. But the reality of the challenge was quite the opposite. The obstacles I faced over the next four days were completely unexpected and far more complex than I could have ever anticipated, stretching my patience well beyond what I had prepared for.
Before diving into the technical details, here’s some context.
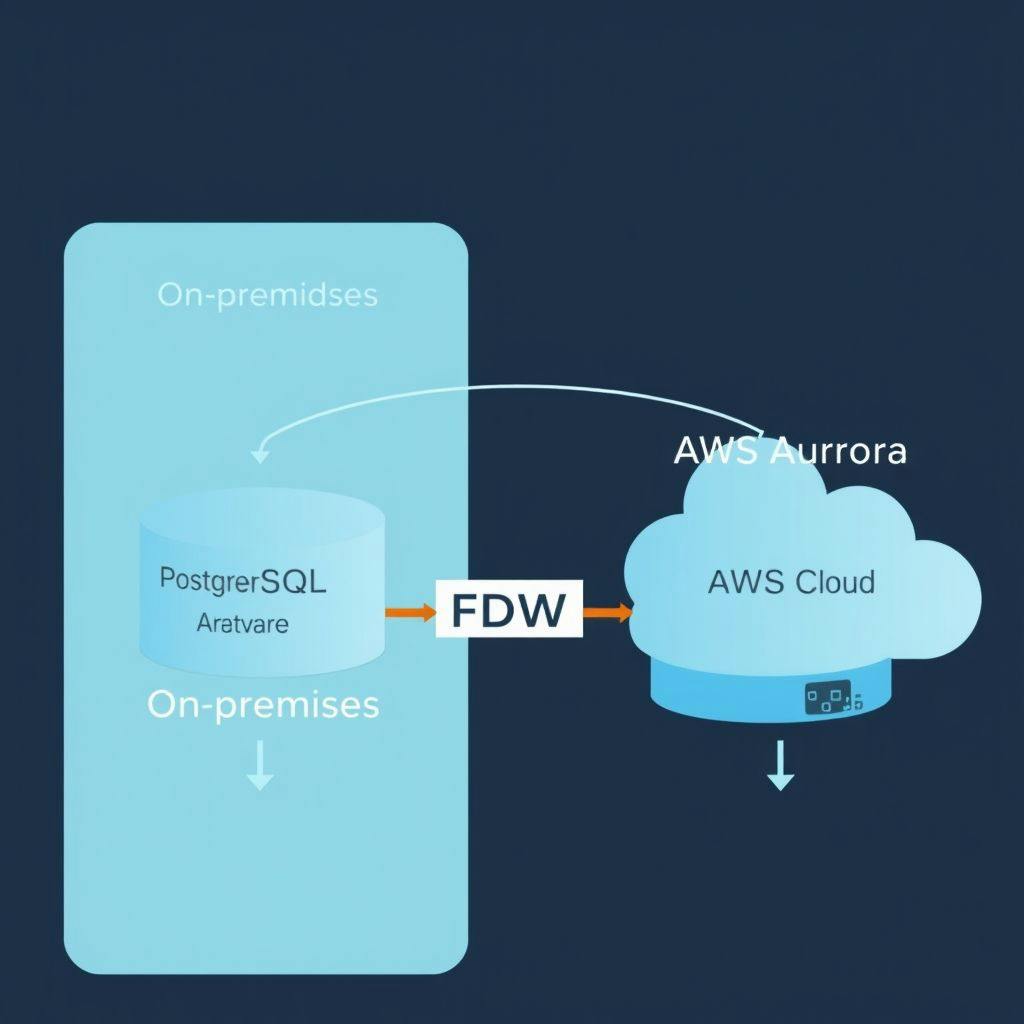
This entire experiment took place on a Windows 10 PC, driven by a specific question: what if you could have the best of both worlds? The idea of a full Linux environment running inside a Docker container, side-by-side with my standard Windows applications, was too intriguing to pass up. No reboots, no separate partitions—just a seamless, containerized Linux desktop.
So, first I had to get my lab ready. This meant installing Docker and setting up WSL. With the groundwork laid, I refreshed my Docker basics and read its documentation. With this, my initial preparation was complete; now, it was time to put theory into practice.
Running My Docker Container
My first attempt to run a Linux desktop in Docker was, in hindsight, a rookie mistake out of overconfidence. I decided to build a custom image from scratch. If you are new to Docker, an image is a self-contained package of everything an application needs to run. So that once you have created an image, it will run the same everywhere, regardless of the hardware or operating system.
I made another error right from the start: I relied heavily on an AI tool to generate the code for my custom image.
Here’s the hard-earned lesson: If you don’t understand the technology, don’t copy-paste code just like I did. I spent hours debugging errors with no clear path forward, brute-forcing my way through a mess of code I didn’t understand.
After wasting an entire day on this unproductive path, I finally gave up and switched tactics. My new approach was simple: I’d use a pre-built image from Docker Hub. Think of Docker Hub as an “app store” for container images, filled with solutions created and shared by other developers. It was a much-needed adjustment and finally allowed the real work to begin.
First Ray of Light: The Good Things and the Bad Things
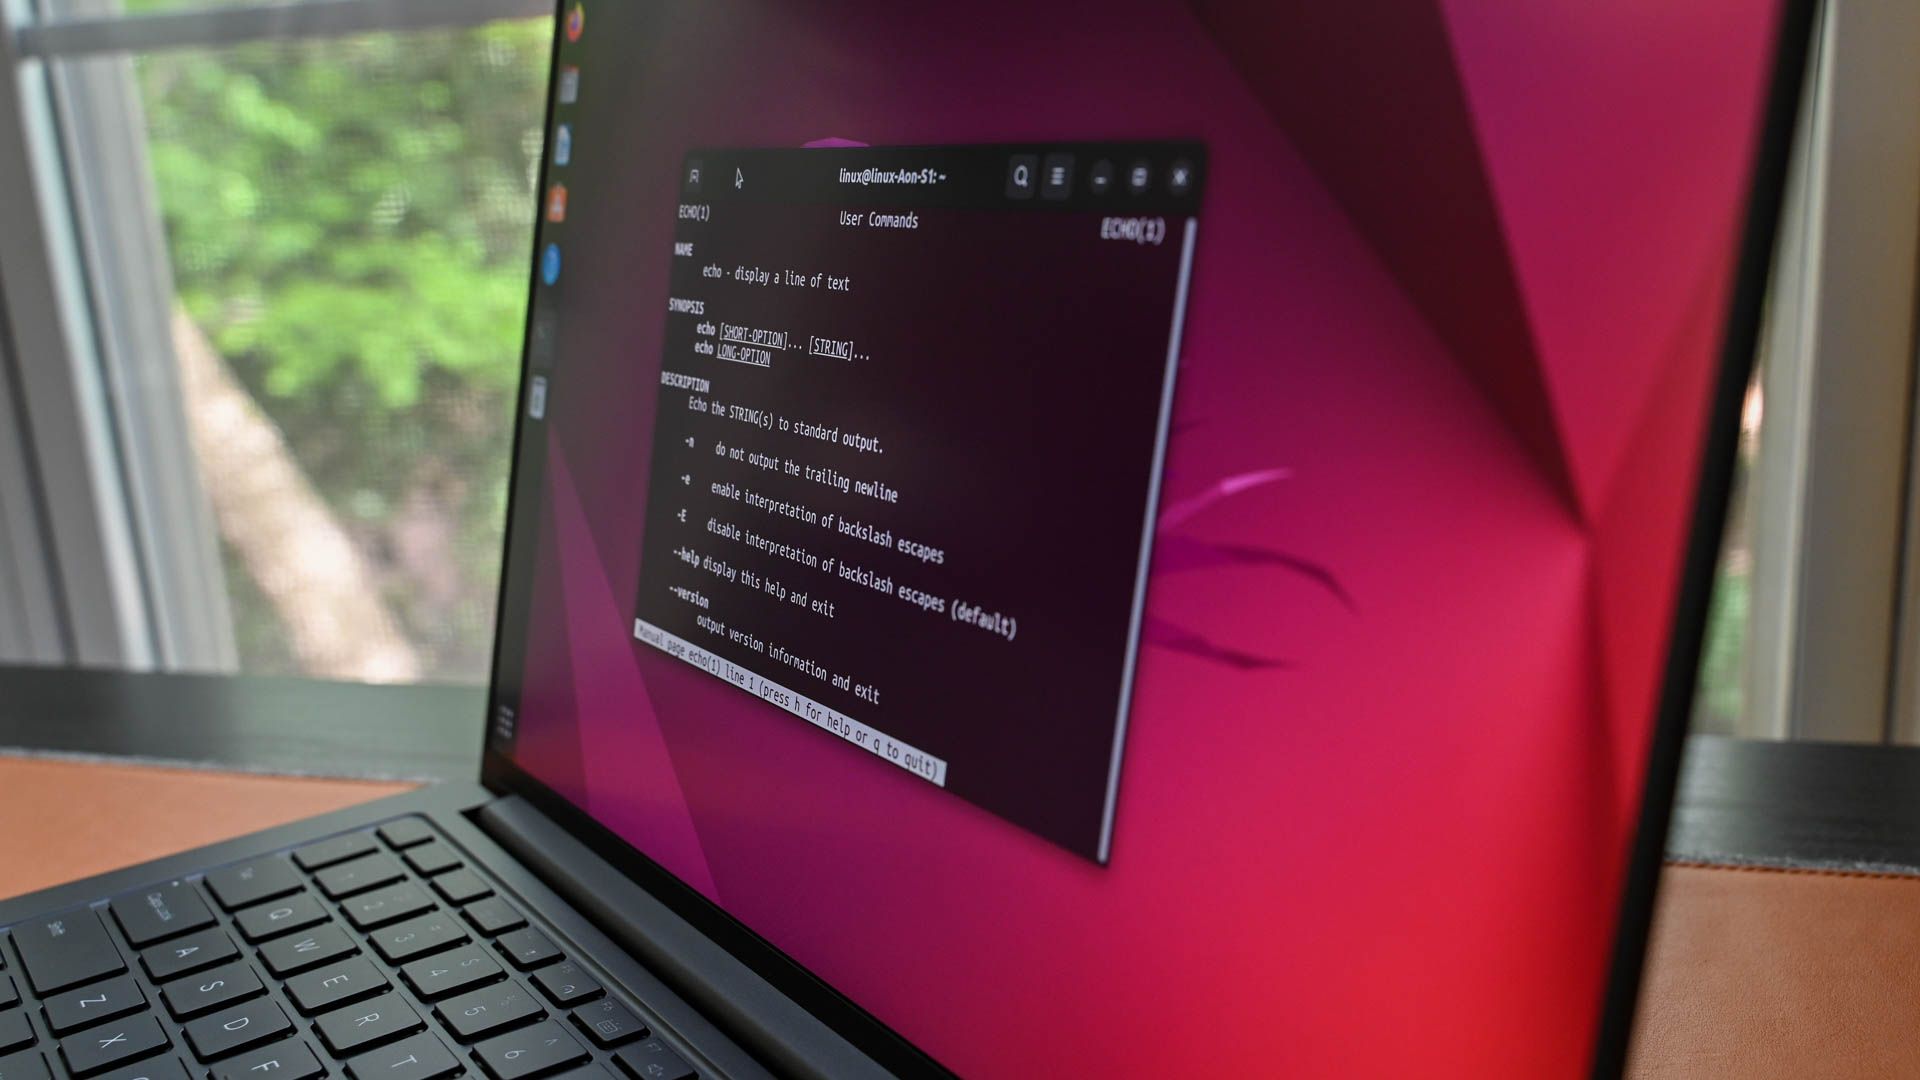
After my failed custom image attempt, I found a promising XFCE-based Debian image on Docker Hub. I downloaded it in minutes and, with a few commands, launched it. When I opened the URL, I was greeted by a fully functional Linux desktop, running right in my browser. The pure geek joy of seeing a complete OS served from inside a Docker container was a feeling I won’t forget. It worked!
The usability was surprisingly decent. LibreOffice and GIMP worked fine, although there was a bit of a lag. I would estimate about 70% of native performance, but still very usable. Firefox launched, too, and I even tried YouTube. That’s when I hit the first major hurdle: the colors were dull and washed out. A quick check confirmed my suspicion: the browser was using software rendering. My GPU was sitting idle.
There was another problem I noticed: Flatpak didn’t work. Any attempt to install an app from Flatpak failed with errors, so I had to resort to Debian packages. Despite these limitations, seeing a complete Linux desktop running in my browser, served directly from Docker, was a massive win.
Tweaking and Learning
After a few minutes with XFCE, I decided to switch things up and try GNOME as my desktop environment. Big mistake! It took hours of troubleshooting and error-fixing to get it running, and when it finally launched, it was slow and resource-hungry. In the end, I swallowed my pride and reverted to XFCE, and told myself, XFCE may not be flashy, but it’s far more responsive. So let’s lean towards practicality.
With my new focus on performance, I decided to revisit my first attempt: building a custom image from scratch. This time, I studied the Dockerfile of the pre-built image I had used previously. I wanted to understand exactly what was going on under the hood, and I wanted to see if I could improve the performance myself. I experimented with a few new configurations, specifically trying to use xrdp instead of the noVNC forwarding method, to see if a different protocol would offer a smoother experience. But I didn’t see any difference with xrdp.
To replicate, create a file with the name “dockerfile”, paste the code, and run it.
FROM ubuntu:jammy-20230425RUN apt update &&
DEBIAN_FRONTEND=noninteractive apt install -y
cinnamon locales sudo
tigervnc-standalone-server tigervnc-common
virtualgl mesa-utils mesa-vulkan-drivers
dbus-x11 xterm wget &&
locale-gen en_US.UTF-8 &&
update-locale LANG=en_US.UTF-8
ARG USER=user
ARG PASS=1234
RUN useradd -m $USER -p $(openssl passwd $PASS) &&
usermod -aG sudo $USER &&
chsh -s /bin/bash $USER
RUN echo "#!/bin/shn
export XDG_SESSION_DESKTOP=cinnamonn
export XDG_SESSION_TYPE=x11n
export XDG_CURRENT_DESKTOP=X-Cinnamonn
export LIBGL_ALWAYS_INDIRECT=0n
exec cinnamon-session" > /home/$USER/.xinitrc &&
chown $USER:$USER /home/$USER/.xinitrc && chmod +x /home/$USER/.xinitrc
RUN mkdir -p /home/$USER/.vnc &&
echo $PASS | vncpasswd -f > /home/$USER/.vnc/passwd &&
chmod 0600 /home/$USER/.vnc/passwd &&
chown -R $USER:$USER /home/$USER/.vnc
RUN echo "#!/bin/bashn
export DISPLAY=:1n
Xvnc :1 -geometry 1920x1080 -depth 24 -SecurityTypes VncAuth -rfbport 5901 -localhost no &n
sleep 2n
sudo -u $USER startx &n
tail -f /dev/null" > /start && chmod +x /start
EXPOSE 5901
CMD ["/start"]
Exploring Docker Hub
If all of this sounds like too much work, there’s good news. You don’t have to build your own image to get started or deal with errors. My research led me to two fantastic, ready-to-use solutions that offer a much more streamlined experience.
- Webtop by LinuxServer.io: This is a great open-source option that provides a variety of Linux desktop flavors pre-packaged as Docker images. It uses noVNC to deliver the desktop straight to your browser, and the setup is straightforward.
- Kasm Workspaces: This is another open-source option for personal use.
The good thing about these images is that they have everything pre-configured, especially Webtop. You simply pull the Docker image and run it. Once the container is running, you can access your Linux by entering the URL. I found the performance to be much better than anything I had tried previously, and, importantly, had audio pass-through, which I didn’t find with Kasm images.
To run Webtop, open Windows CMD and paste this code
        docker run -d ^
-e PUID=1000 ^
-e PGID=1000 ^
-e TZ=Etc/UTC ^
-p 3000:3000 ^
lscr.io/linuxserver/webtop:latest
I Discovered a Few Unexpected Perks
What started as a fun project to learn Docker and experiment with Linux containers ended up revealing some surprisingly useful features along the way. The biggest discovery, and my personal “aha!” moment, was realizing the power of remote desktop access.
When I saw a full Linux desktop running in my browser, I had a wild idea: what if I accessed it from a less powerful device? I grabbed my Chromebook—a humble machine with an Intel Celeron processor—opened the URL, and there it was: the full power of my main PC, streaming on my Chromebook. Suddenly, I wasn’t chained to my desk. I could continue working from the couch, or anywhere else in the house. My low-powered Chromebook became a high-performance window into my desktop, all thanks to a container.
For the best experience, use a wired Ethernet connection or a fast 5 GHz Wi-Fi network.
Apart from this, I could see several other benefits:
- Disposable Sandboxes: I could test and break things in a Linux environment without any fear of messing up my main OS. A perfect playground for risky experiments.
- Private Browsing: I can spin up a new container, use a web browser, and then delete the entire environment with a single click, leaving no trace behind.
- Dedicated Workspaces: I can create custom Linux images tailored to specific tasks—a distraction-free writing environment, a coding setup with all my dev tools pre-installed.
This flexibility opened up possibilities I hadn’t even considered when starting the project.
What’s Next? My Unfinished Experiments

While I had seen for myself that running a Linux desktop in Docker is possible, my journey isn’t over. There were a few experiments I wanted to do, but didn’t have time for it:
- Flatpak and Snap Store: I’d love to figure out how to get these app stores working inside the container to expand the software library.
- Gaming: Without the GPU passthrough, this wouldn’t be possible, but I’m curious to figure out a solution for this.
- Further Optimization: I want to continue tweaking the setup to see if I can squeeze out even better performance and reduce the input lag.
Why Is It Difficult to Run Linux in Docker?
So, now that I have understood that running a full desktop environment inside a container and expecting it to behave like a normal desktop on Windows is possible but painful, fragile, and much more cumbersome than running a VM. The primary reasons for these are:
- Containers are not isolated Operating Systems: Docker containers share the host kernel. This is what makes them lightweight and great for single services. Whereas desktop environments expect system services like (systemd, logind, udev, DBus) and device access to be available. Containers don’t provide that by default.
- No built-in display servers: Linux GUIs need a compositor/display server (X11 or Wayland). A container does not provide one, so we have to do that ourselves.
- GPU access: Containers don’t virtualize GPUs by default, so you must pass device nodes into the container. And on Windows, there’s an additional WSL layer to cross.
Was It Worth It?
Absolutely. This was a fun and deeply rewarding project. I learned a ton about the inner workings of Docker and Linux, and there’s a special kind of satisfaction that comes from troubleshooting for hours and finally seeing your work pay off.
So, would I recommend it? Yes, especially if you’re curious and are looking for a quirky weekend project. But even if you’re not, the practical benefits I discovered—like remote desktop access, disposable sandboxes, and dedicated workspaces—make this far more than an experiment. I can see practical use cases here.
Although the unofficial rules of Docker are there for a reason, sometimes the most valuable lessons are found by breaking them. So, fire up your terminal, grab a pre-built image (or be brave and build your own!), and see the magic for yourself. You might also find a few unexpected perks along the way.


