If you’re heading back to campus, you need to make sure your laptop is secure—this is how you do it.
1
Set Up Proper Authentication
First, make sure you’ve set up proper authentication settings on your laptop. Your OS sign-in credentials are generally the first line of defense against unwanted access, especially in public spaces like libraries, where someone might gain access to your PC if left unattended.
This doesn’t have to be top-notch security. A strong password or PIN will do the trick in most cases. Windows and macOS also offer Windows Hello and Touch ID (respectively) for biometric authentication, provided your laptop has the required hardware. These biometric authentication measures are significantly more robust than traditional passwords, so if you’re buying a laptop for school, keep an eye out for these features.
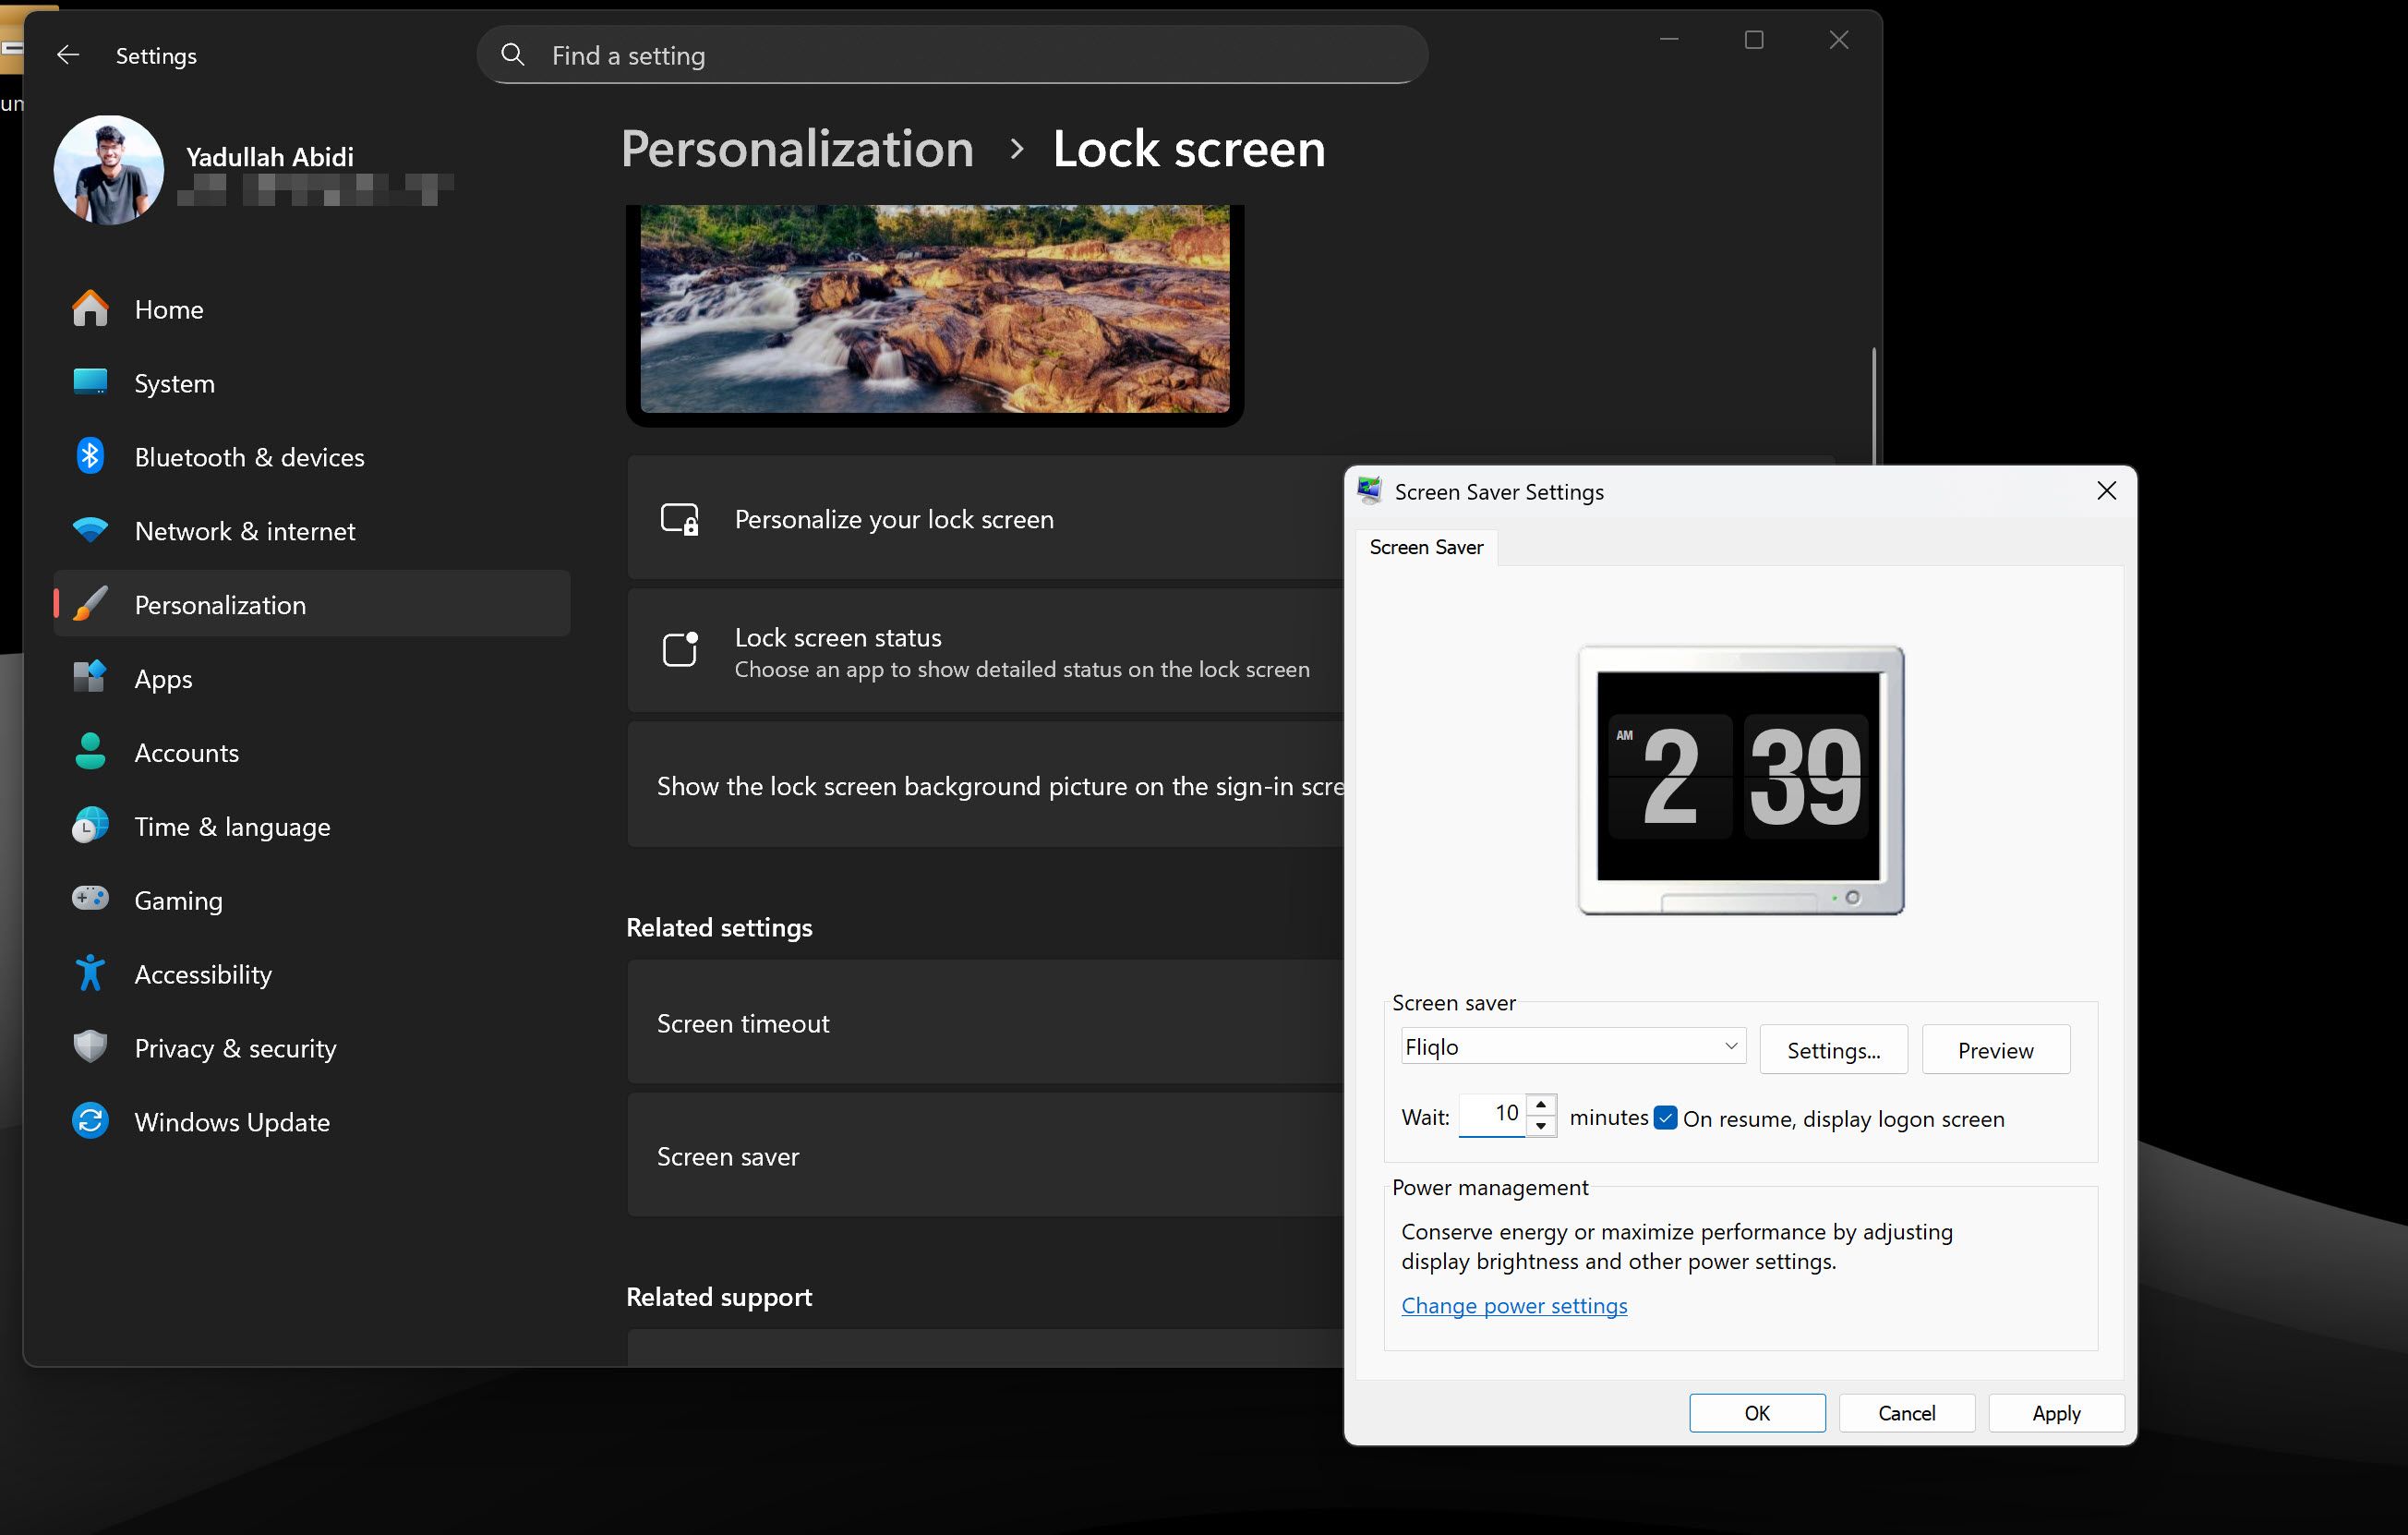
It’s also a good idea to set up automatic screen locking. On Windows, you’ll find this setting in the Windows Settings app under Personalization > Lock screen > Screen saver. Just set the screen time out to your choice (preferably a short time like 5 to 10 minutes) and make sure the On resume, display logon screen option is checked. On macOS, you’ll find similar settings under System Settings > Lock Screen > Start Screen Saver.
2
Enable MFA on Important Accounts
Enabling MFA (Multi-Factor Authentication) on important accounts is a security practice you should already have implemented. But if you haven’t, now’s the time to start.
Setting up MFA is the one thing hackers hope you never do with your email, or other accounts, for that matter. It works by sending a one-time password (OTP) code to another account or device you own. This way, even if a hacker gains access to your password, they won’t be able to log into your account.
You can secure your Gmail, Outlook, and other accounts with MFA, and the chances are your email or other online account will automatically prompt you to set it up after logging in. If not, here’s how you can set up 2FA on the most popular email services.
Gmail
Enabling 2FA on Gmail is a simple matter of updating your Google account settings.
- Head to your Google Account, sign in, and click the Security tab.
- Scroll down and click 2-Step Verification. You may be prompted to sign in again.
- Select the sign-in option that best suits your needs.
Google can send you OTPs via SMS, but a more secure way is to use the Google Authenticator app to generate OTPs locally on your device. It’s available on both Android and iOS and can work for other accounts as well.
Outlook
You can also set up 2FA protection on Outlook.com. Keep in mind that this is different from your desktop Outlook client.
- Visit your Microsoft account page, then head to Security.
- Select the Two-step Verification option, then select Turn on two-step verification, and hit Next to proceed.
- From here, you can set up an authenticator app to work with Outlook.com.
Other 2FA methods can also be set using your email account and the phone number linked to your account.
Proton Mail
Follow these steps to enable 2FA on Proton Mail.
- Head over to your Proton Mail dashboard, sign in, and click the Account and Password tab.
- Under Two-factor authentication, enable the Authenticator app slider.
- You’ll be shown a QR code. Scan it with Google Authenticator to enable 2FA.
Proton also has its own authenticator app that beats all others, including Google’s, as it fixes Google Authenticator’s biggest security flaw.
3
Encrypt Your Storage Drives
If your laptop is lost, even if the thief can’t log into the OS, they can physically remove the storage drive and access your data on another system. Encrypting your storage drive prevents this from happening.
If you’ve got a Windows laptop, Microsoft’s built-in disk encryption tool BitLocker can come in handy. That said, it’s only available on Windows 11 Pro, Enterprise, and Education editions, so it’s worth checking if your university provides Education edition upgrades for students.
macOS offers FileVault, Apple’s built-in encryption system that can encrypt your entire home folder. It can be configured through macOS’ System Preferences. If BitLocker or FileVault don’t work out, you can use alternatives like VeraCrypt or DiskCryptor, which are available for Windows, Linux, and macOS.
The initial encryption steps will vary based on your OS, but both BitLocker and FileVault have helpful configuration wizards that can walk you through the encryption process. It might take a while initially, but modern SSDs won’t experience any noticeable performance impact during normal use.
Once encryption is complete, you’ll be given recovery keys that can help you recover data in case you forget your password. Keep them safe—preferably in a password manager—as losing them can make your data irrecoverable.
4
Get Adequate Malware Protection
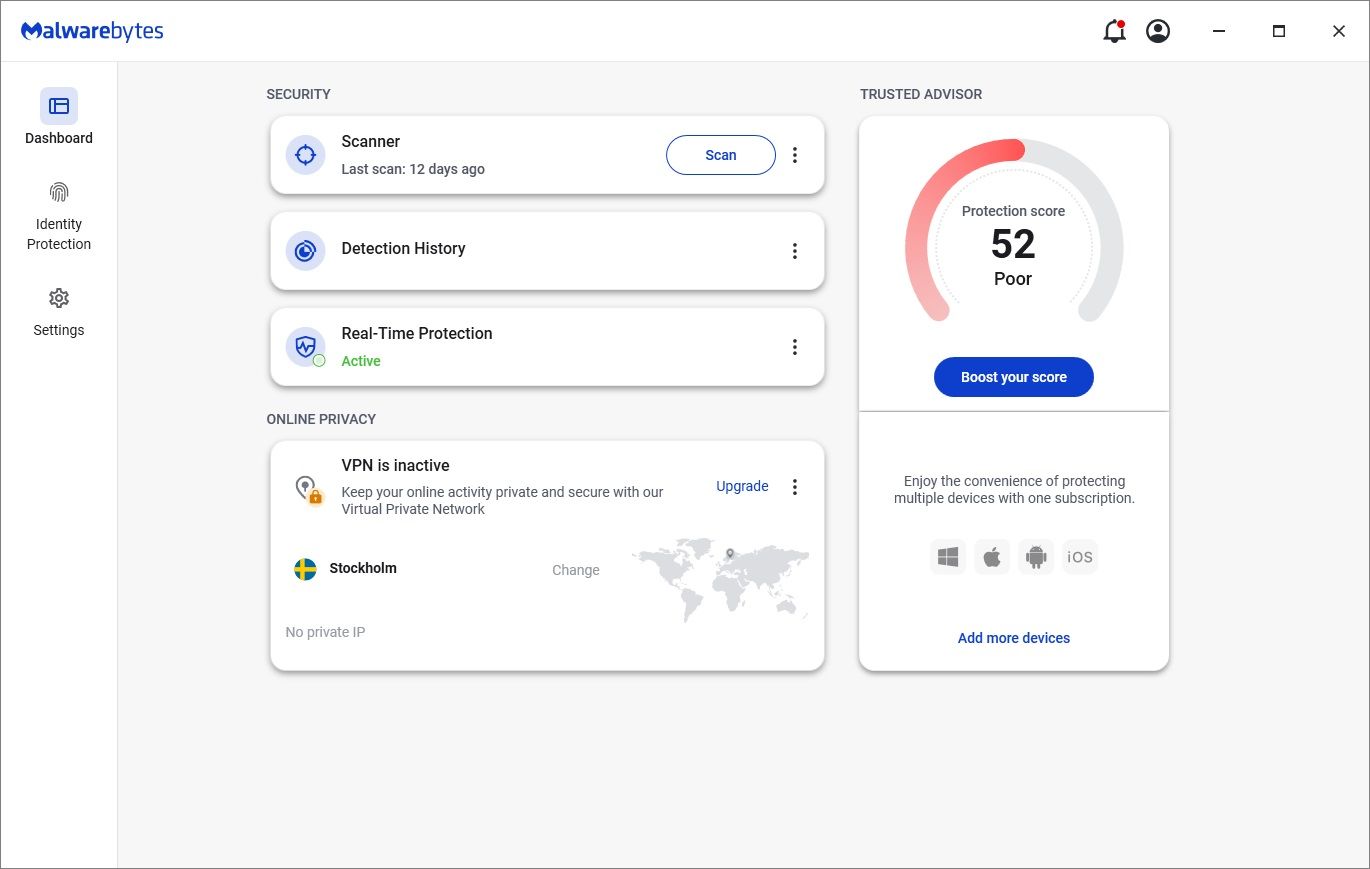
You don’t need to go all out and buy the most premium antivirus or antimalware software. Something as simple as Windows Security or Malwarebytes will do the trick.
Avoiding malware infections is more a matter of practicing good cybersecurity habits by not downloading or opening files from untrustworthy sources. Regardless, there’s still a chance malware might sneak onto your laptop.
Depending on the severity of the infection, exterminating malware from your PC can be as simple as running a scan with specialized antimalware software. More serious infections might require a bootable rescue USB or even a full system format.
5
Set Your Firewall and Network Settings Right
When connecting to campus Wi-Fi or other public networks in places like libraries and cafes, a properly configured firewall acts as a barrier between your laptop and potential network threats. Thankfully, both Windows and macOS have built-in firewalls that let you block incoming and outgoing connections from your device.
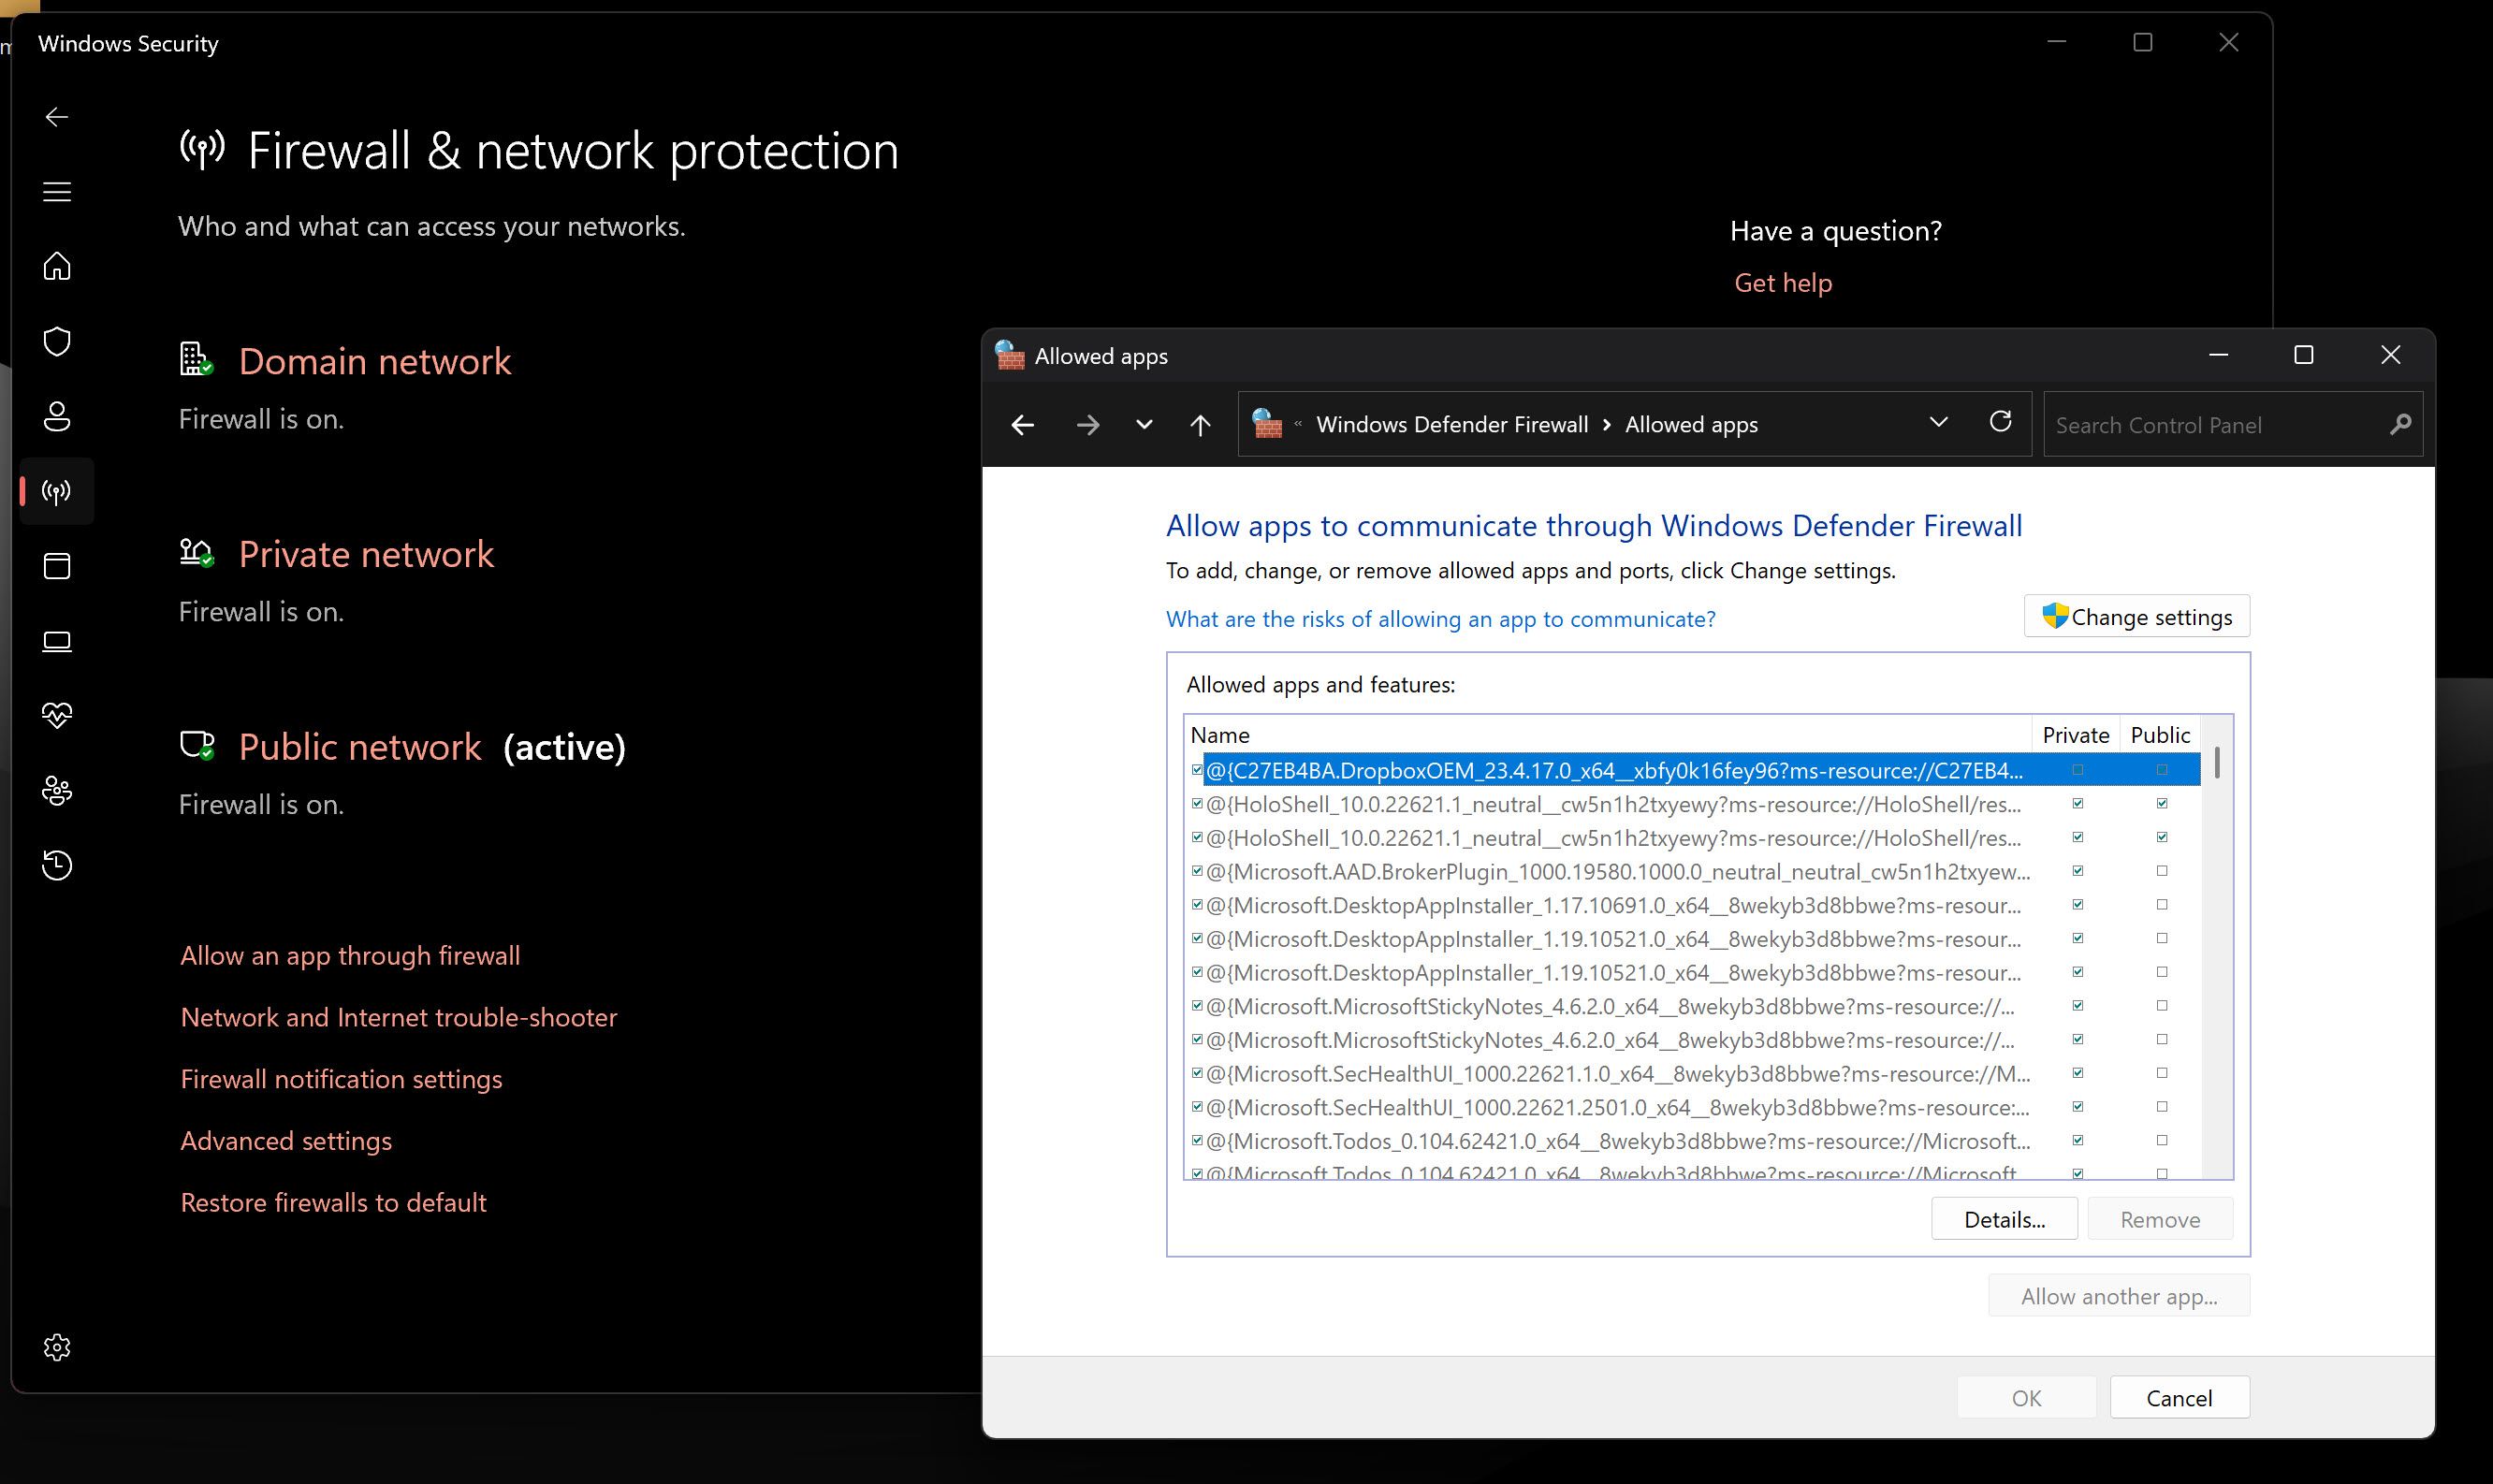
Windows divides any networks you connect to into two categories—public and private. You can configure your firewall to allow or block individual programs on public or private networks as per your requirements. There are several ways you can open the Windows Firewall Control Panel, after which you can check the programs you want to allow through the firewall.
macOS handles this differently, with firewall settings located under the Network section in System Settings. Here, you can add or remove programs to block any unwanted connections from the internet or other networks.
Apart from firewall settings, I recommend disabling Network Discovery on Windows. Disabling this setting will make your PC invisible to other computers on a network, which can come in handy on public Wi-Fi networks where intruders might be snooping around.
6
Set Up Device Tracking, if Available
Device tracking features on laptops can come in handy if you forget your laptop somewhere on campus or if it’s stolen. Thankfully, Windows and macOS have their own versions of device tracking programs that can help you locate a lost device to some degree of success.
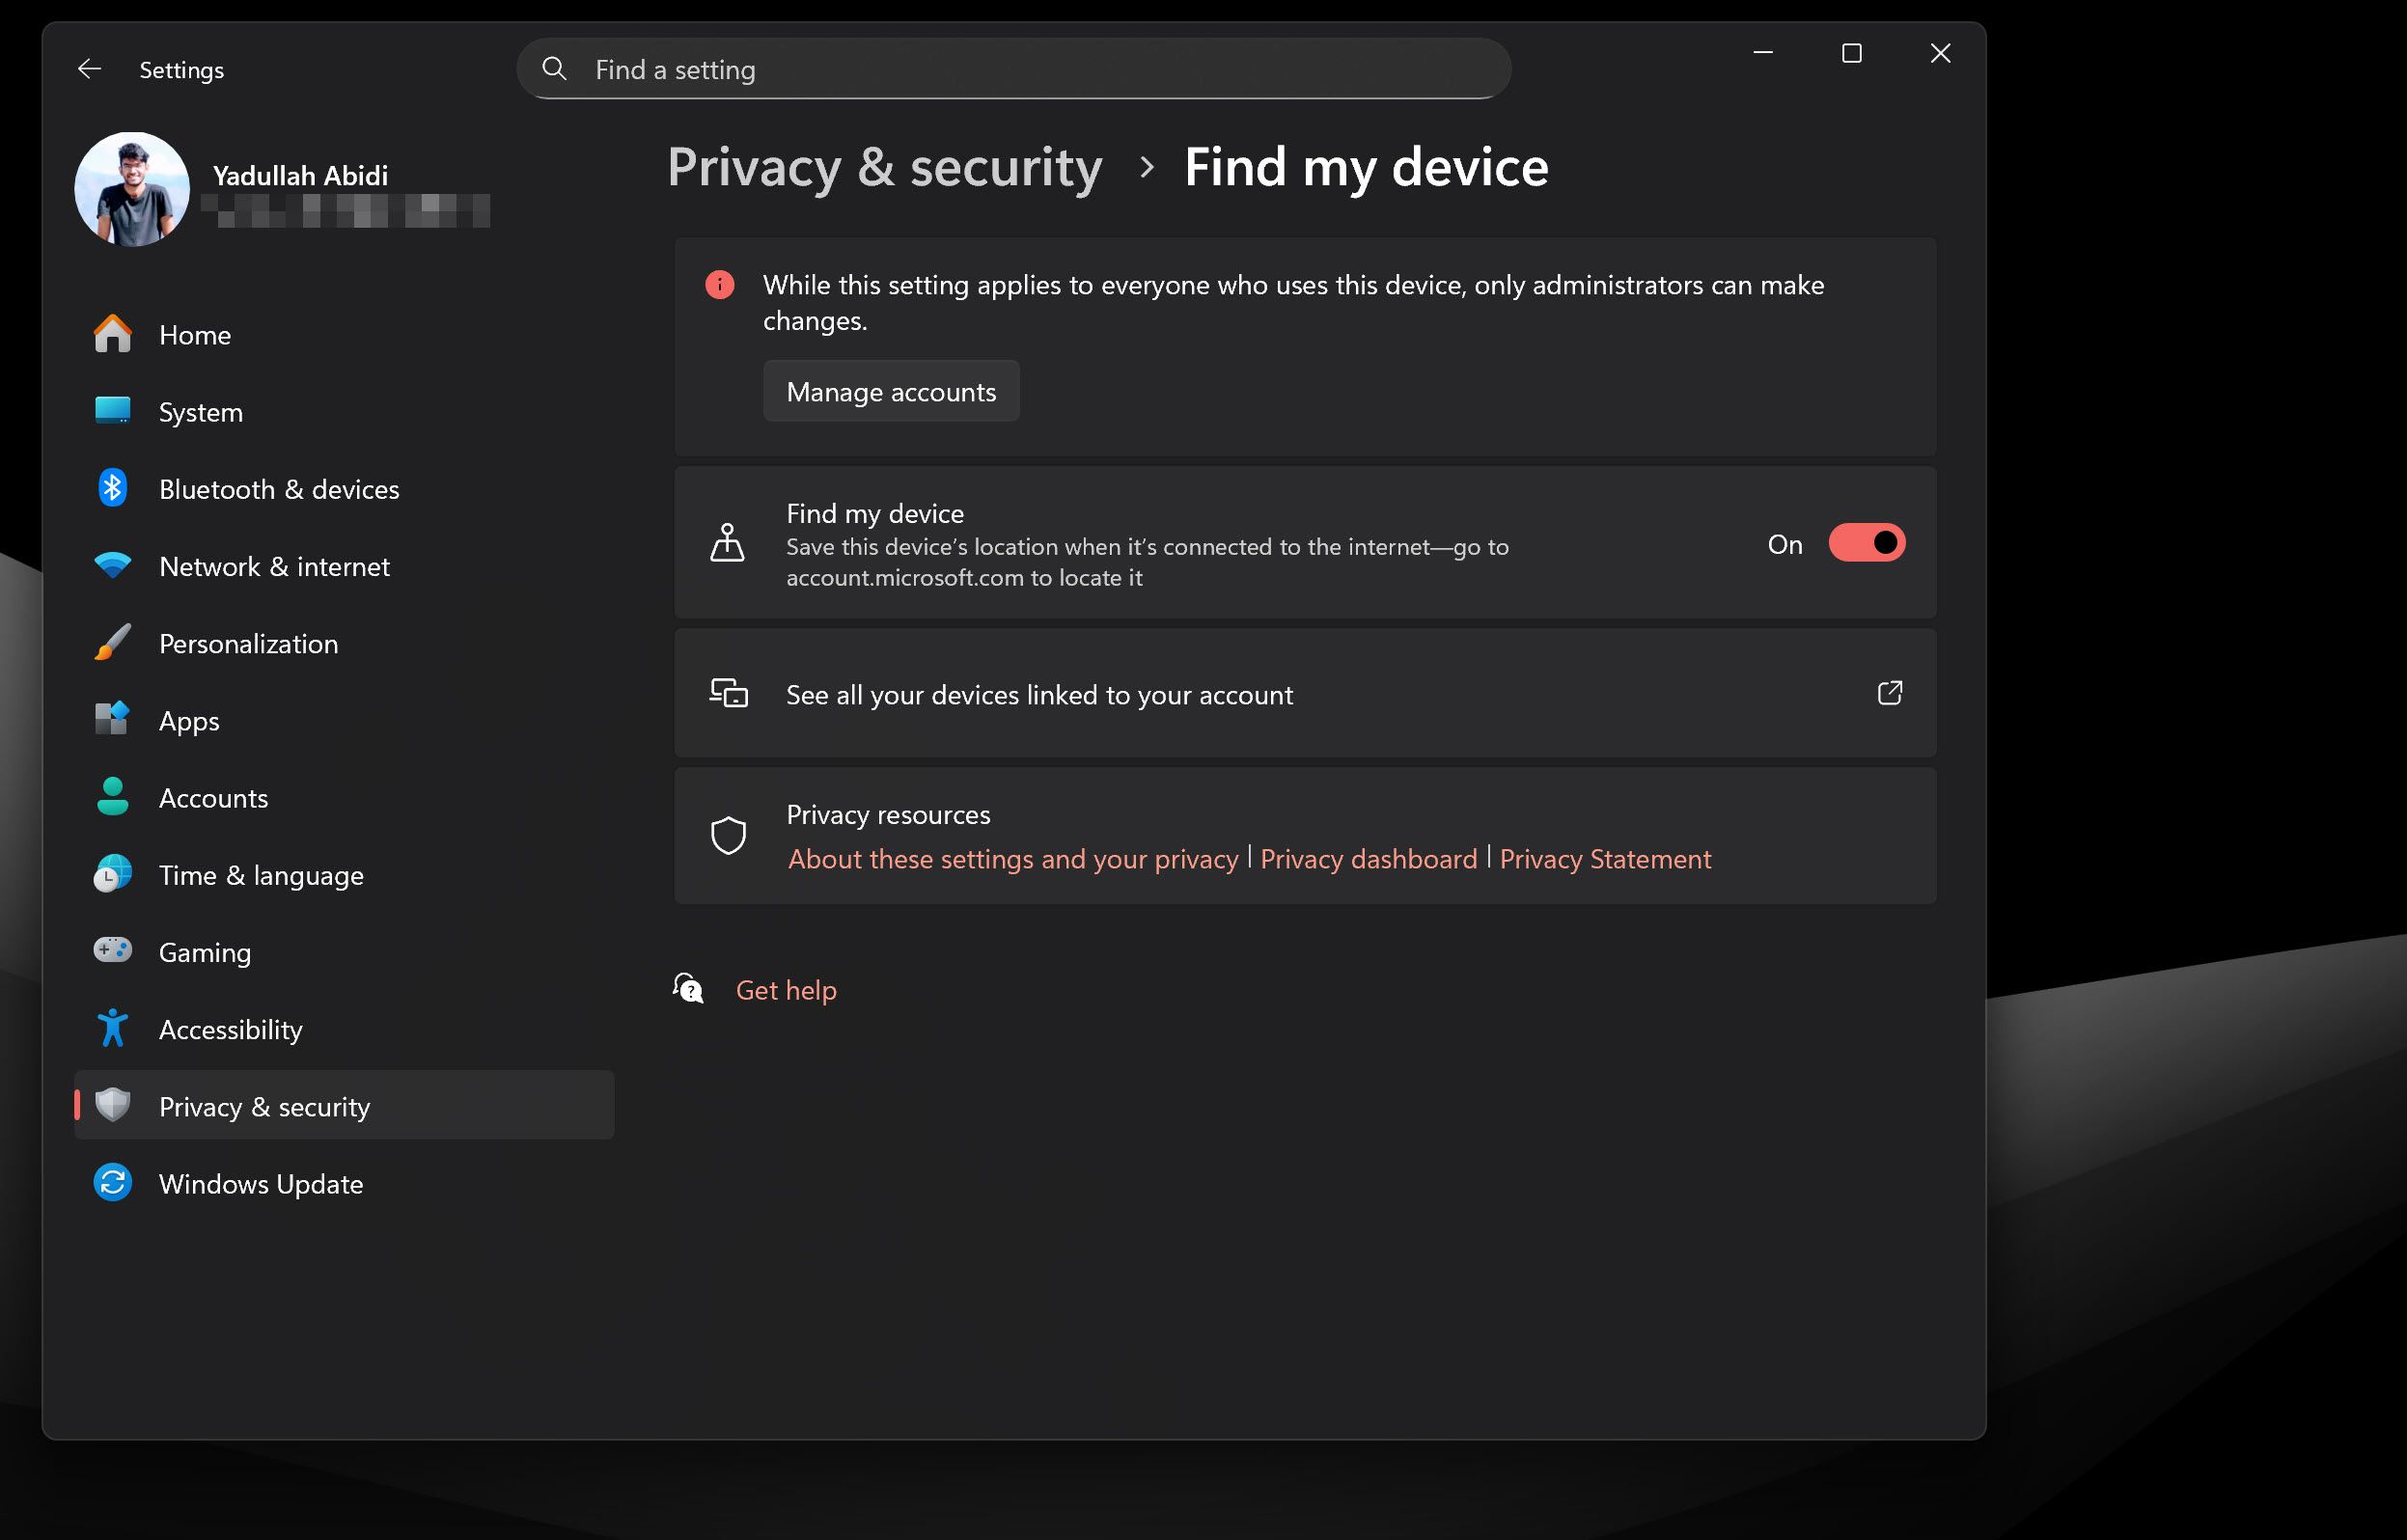
If you’re on Windows, enable Find my device under Privacy & security settings in the Windows 11 settings app. The feature updates the location of your laptop as long as it’s connected to the internet. You can head over to account.microsoft.com to locate it whenever needed.
If you’re rocking a MacBook, you get to benefit from Apple’s Find My network. Just enable the Find My Mac feature found under iCloud settings, and you’re good to go.
Both Windows and macOS’s tracking features work pretty much the same way. That said, you’ll have better luck tracking down a macOS device simply because Apple’s Find My network is far wider than its Windows counterpart. Make sure to enable location services on your laptop, though.
7
Check OS and Browser Privacy Settings
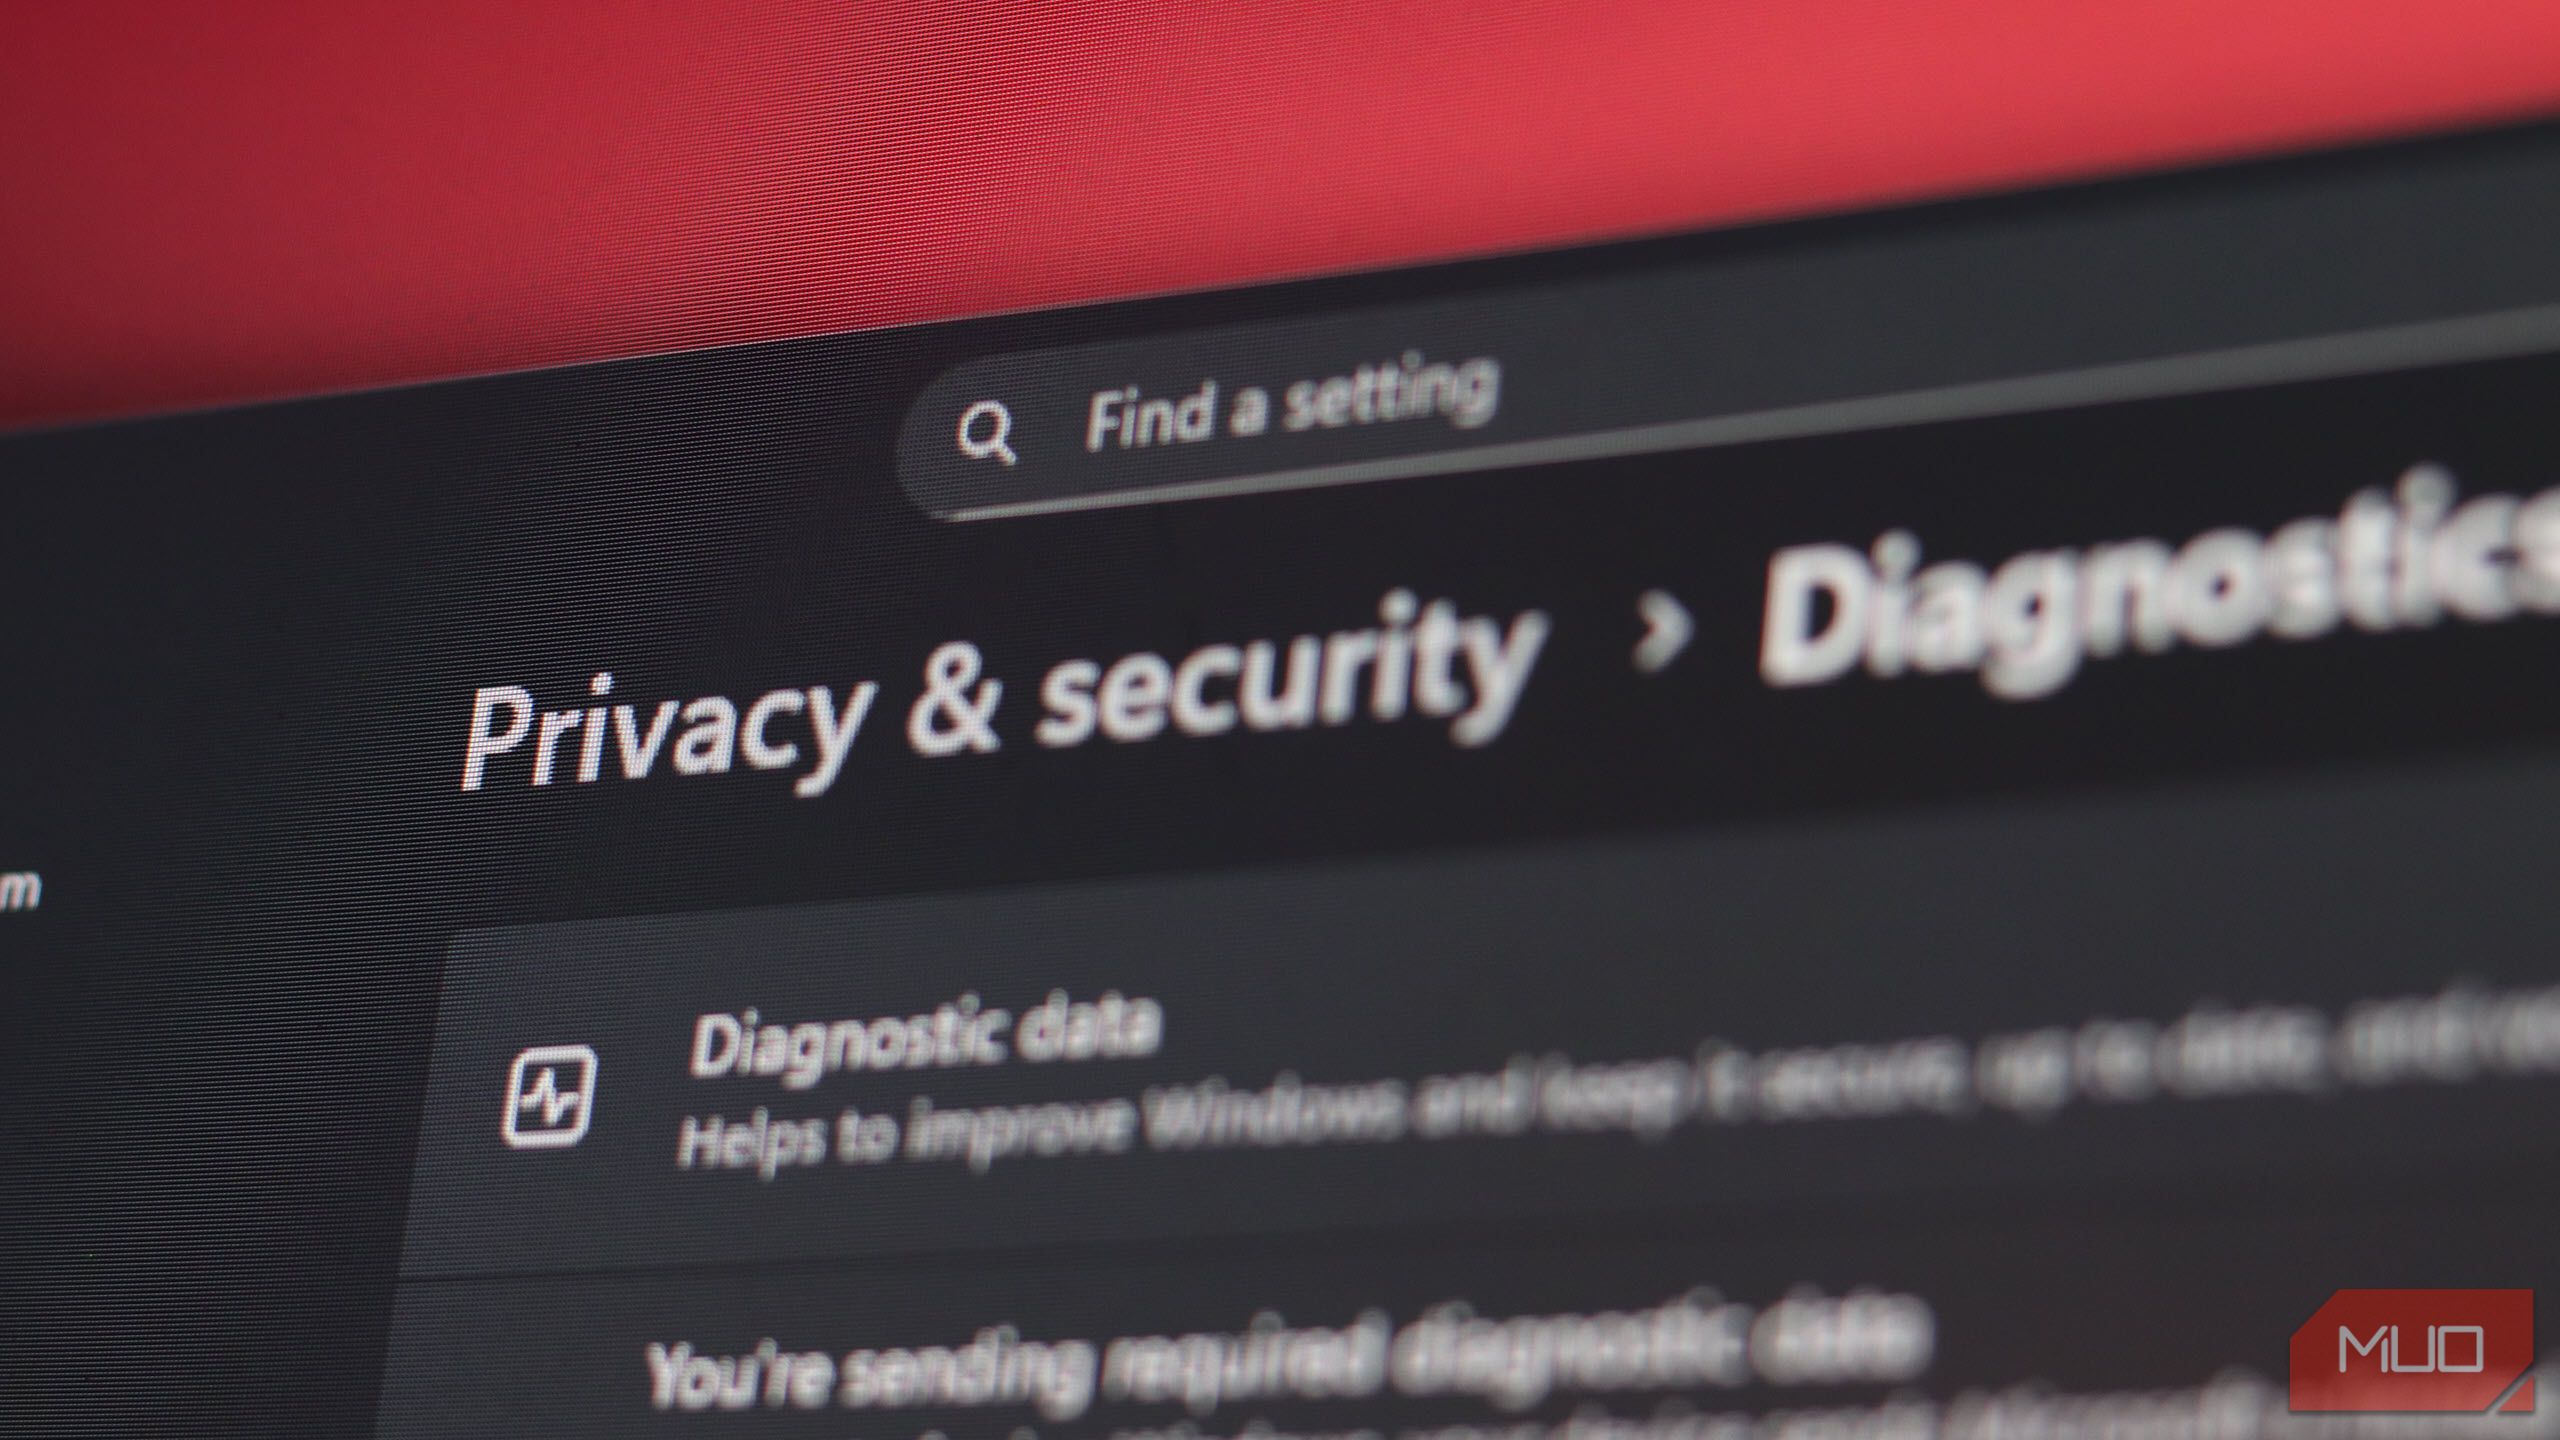
Both Windows and macOS collect all kinds of data about you. There are some Windows privacy settings you should change right away to take control of your device.
You will have to enable some privacy-invading settings, such as location services, for features such as device tracking. There are benefits to letting Windows invade your privacy, but it’s up to you to decide whether these benefits are worth the cost.
Mac users enjoy a better focus on user privacy with stronger privacy defaults. However, I’d still recommend taking a look at your security and privacy settings to customize sharing preferences and anything else you might not want Apple to know.
The browser you use is a personal decision, and the privacy settings you need to change will vary accordingly. That said, I wouldn’t recommend using Chrome if you’re looking to protect your privacy on the internet.
My quest to find the perfect browser on Windows did involve some privacy-focused options, including Brave, Firefox, Zen, and Avast Secure Browser. There are settings you can change to protect your privacy on Chrome if you don’t want to switch in the first place.
Heading back to school can be an exciting time. However, it’s important that you give your devices the security shakeup they need before heading into campus chaos.

