Google’s ChromeOS desktop operating system has been around since all the way back in 2011, but, for one reason or another, I’ve only just begun familiarizing myself with it in recent weeks.
A few developments have inspired my newfound interest in ChromeOS: a growing sense of boredom with Windows 11 and macOS, news of Android’s eventual envelopment of all-things ChromeOS, and the sunsetting of Windows 10 in just over a week.
With these factors in mind, and with my online world already being dominated the Chrome web browser and the Android OS on mobile, my ChromeOS curiosity reached a tipping point. And, so, I soon found myself setting up one of Asus’ ExpertBook CB54 Chromebook Plus laptops for some long-overdue hands-on experience with Google’s main PC OS.
Here are five ChromeOS settings I configured to my liking the very moment I booted up my new ExpertBook, to make my transition as seamless and feature-rich as possible.

- Operating System
-
ChromeOS
- CPU
-
Up to Intel Core Ultra 7
- RAM
-
Up to 16GB LPDDR5x
- Storage
-
Up to 512GB M.2 PCIe 4.0 SSD
- Display (Size, Resolution)
-
14-inch 2560 x 1600 pixel resolution
- Colors
-
Fog silver
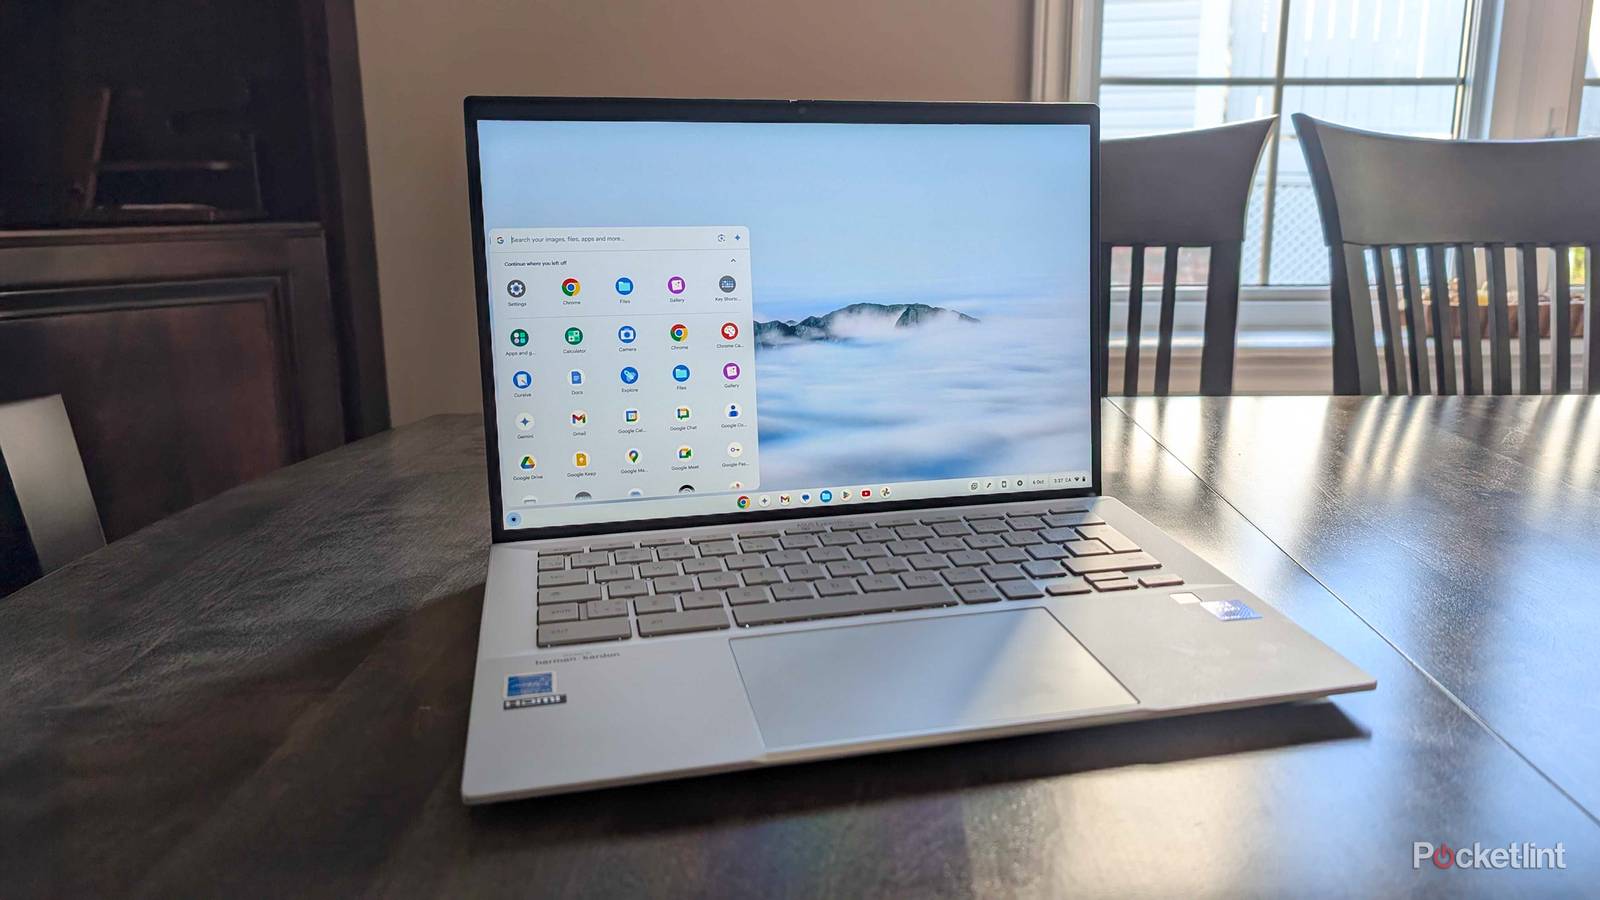
The Asus ExpertBook CB54 is a Chromebook Plus laptop running Google’s ChromeOS operating system, with a 14-inch 2560 x 1600 pixel resolution display, an Intel Core Ultra processor, and a wide selection of onboard I/O.
Swiping up to move the page down feels more natural to me

Out of the box, something felt ‘off’ with my Chromebook’s scrolling physics. Pretty quickly, I realized that my trackpad’s scroll direction was set to the inverse of what I’m used to on modern Macs and Windows-based PCs. Rather than a ‘natural’ scroll direction that scrolls downward with a swipe up and vice versa, ChromeOS defaults to a swipe up to scroll up and swipe down to scroll down. Luckily, all it took was a quick visit to the Settings app to configure the scrolling direction to my liking.
To reverse the scroll direction on ChromeOS, follow these steps:
- Launch the Settings application.
- Navigate to Device > Touchpad > Built-in touchpad.
- From here, toggle Reverse scrolling on.
Set up Dark theme and Night Light automation
Let dark mode and blue-light filter mode do their thing


Like most other modern platforms, ChromeOS ships with a dark mode and a blue-light filter mode, both of which are disabled by default. Whether I’m on a phone, a tablet, or a computer, I always toggle on automatic switching of these modes to match the current time of day. This way, my screen will darken and warm up its color balance in the later hours of the day without having to intervene in any way, which helps reduce eye strain and the possibility of sleep disturbances.
Here’s how to set Dark theme on an automated schedule:
- Launch Settings.
- Head to Wallpaper and style > Set your wallpaper and style.
- A new window will appear on screen — from within it, tap on Auto.
Here’s how to set Night Light on an automated schedule:
- Launch Settings.
- Head over to Device > Display > Night Light > Schedule.
- Open the drop-down menu, and select between Sunset to sunrise or Customized.
Enable guest browsing
For a safer experience when handing your PC over to another person

ChromeOS offers a guest mode, which lets you boot up an instance of the operating system without access to any user data. Once I finished setting up my Chromebook for the very first time, I dug into the Settings app and ensured that guest browsing was enabled. With this option toggled on, I can hand my Chromebook over to a friend, family member, or colleague without any worry of my sensitive data being exposed or my preferences being accidentally switched around.
To enable guest browsing, do the following:
- Launch Settings.
- Navigate to Privacy and security > Manage other people.
- From here, toggle on Guest browsing.
Set up Phone Hub
For quick access to your Android phone right from your Chromebook

One of the best aspects of ChromeOS is that it plays nice with Android. Similar to Phone Link on Windows 11, you can sync an Android phone to a Chromebook for quick access to a variety of functions you’d normally need to pick up your phone to interact with.
Phone Hub, which can be accessed directly via the Shelf on ChromeOS, allows you to access the following directly from your Chromebook:
- Recent Chrome tabs
- Recent photos
- Notifications
- App streaming
To set up Phone Hub, follow these steps:
- Open the Settings app.
- Head over to Connected devices > Android phone > Connect to your phone.
- Toggle on the Phone Hub entry.
Customize the Launcher and the Shelf
Make app launching and multitasking a more comfortable experience


For the most part, the ChromeOS user interface closely matches what I’ve grown accustomed to in the Windows PC world. There’s a system taskbar (known here as the Shelf) for multitasking, as well as a Start Menu or App Drawer-esque interface for searching for installed software (referred to as the Launcher).
While not the most flexible PC interface elements I’ve ever come across, Google does provide a few customization options worth checking out.
By right-clicking on an empty space within the Launcher, you can switch between an alphabetized app sorting order and a color-coordinated app sorting order. Conversely, right-clicking on the Shelf displays options for autohiding, on-screen positioning, and desk name visibility.


