Summary
- Base M3 MacBooks drive only one external monitor with lid open; two displays require clamshell mode.
- The Plugable USB-C-to-HDMI + DisplayLink lets M1/M2/M3 Macs run two 4K@60Hz monitors.
- Install DisplayLink Manager, grant Screen Recording and permissions, then connect the adapter and HDMI monitors.
Like most nine-to-five office drones, I spend most of the day looking at screens. And you know what expedites any given workflow — personal or professional? Monitors.
External displays save time, boost productivity, and let you do a dozen things at once. I used to perform a solo 14-inch-display show on my MacBook Pro (much to my coworkers’ dismay) until I got spoiled at a friend’s house with their dual 4K monitor workstation. Suddenly, my single screen experience was falling two screens short of spectacular.
Luckily, I saved two Samsung monitors from a giveaway pile. Like a dog with a bone, I brought them to my work desk back home. Little did I know (or even think to research), any MacBook before the M4 model is only able to natively connect to one external display. As the then embarrassed owner of a 2023 M3 MacBook Pro, I refused to accept my fate and deal with one blank screen all the time.
There’s a workaround, but you have to be willing to get extra hardware.
Thanks to a little magic software and a handy little adapter from Plugable, I got my two external displays up and running with my MacBook Pro more functional than ever between them — here’s how.
Why can’t you connect two external displays to an M3 MacBook Pro?
You can, but you sacrifice something big
Technically, the M3 MacBook does let you connect two external displays — but the catch is that the lid has to be closed. If you like using your native trackpad, that’s not an option. In this case, you’d need to connect an external keyboard and mouse/trackpad as well.
I wanted to use my two new monitors and still have access to my MacBook’s screen. Unfortunately, base M3 chips cannot drive more than one external display at a time. Apple does say that the M3 can support up to two external displays as long as the laptop lid is closed, but the operating system simply doesn’t recognize more than one monitor plugged in via HDMI — which is exactly the issue I encountered.
Luckily, there’s a workaround — you just have to be willing to grab some extra gadgetry.
Plugable USB-C to HDMI Adapter to the rescue
Sprinkle in some software magic, and you’re golden
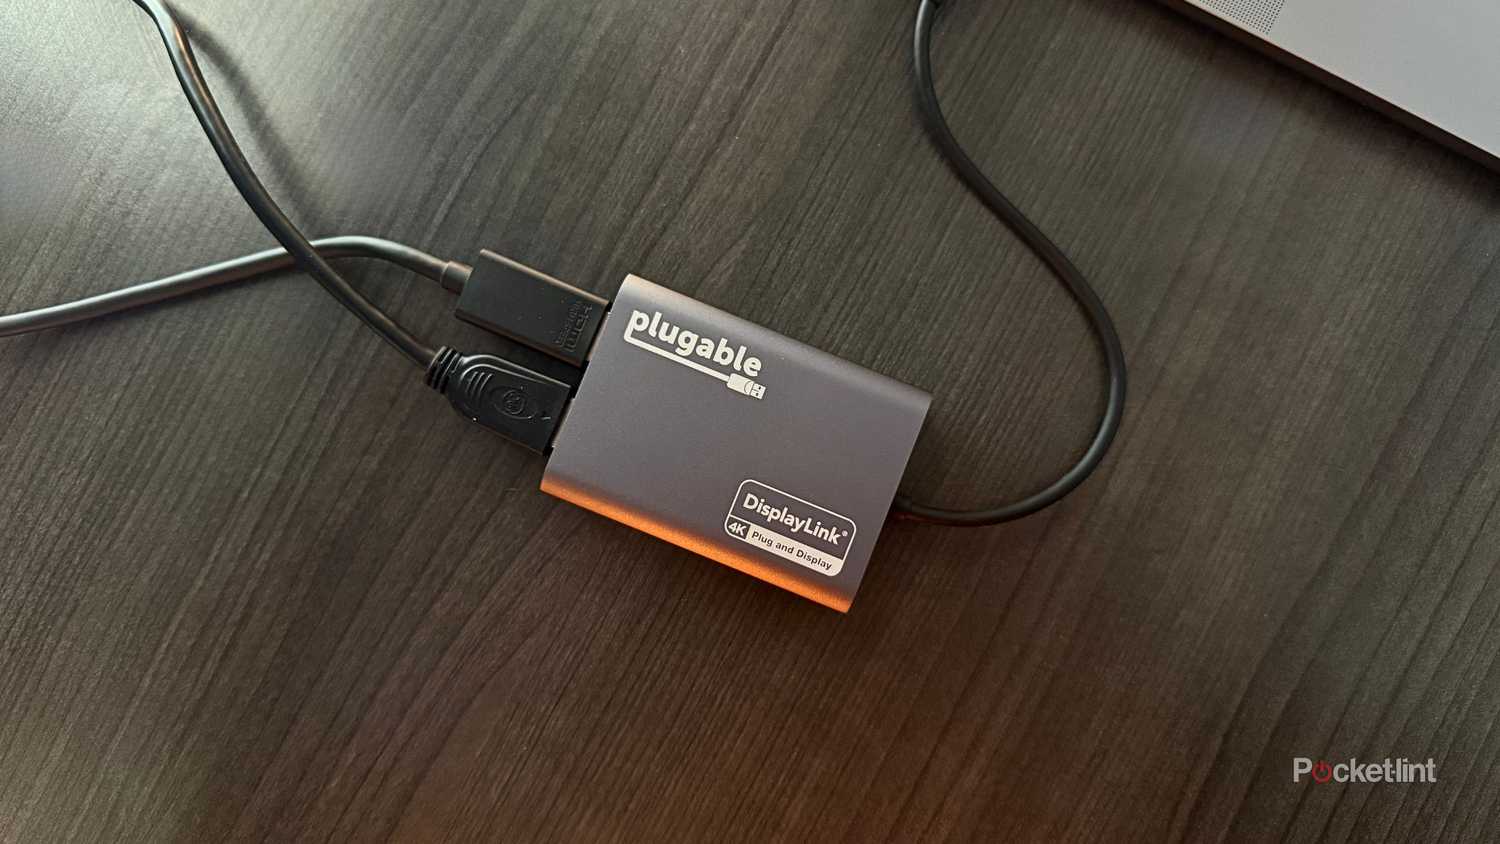
Plugable’s adapter uses a DL-6950 chipset combined with DisplayLink drivers to circumvent the hardware issue and trick your software into recognizing additional monitors. It’s compatible with macOS 11 and higher, Windows 10 and newer, and ChromeOS 100.x and newer systems.
Mac-wise, it’s compatible with the MacBook Pro, MacBook Air, and Mac Mini, any of which run on M1, M2, or M3 silicon. Display-wise, you’ll be able to support two high-res monitors up to 4K (3840×2160) at 60Hz. However, you’ll need an HDMI to HDMI connection — HDMI to Thunderbolt or USB-C connections aren’t supported.
The adapter will not recognize additional displays without the DisplayLink driver.
How to connect two external displays to your laptop
It takes less than five minutes to set up
Typing on my Macbook with two big, beautiful monitors lit up on either side, here’s a step-by-step guide on how to download the DisplayLink driver and get your external displays set up with the Plugable USB C to HDMI Adapter:
For the sake of this guide, all screenshots and specific steps outlined below were completed on an M3 MacBook Pro running macOS 15. However, the process is almost identical in macOS 14 and 13.
- Download and install the DisplayLink Manager for your operating system here.
- Open the Installer from your Downloads folder and follow the prompts.
- Agree to the license, click Install, and enter your Mac password or TouchID if asked.
- When the installation finishes, click Close.
- Allow the app to show notifications and launch automatically at login when prompted.
- Approve screen recording permissions by opening Open System Settings > Privacy & Security and toggle on DisplayLink Manager. Enter your password/TouchID if prompted, then click Modify Settings.
- Quit and reopen the app as instructed. You’ll now see a new DisplayLink icon (two rectangles) in your menu bar.
- Connect the Plugable USB-C to HDMI adapter to your Mac, then connect your monitors via HDMI cables.
- Approve any pop-ups asking you to allow the accessory or app.
- Click the DisplayLink menu bar icon, go to Settings, and check Launch automatically after login.
- Now, click on the overlapping rectangles icon in your Apple Menu bar at the top of your screen. Toggle over to the Settings tab, and select the box that says ‘Launch automatically after login‘ if you didn’t receive the prompt earlier.
- The process is complete — you can now drag and drop the DisplayLink Manager App download file to the Trash.
That’s it — your computer should now recognize the extra displays.
Here is an additional video from Plugable for a more visual tutorial:
Why do I need to allow screen recording?
It’s part of the bypass
The DisplayLink Manager Application does not record, store, or transmit any of your information. The permission simply lets DisplayLink mirror your screen to external monitors — it isn’t recording you
Also, when you are connected to your multiple monitors via the DisplayLink software and Plugable adapter, a familiar purple icon that indicates screensharing or recording will appear at the top of your screen in the Apple Menu bar. This is normal, and indicates that the software is working as intended.
Additionally, you can click the overlapping rectangles and go into the Display tab to turn off, change the brightness, or alter the contrast of each display connected.
After the installation process, managing and accessing multiple displays alongside your laptop is incredibly intuitive and simple. While it may be frustrating that your computer can’t just handle multiple monitors on its own, I’m grateful for this clever pair of hardware and software that gets the job done.


