Windows laptops have had a reputation for slowing down, lagging, and experiencing various performance issues as they age. As annoying as this is, a few simple maintenance tricks are usually enough to keep your laptop running as well as new.
There are 10-minute Windows cleanups anyone can do as a quick fix for their laptops. However, every year I undertake an annual ritual that keeps my Windows laptops running as good as new, no matter how old they get.
Why Windows needs regular maintenance
The hidden reasons performance slows down over time
Your Windows laptop is constantly collecting digital baggage as you use it daily. These include downloads, temporary files, files created by various software you may or may not have on your PC, and the list goes on. All this garbage slowly builds up over time and starts hampering your laptop’s performance.
Windows machines, especially the ones on the budget end of the spectrum, tend to suffer the most from this digital mess. Lower-performance CPUs and slower memory feel even slower when bogged down by unnecessary files and processes.
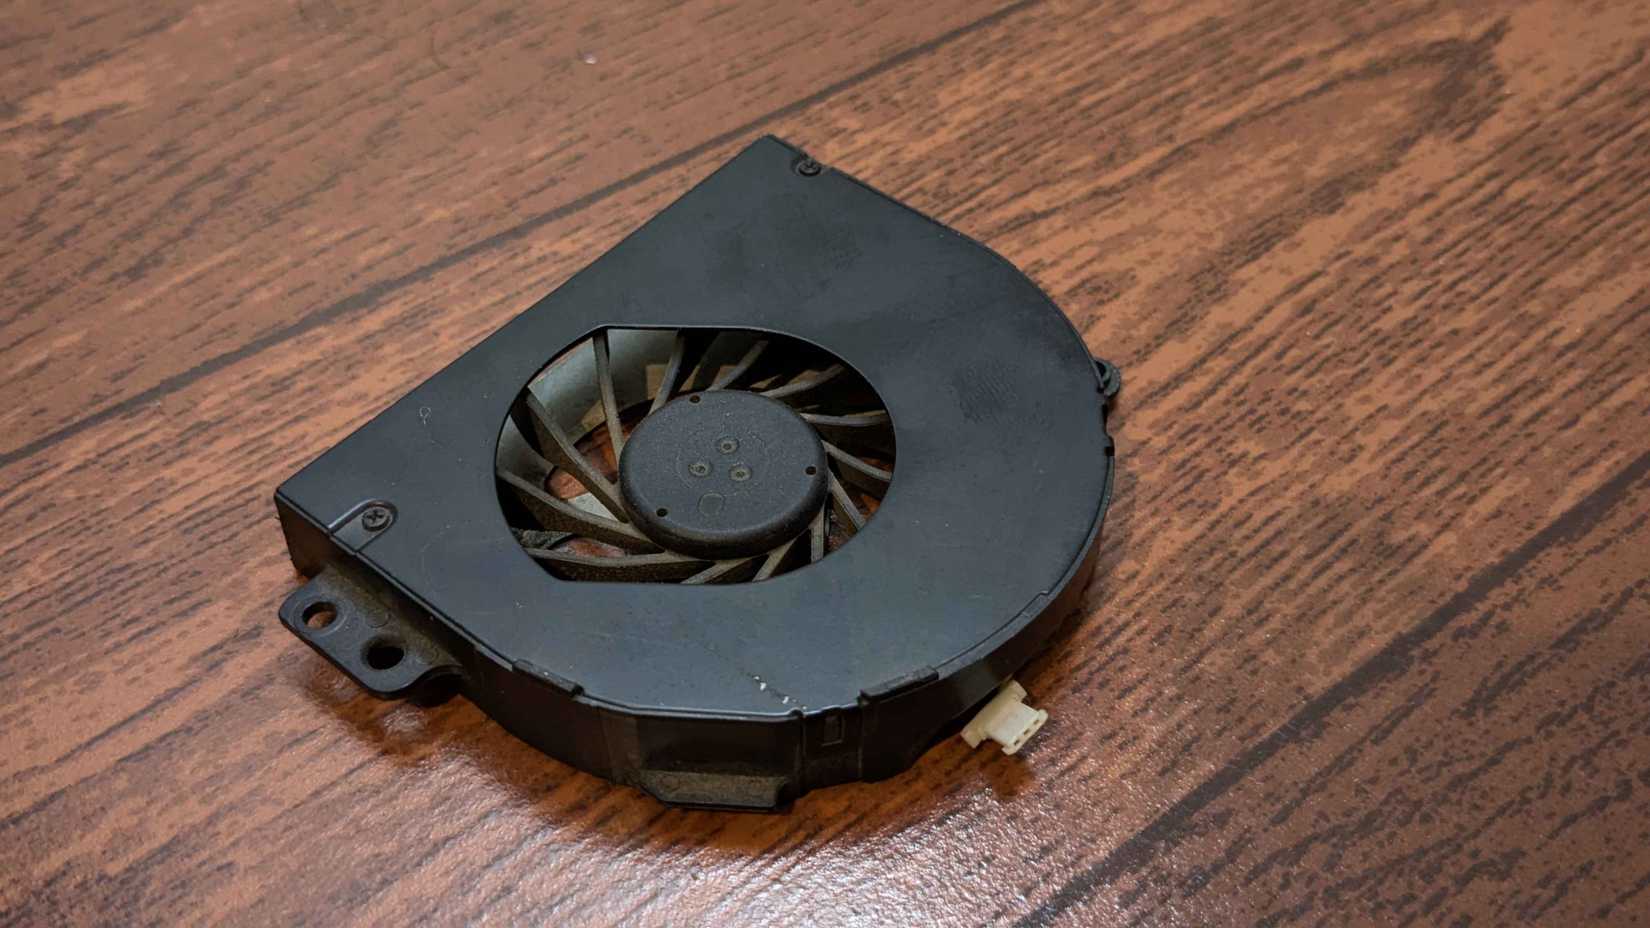
Another problem with laptops, especially high-performance models with numerous fans and vents, is dust buildup. Depending on your region, you might need to clean the vents and fans regularly just to keep your laptop breathing.
Regardless, this leaves your laptop wanting regular maintenance. The good news is you don’t have to take your laptop apart every week to clean it off and spend hours optimizing software. If you time your digital maintenance right and use your laptop carefully, you can get away with just one annual service.
Windows 11 needs far less active maintenance compared to older Windows versions, in my experience. It generally runs without problems and is rather smart about cleaning up after itself. However, if you’ve got older or lower-powered hardware, a service or two a year will massively help performance.
Start with the hardware
Dust, heat, and aging parts can drag your laptop down
I always start with hardware on my laptops. As mentioned before, dust buildup in the vents and fans is a real performance hit on Windows laptops. There’s no point in optimizing software if your laptop is choking on dust and thermal throttling all the time.
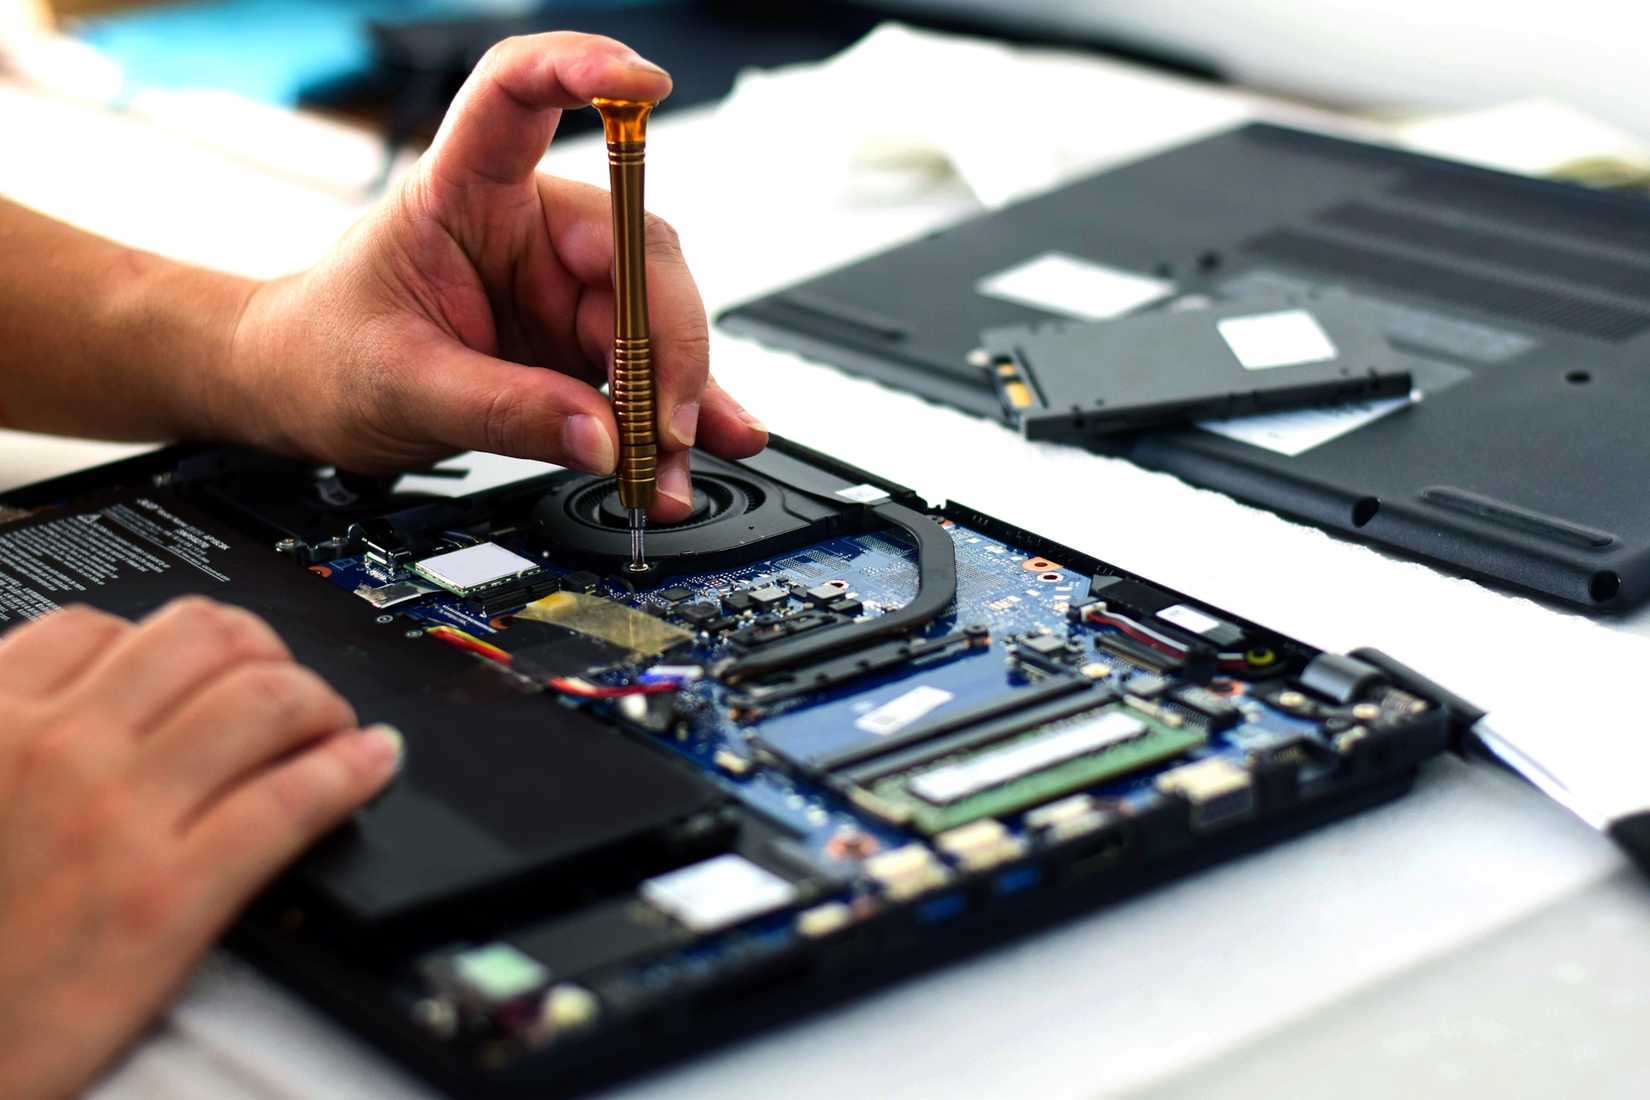
The first step is to completely power down the laptop and take it apart for a deep clean. Most laptops are quite easy to disassemble, and you should be able to access the vents and fans immediately after removing the back panel. In case you’re confused, try looking for a disassembly tutorial for your laptop model on YouTube.
For cleaning, it’s best if you take the fans out ,as it reduces the risk of electrical damage as you move the fans around trying to get dust out of them. Fully removing the fans also makes it easier to reach into the vents and give them a good scrub. If removing the fans is too much effort, unplug the cable connecting them to the motherboard to keep the rest of your laptop safe.
Be sure to disconnect the battery before working on your laptop.
You don’t need any fancy tools for this either. Just an old toothbrush and a can of compressed air will suffice. Avoid using blowers and vacuum cleaners inside your laptop—the static electricity can damage internal components.
Once the fans are fully cleaned and vents are clear, I move on to changing the thermal paste. You don’t have to replace the thermal paste on your laptop every year, but I prefer doing so just for mental peace.
There are a few additional checks you could carry out while you’ve got your laptop open as well. These include checking the battery for any puffing or damage, making sure all the motherboard screws are in the right place, and ensuring your memory, Wi-Fi card, storage drive, and other components are seated properly.
After closing up your laptop, give it a good wipe down with rubbing alcohol or alcohol wipes. Focus on the keyboard, screen, and getting any debris out of the ports.
If you’re not comfortable taking apart your laptop, any repair shop will do the entire process described above for a relatively low price. Once you’re done, your laptop will breathe better and overheat less. Not only does this bring a more comfortable user experience, but you’ll also have a lot more thermal headroom for your CPU, RAM, and GPU to work at peak performance.
Cleaning up the OS
Tuning Windows for speed without a full reset, if possible
Cleaning up your software is as important as the hardware part. I start by uninstalling my least-used programs, which I don’t really need in daily use. It could be a browser I was experimenting with, a new tool I’ve tried out, or a game I haven’t played in a while. You’ll be surprised by just how much storage you can get back just by removing unwanted programs and games.
Next, it’s time for temporary and unnecessary files to go. There are plenty of ways to delete temporary files in Windows 11, but the built-in Disk Cleanup tool will suffice in most cases. You can also set up Storage Sense to automate the cleanup process.
You might also be into bad habits that slow down your laptop, such as skipping software updates, letting unused apps or files build up over time, and more. These often end up giving you poor performance or high resource usage for no apparent reason. Thankfully, you can easily identify and fix high memory usage using Task Manager.
If you’re struggling with battery life, there are tricks to make your Windows 11 laptop last all day. There are also built-in Windows services you should disable to get better battery life. If performance is your major letdown, there are settings you can change to improve performance instantly.
Then it’s time for updates. I check everything from Windows to each driver on my laptop for any updates. Some components, like your GPU, keep receiving updates frequently, but you might have missed out on updates for perhaps your Wi-Fi card or even BIOS. Making sure you’re on top of Windows, programs, and driver updates ensures you’re getting the most out of your laptop at all times.
It’s also important to control app permissions on Windows. There are benefits to letting Windows invade your privacy, but you shouldn’t be handing out critical system permissions to just any app you get off the internet.
I don’t like having icons on my desktop. But if you find your desktop cluttered, there are ways to declutter your Windows desktop, such as pinning apps to the taskbar or telling Windows to automatically arrange desktop icons.
Finally, if I find that my Windows installation is just too clogged up, I simply do a clean Windows install. This comes with the hassle of installing all my programs again, but it’s quite similar to setting up a new PC—especially if you’ve just cleaned out the hardware.
Also, there’s no particular order in which I do these tasks. Generally, you’d want to get rid of all the unwanted files and programs first before you update or install anything new. However, I haven’t found any tangible benefits by following any specific order, so feel free to go through this in any order you prefer.
How often should you service your laptop?
Finding the right balance between neglect and overkill
My annual clean-up ritual happens once a year because I use my laptops in a very specific manner. I work from home but prefer using laptops, meaning they stay put on a stand most of the time. I also have internal rules about file management and automated cleanups running, so once a year is all I need for maintenance.
If you move around with your laptop a lot, use it outdoors, or have an older laptop with weaker hardware, you might need to run maintenance more often. However, you can still run this maintenance schedule once or twice a year and get great performance out of your machine.
How often you end up working on your machine depends on how and where you use your laptop. The only thing for certain is that regular maintenance will help your laptop run better and at peak performance, regardless of its age.


