
This guide was inspired by challenges encountered while installing the ESP32 library on the Arduino IDE, specifically the error: “Client.Timeout or context cancellation while reading body”. While this issue can be fixed by increasing the connection timeout value, this guide takes a more reliable approach.
It shows you how to set up a stable, efficient ESP32 development environment on a Windows PC without relying on fragile network installs.
After that, a simple example will show you how to use PlatformIO to build and flash firmware onto an ESP32 board.
What You Need
Hardware:
- An ESP32 board (I used Weact Studio ESP32)
- USB cable that supports data transfer
- Computer running Windows, Linux, or macOS
Software:
- USB to UART driver
- IDE (VS Code, PlatformIO, C/C++, etc)
ESP32 Board Overviews
ESP32 is a development board that stands out with its built-in Wifi client/server, Bluetooth, and compatibility with the Arduino framework. There are different variations of the board, and the developer’s choice depends on the embedded system application.
Below is a list of some popular ESP32 boards to learn more about.
- ESP32-DevKitC
- ESP-WROVER-KIT
- ESP32-PICO-KIT
- ESP32-Ethernet-Kit
- ESP32-DevKit-S(-R)
- ESP32-PICO-KIT-1
- ESP32-PICO-DevKitM-2
- ESP32-DevKitM-1
UART to USB Driver Installation
There are two types of UART to USB drivers, namely CP210x and CH340. Check the bridge (circled in the photo) to identify the format your board falls under. Usually, a square-shaped bridge requires a CP210x driver, and a rectangular-shaped bridge requires a CH340.
You may download the following drivers:
- CP210x Driver
- CH340 Driver
My board uses the CH340 driver, so I downloaded and installed the driver. 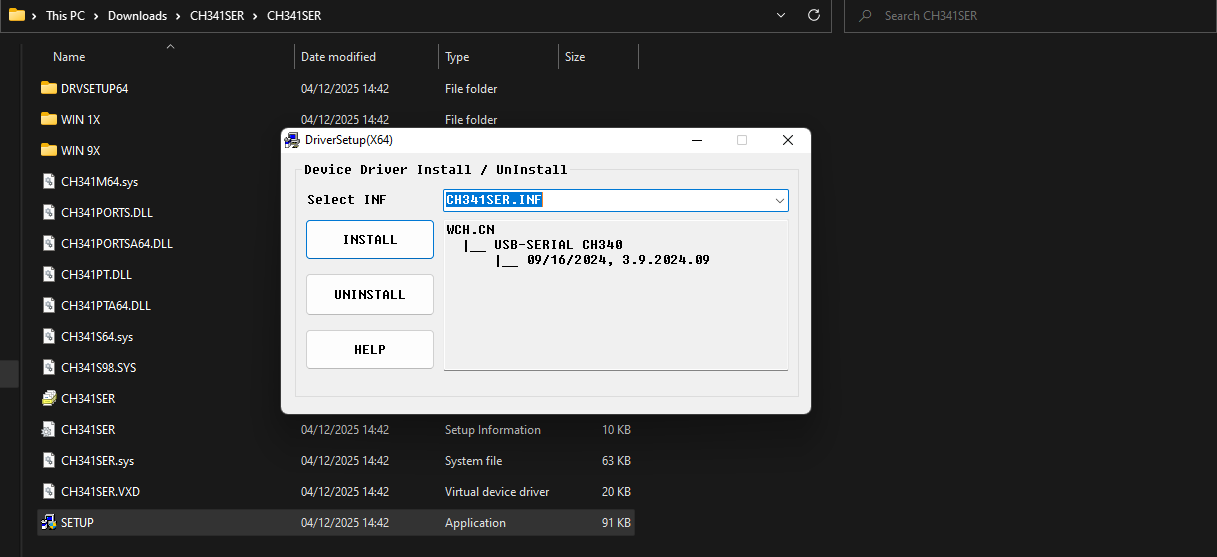
Visual Studio Installation
Visual Studio is an Integrated Development Environment (IDE) that uses code editors, a debugger, and extensibility to enable developers to build applications.
Download VS Code here and get started for free.
PlatformIO Installation
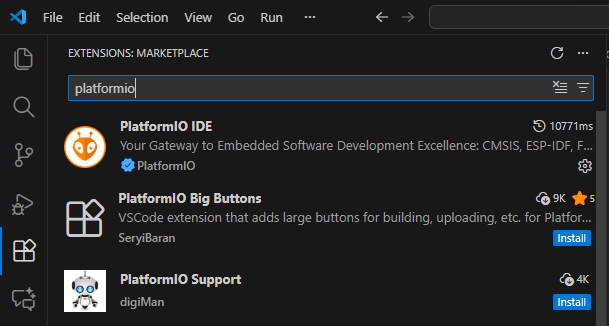
Open VS Code and go to the extension section. 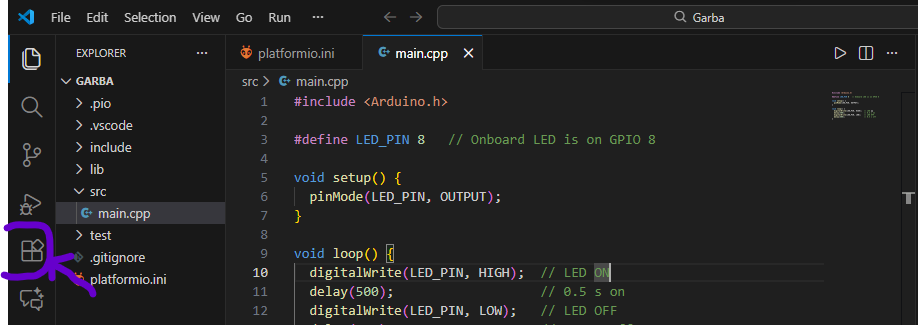 Search for PlatformIO in the search bar and click on it. Install it on the extension page.
|  | n
| n 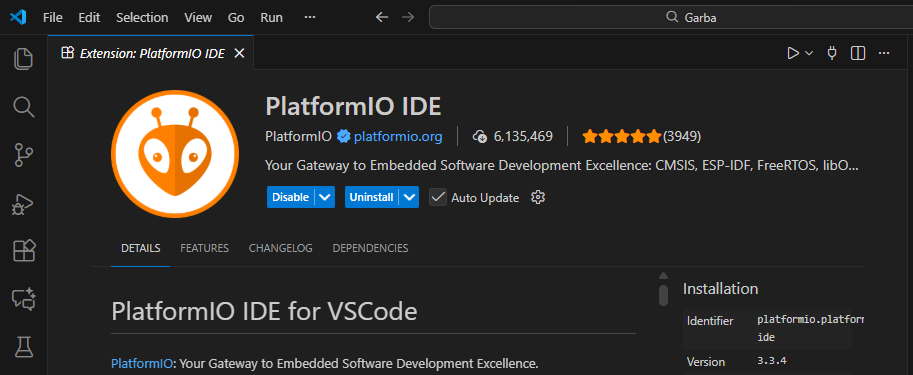 |
|
|—-|—-|
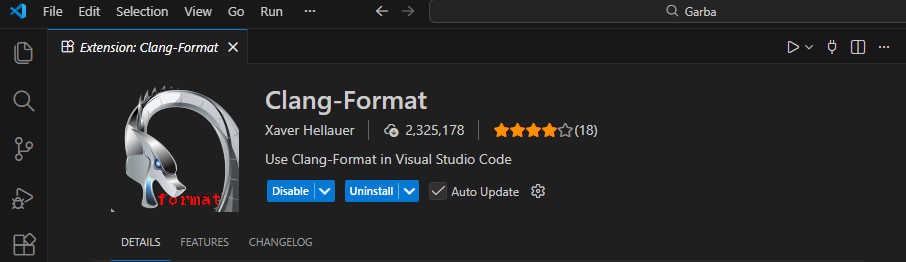
Install the C/C++ extension to get the tools needed to program the microcontroller 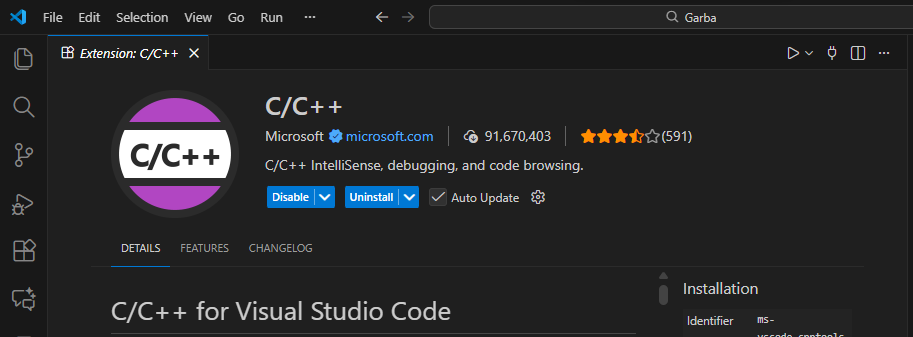 Install the Clang format to make structuring your code easier. It helps automate indentations, spacing, and brackets.
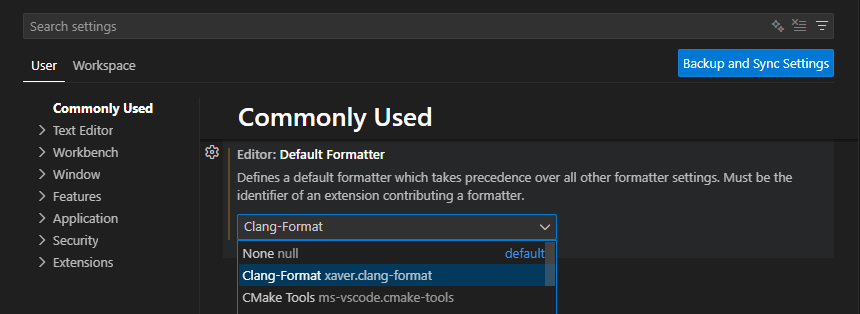
Activate Clang format by going to file>preferences>settings. Search for format and then change Editor Default Formatter from none to clang format.
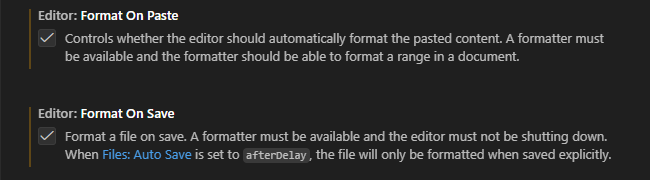
Check in Format On Paste and Format On Save.
The PlatformIO icon will appear on your tab. Click on it and go to open under PIO Home. Click on New Project to get started. 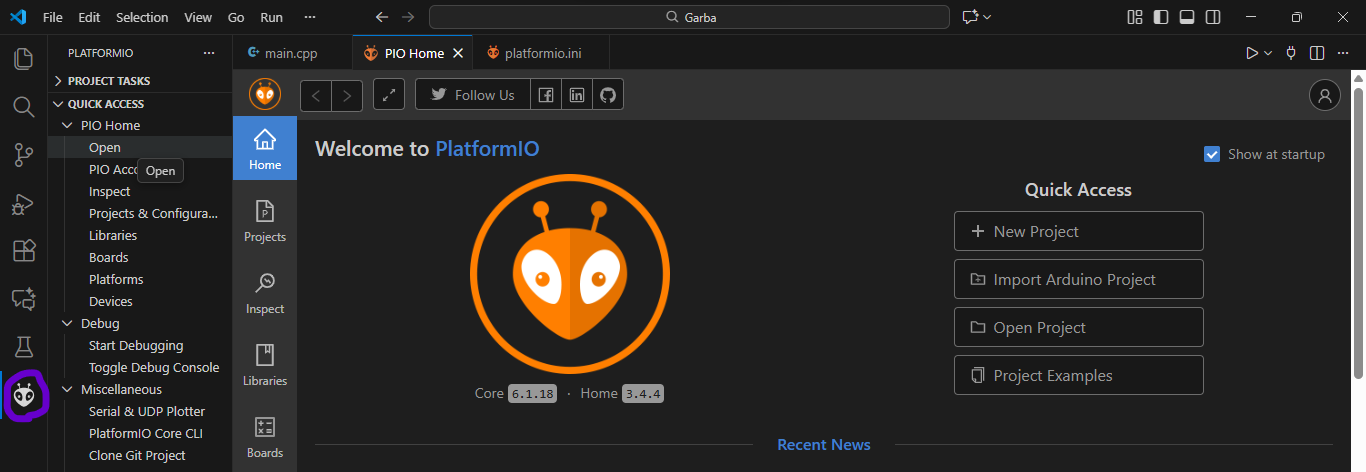
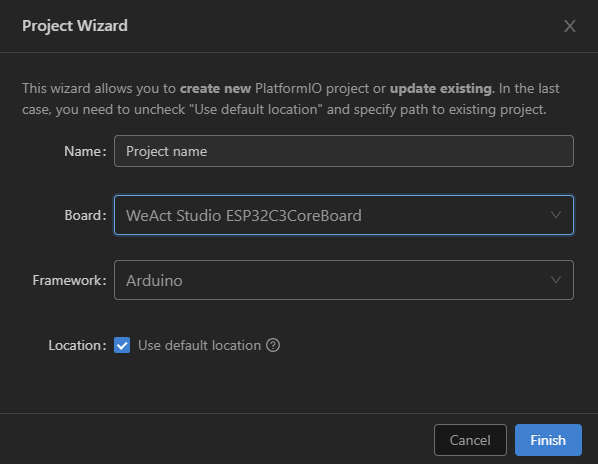
The project wizard window should appear. After naming the project, search for and select the ESP32 board you are using. Mine is the WeAct Studio ESP32C3 Core Board. Leave the framework on Arduino. Click finish and wait a minute for the necessary libraries to be downloaded for the project.
The project should be created, and you should see the directory structure. Under the src file find the main.app, which is the starting point for the application we will upload to the board. 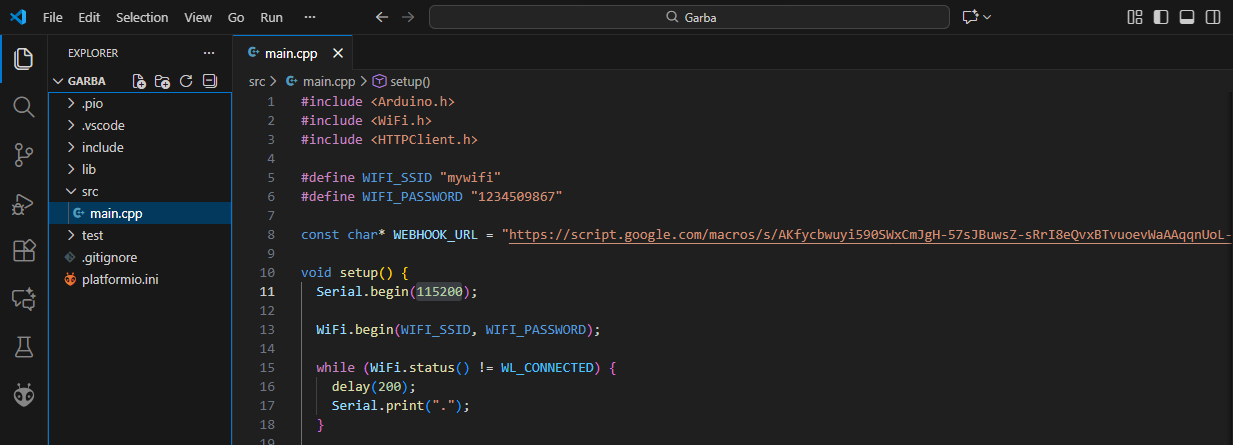 The code under the setup function is meant to be executed once when power is supplied to the board. While the loop function executes the code under it continuously.
Testing
We will create a test program that makes the ESP32 send some information to the serial monitor.
Firstly, go to platformio.ini and add the code:
monitor_speed = 115200
Go to main.app and paste the following code:
#include <Arduino.h>
void setup() {
pinMode(LED_BUILTIN, OUTPUT);
Serial.begin(921600);
Serial.println("Hello from the setup");
}

void loop() {
delay(1000);
digitalWrite(LED_BUILTIN, HIGH);
Serial.printin("Hello from the loop");
delay(1000);
digitalWrite(LED_BUILTIN, LOW);
}
Click the build button(pointed by the purple arrow) to compile the code. After compilation is successful, connect the ESP32 development board to the computer using the USB. Immediately after clicking the deploy button(pointed by the orange arrow), hold the boot button on the ESP32 board until the serial monitor shows success.
 After deployment, the diode on the ESP32 board should be blinking. While on the serial monitor, the phrase “Hello from the setup” should print first, then “Hello from the loop” should print continuously.
And that’s it!


